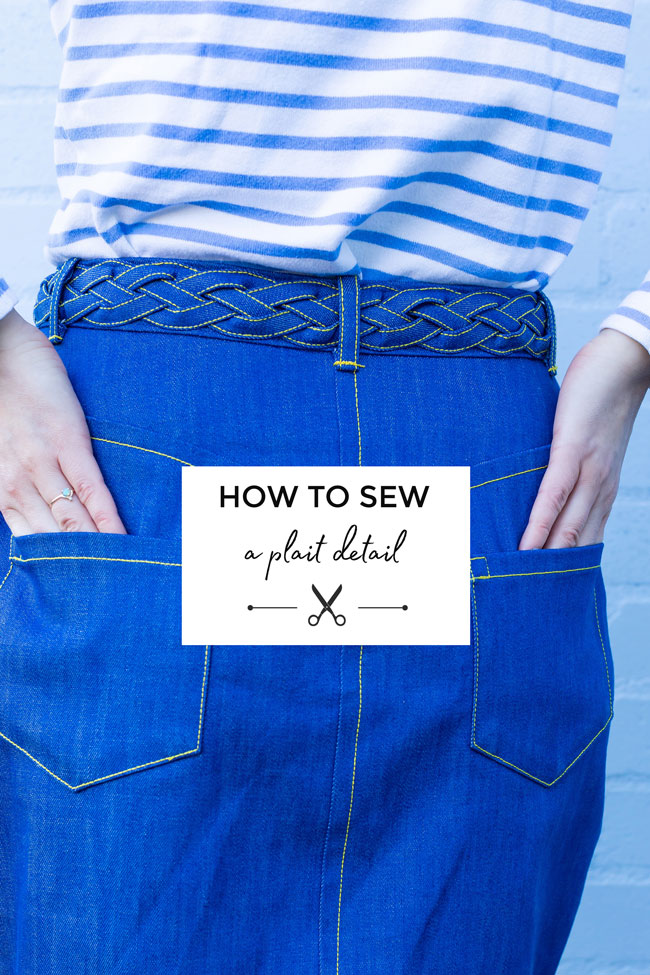
Did you see Tilly's Ness skirt with the plaited belt detail? If you fancy making your own, you're in luck! It's Serefina here, sewing pattern developer at TATB, and I'm going to take you step-by-step through how to sew this seventies-inspired detail.
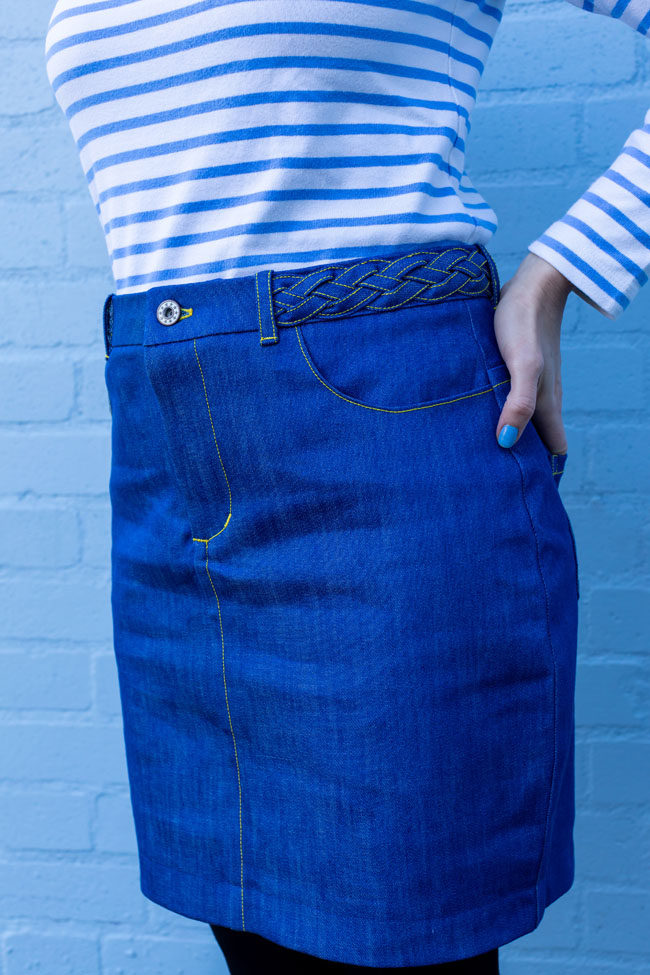

It's pretty straightforward to do once you know how, and will add a super cool detail to your me-mades. We attached the plait to the waistband on the Ness skirt. You could also stitch it around the pocket openings, or make it into extra fancy belt loops. Louise even has plans to make plaited braces for her next Ness skirt!
The plait is made up of four long strips sewn just like the belt loops in the Ness pattern. The first thing you need to do is work out how long to make these strips. Measure the part(s) of the skirt you want to embellish and add 50% for the curves of the plait. So, for example, if I want to make an 80cm long plaited belt, I would add 40cm (50%) and make each of the four belt strips 120cm long.
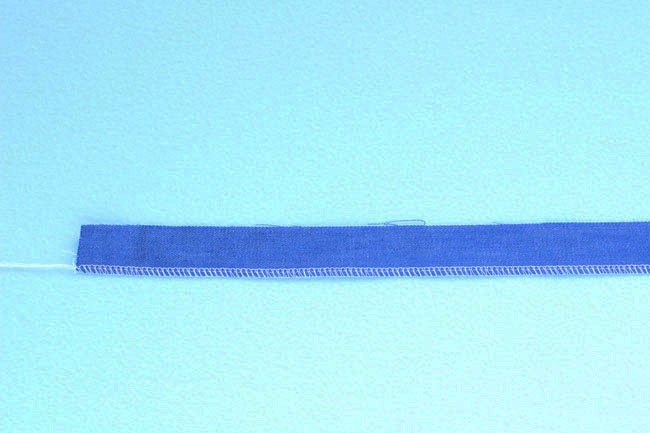
Cut four strips of fabric 3cm (1 1/4in) wide by the length you worked out above. Finish one of the long edges of each strip with zigzag stitch or an overlocker (serger). You could also be super smart and cut the belt loop along the selvedge of the denim, so you don’t have to worry about finishing the edge.

Press the unfinished long edge under 10mm ( 3/8in) to the wrong side, then press the finished edge over it.
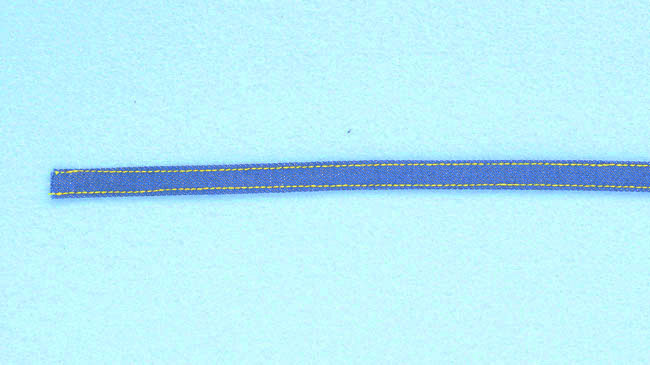
Using a contrast topstitch thread, topstitch 2-3mm (1/16in-1/8 in) from each fold. It looks really cute if you make your stitch length a little longer than usual, 3 or 4mm, to make more of a feature of the stitching. Tilly's shared a video with plenty more topstitching tips if you so desire :)
Give the strips another steam press so they’re nice and flat for the next step.
Now to plait…. If videos are more your thing, here you go :) For more explanation, read on...

Lay out the four strips with the topstitching facing up and line up the top ends. Pin them to an ironing board or tape them to the table, making sure they're secure. I've numbered the strips in the photo so you can see how to plait them together...
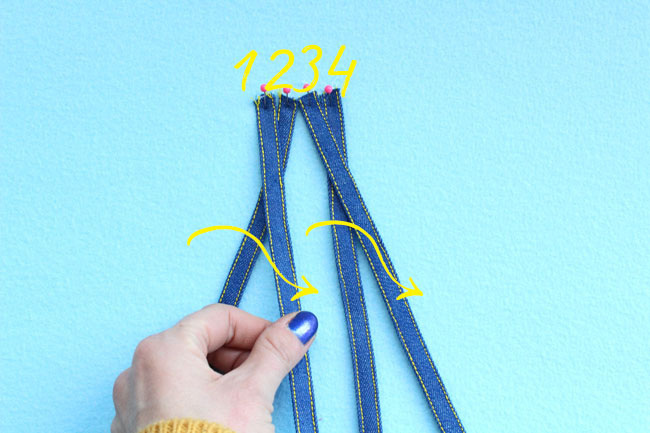
Cross 1 over 2 and 3 over 4.
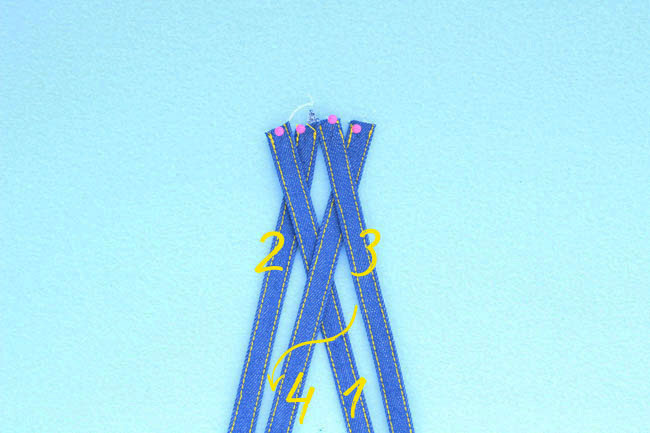
Now cross 4 over 1 (the original 4, which is now the 3rd strip along).


Now re-number the strips according to their new positions, and start the process again - cross 1 over 2, 3 over 4 and then 4 over 1.
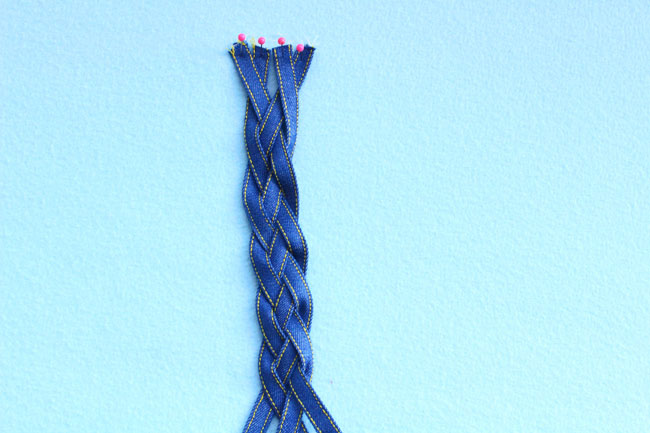
You’ll find once you get into your own rhythm that the plait comes out even and equal. Even if it doesn’t, not to worry - you can go back and even out the tension at the end. Our video shows this in action :)
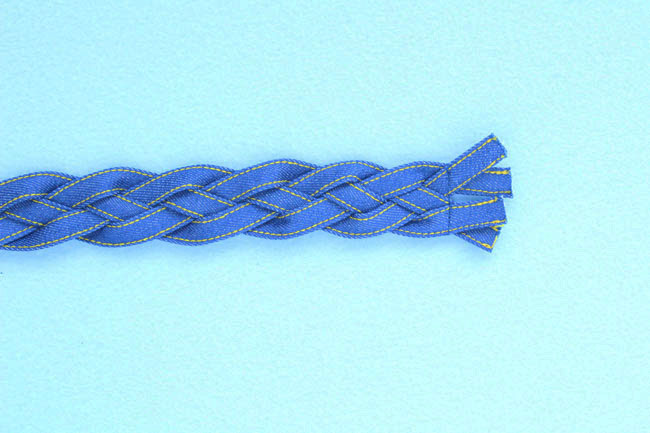
When you come to the end of the plait, you need to secure the strips together. Using thread that matches your fabric, stitch across the end of the strip, keeping the strips all together, and backtacking securely. If you’re making one long plait to cut up later for multiple areas, you can strategically stitch the plait into pre-measured sections so it won’t unravel when you cut it.
Now you can attach the plait to your skirt, stitching it either by hand or by machine close to each long edge in thread that matches your fabric. Here are a few ideas of where to position it...

Around the pockets
If you want to add the plait to the pocket openings, sew your Ness skirt up to the point where you have attached and topstitched the pocket bag to the front skirt, but before you have tacked the skirt to the pocket facing at the waistline and side seam.
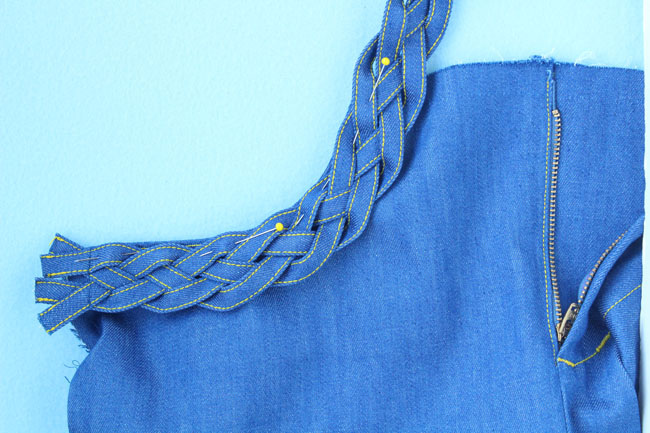
Position the plait around the pocket opening, adjusting the strips to accommodate the curve, and secure in place with plenty of pins before sewing in place. Then complete your Ness as normal.

As belt loops
You could alternatively replace the regular belt loops with chunky plaited ones. Because they're so bulky, it’s best to trap the lower part of each loop into the seam that joins the skirt and waistband seam first, then pin and edgestitch the top part of each belt loop into the seam when you sew the facing to the waistband. Skip the topstitching, as the layers of fabric will now be super thick!

As a belt
This is my personal favourite place for the plait, and it looks so professional! On this one, I avoided sewing the plait into the button area, because it's a can of worms! It would be waaaay too thick and really difficult (if not impossible) to get a buttonhole through, so I stopped it at the front belt loops, and hid the ends of the plait underneath.
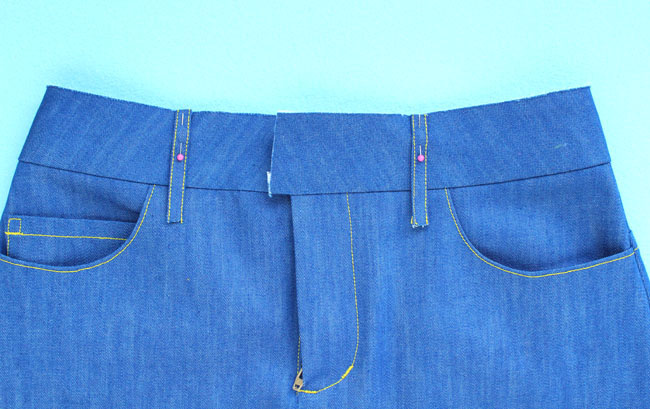
Once you’ve sewn the outer waistband on to your skirt, pin the belt loops to the top edge of the waistband. You can use the guidelines in the Ness instructions for how to space them. Next pin and sew your facing as per the instructions, trapping the belt loops in the top seam and finish the waistband by stitching in the ditch. Give the waistband area a good press.
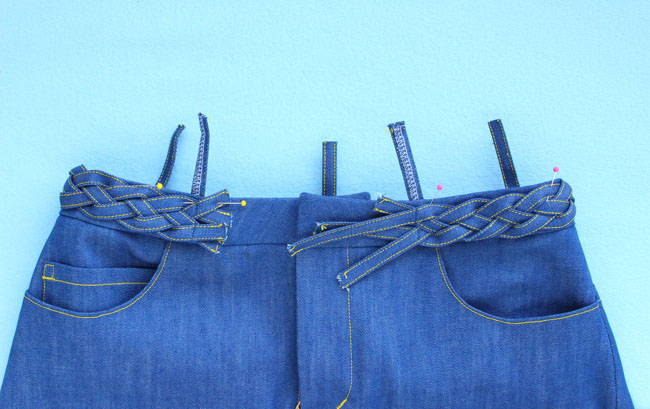
You should have a skirt with a finished waistband, with belt loops that are trapped into the top edge, but loose at the bottom. Now pin your plait in place, making sure that you use lots of pins and that the plait is even all the way round the waist.
If you want to end the plait at the front loops, staystitch the plait so that the stitching lines up under each front loop, and then edgestitch the plait along both sides, all around the waistband, in a thread that matches the fabric.
Trim off any excess plait strands, and use a product like Fray Check on the ends to keep them neat. Fold down all of the belt loops, tucking the end under and topstitch each one in place. The front loops will cover the ends of the plait.
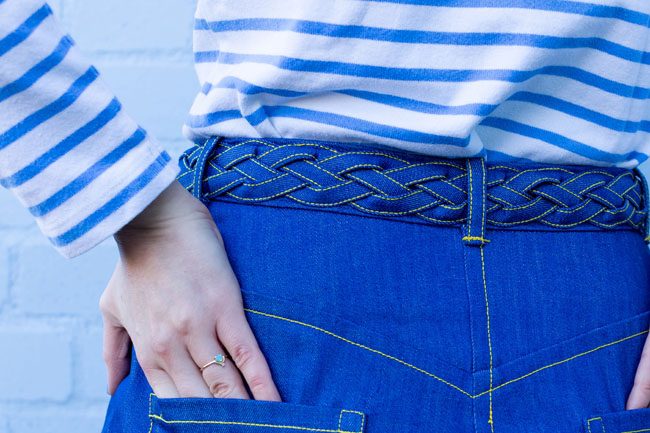
That’s it! I hope you like the plait detail as much as we do. We’d love to see your plait projects here at Buttons HQ, so tag us on Instagram @TillyButtons. If you have any questions about this tutorial, let me know in the comments. Enjoy!
