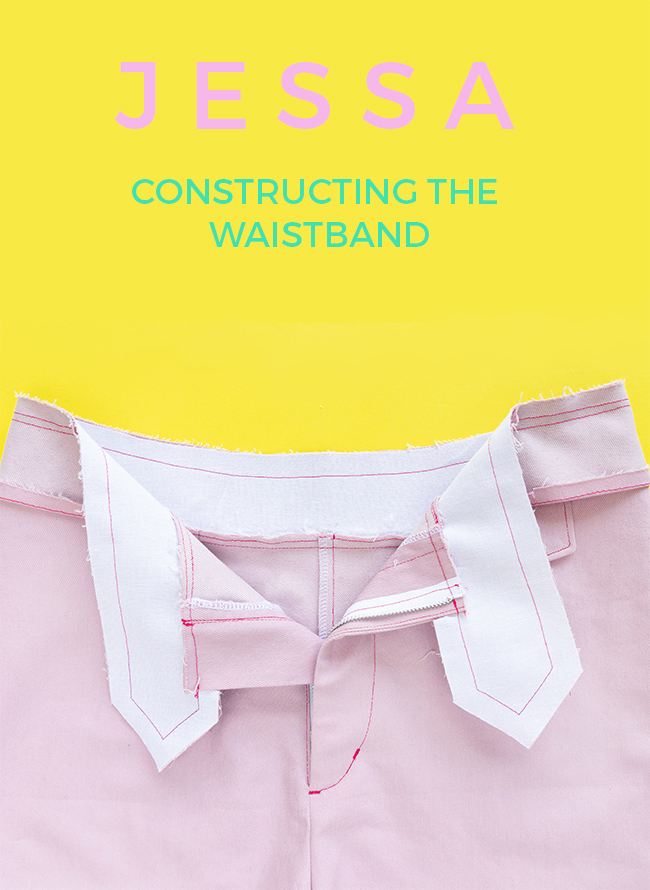
Welcome back to the Jessa sewalong. Can you believe we are only two posts from the end? Well done for sticking with me this far - you are so close to having a finished pair of Jessa trousers or shorts!
This post is going to cover constructing the waistband. Before we crack on with sewing, if you made any adjustments to the leg side seams (covered during the previous post) you'll have to make these same adjustments to the side seams of the front and back waistband pieces to make sure it fits the waistline of the legs. So ,if this applies to you, keep this in mind when you are sewing the waistband pieces together at the side seams.
Catching up? Check out the dedicated sewalong page to find all of the posts published so far.
All set? Amazing, let's get our sew on...
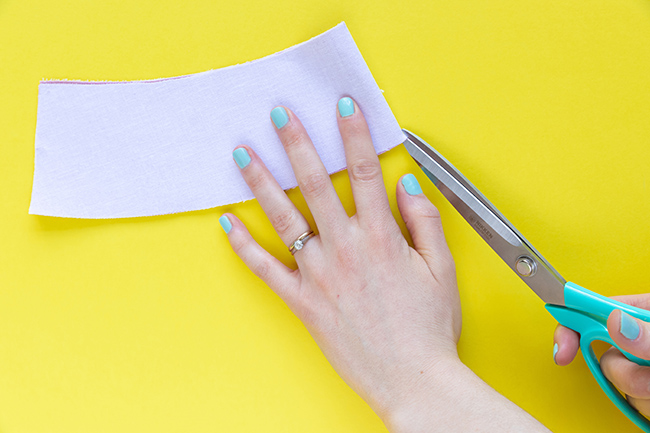
You will have cut out two sets of waistband pieces earlier (four front waistbands and two back waistbands) and interfaced one set. The interfaced pieces will form the outer waistband and the un-interfaced ones will be the facing, which sits on the inside of the trousers or shorts.
The first thing we need to do is mark the centre of the interfaced back waistband pieces. Fold the interfaced waistband in half widthways to find the centre back, and snip a small notch (around 5mm / 1/4in long) into the upper and lower edges.
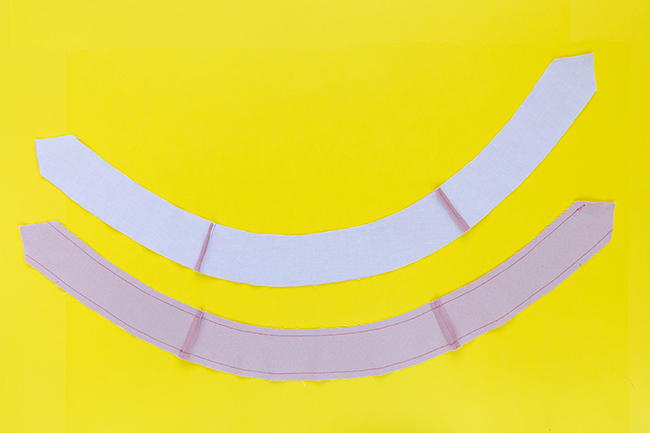
Pin the interfaced front and back waistband pieces together at the short side seams, right sides together, matching notches. As the waistband pieces are curved, make sure they are sewn together the correct way, like in the above photo. Stitch these seams together, trim the seam allowances and press them open. Repeat this process for the un-interfaced waistband pieces, which will become the facing.
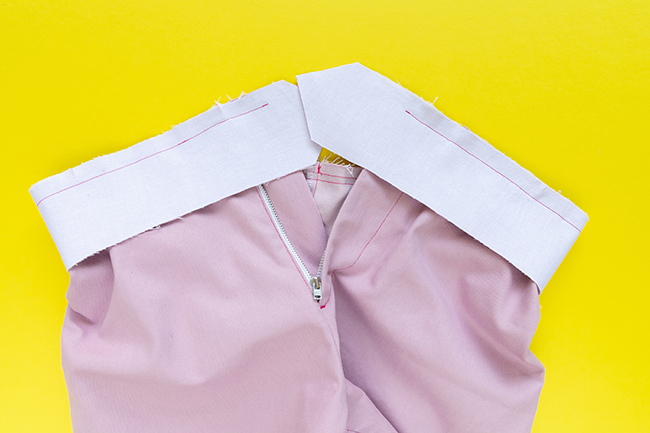
Turn the legs right sides out and open the zip. Pin the lower edge of the interfaced waistband to the trousers or shorts waistline, right sides together, matching notches. The notch you made in the back waistband will match the centre back seam, and the other notches on the back waistband will match the darts on the back legs. The centre front notch on the front left waistband will match up with the centre front on the front left leg, and the centre front notch on the front right waistband will align with the zip teeth. The side seams on the waistband will match up with the sides seams on the legs.
It's quite common when attaching a waistband to find that it no longer fits the waistline. As I said above, if you made any adjustments to the waistline of your trousers or shorts in the previous steps, make sure you also make these changes to the waistband to make sure they fit together. Another reason this could happen is because you didn't sew the seam allowances at the exact same length, or because the waistline has slightly stretched out. Not to worry though - if you have any excess fabric on the waistband, ease it in evenly until it fits. Don't forget, the waistband is designed to be longer than the trouser or shorts waistline, particularly on the left side.
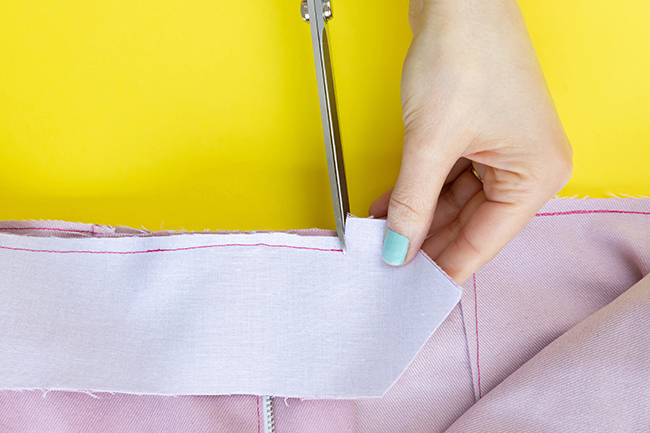
Once you've matched all the notches and pinned the waistline and waistband, stitch them together. When you get to the edge of a seam allowance or to a dart, stop sewing but keep the needle in the fabric, and feel with your fingers to check that the darts and seam allowances are still folded the way they were pressed, before lowering the presser food and starting sewing again. Trim the seam allowances.
Clip into the waistband at the start and end of the stitching, at a right angle to the waistband edge and up to, but not over the stitching, as shown in the picture. Press the waistband up and away from the legs.
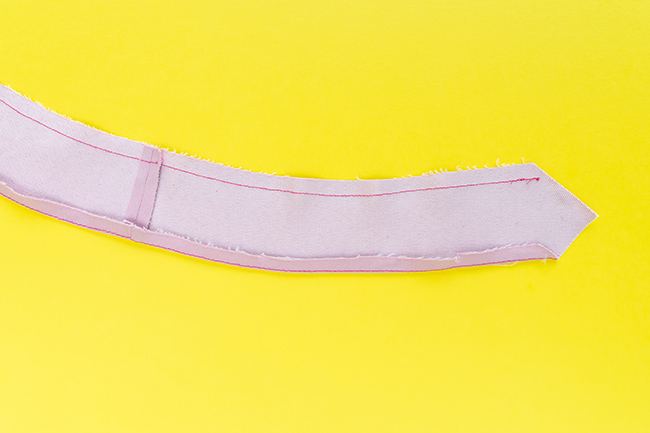
Press the lower edge of the un-interfaced waistband (the facing) under to the wrong side, using the staystitching line as a guide. The staystitching line should just be visible from the wrong side.
Pin the facing to the waistband along the unstitched edges, right sides together, matching side seams and notches. Fold down the pressed lower edges of the facing at the ends to pin it to the waistband - you'll only need to pin a small part of this section. You want to be pinning the long top edge and the diagonal edges, and only a short section of the folded lower waistband to the interfaced waistband.
When pinning the interfaced and un-interfaced waistbands together, make sure they match up at the side seams and notches.

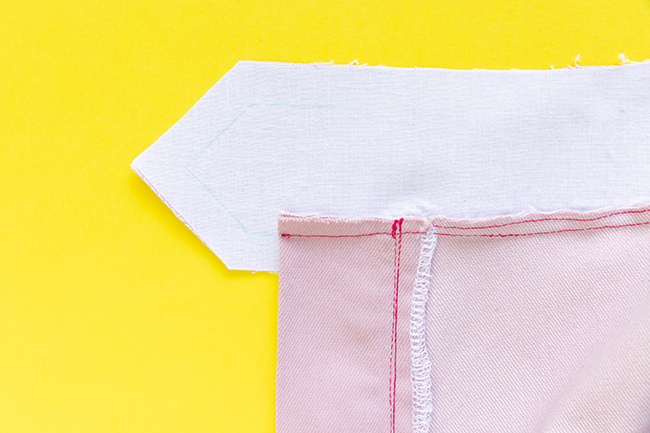
With the interfacing facing up, stitch around the pinned sides, pivoting at the corners. By having the interfacing on the top, it will stabilise the layers as they go through the machine, while the feed dogs will grip the less stable bottom layer and will help prevent fabric 'creep', where one piece of fabric ends up longer than the other whilst you are sewing. Sewing with a walking foot can also be helpful here.
You might also find it helpful to draw the sewing line and pivot point onto the interfaced waistband before you sew. It's a little bit tricky to get an even diagonal edge here, so drawing 15mm (5/8in) from the edges in chalk pencil or washable pen will help you get neat-looking ends to your waistband finish if you don't feel confident to sew it by eye.
Before you trim the seam allowances, make sure the waistbands are sitting level when you close the zip, and check that one isn't sitting higher than the other. If they're a bit wonky you can unpick the stitching on the section you want to alter and try again :)

Trim and grade the seam allowances. Make sure you are trimming the interfaced seam allowances slightly narrower than the un-interfaced ones - this will help make the seam allowances less bulky overall. Snip diagonally across the corners close to, but not over, the stitching, and press the seam allowances apart. Don't trim the folded lower edge of the waistband facing (the un-interfaced waistband).
Turn the waistband right sides out and neaten the corners and pointy ends with a pin or point turner. Large tweezers, like the ones that come with an overlocker, are also good for teasing out the points on the waistband. Give the waistband a good steamy press, rolling the seam lines slightly to the inside (the facing side).

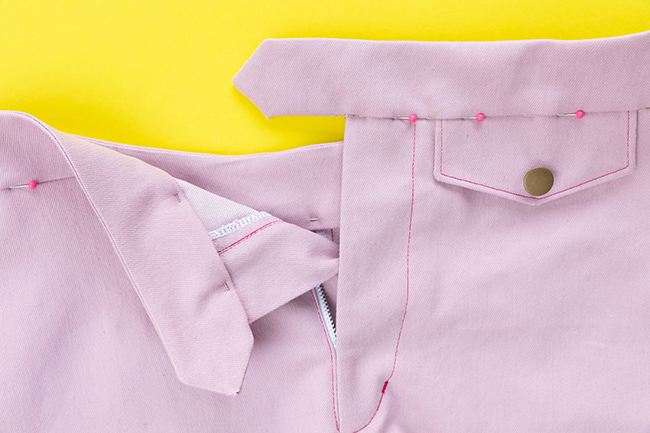
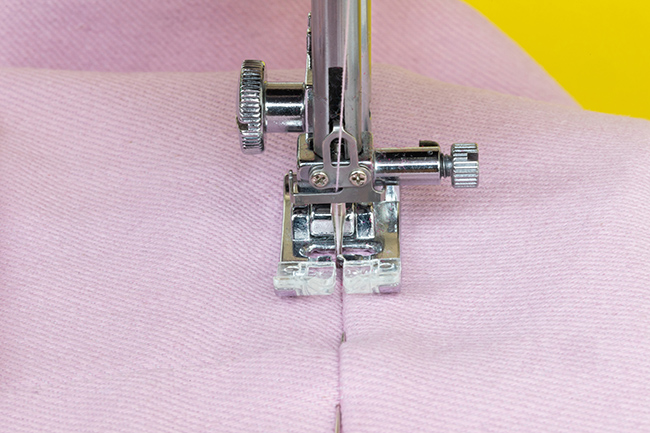
We're so nearly close to the end of constructing the waistband - woohoo! We're now going to anchor the lower edge of the waistband to the trousers by "stitching in the ditch". This is a fancy way of saying we're going to sew through the waistline seam so that the stitching is invisible from the outside and only seen on the lower part of the waistband facing on the inside of the shorts or trousers.
There are a few tricks here you can do whilst pinning to make this step go smoothly. Firstly, start pinning on the left leg and pin the pins towards the pointy waistband tip. This will make it much easier to remove the pins as you sew them. Make sure you pin directly through the seam channel to make sure you will catch the edge of the waistband facing underneath. Take your time here, go slowly and keep your eye on the needle! If you find it difficult to see detail for steps like this you might find it useful to invest in a pair of magnifying glasses.
Feel the waistband facing as you are sewing to check that you are catching it all the way around. If you discover you haven't caught the facing, stop stitching and re-press it under and carry on sewing.

Hey presto, if you've followed along with me you have now successfully attached the waistband! We are very much on the home straight now as there is only one post left of the Jessa sewalong left. Join me next time where I'll talk you through sewing the fastenings, hemming the trousers or attaching the cuffs to the shorts.
As always, don't forget to share your progress on Instagram with the #SewingJessa hashtag, We can't wait to see what you make!
****
Photos: Jane Looker
Pink denim: Higgs and Higgs
