

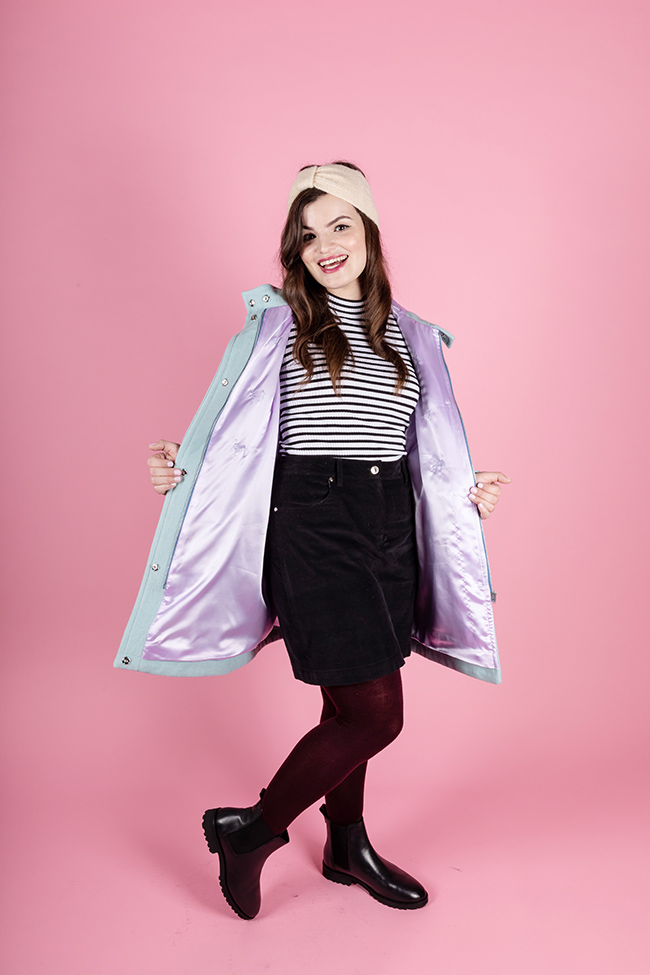
What do we want? Coats! When do we want them? Now!
Personally, I find one of the only consolations of the weather getting a bit chilly is wearing - and making - a lovely, snuggly coat. However, making a coat usually involves sewing with some kind of wool, or wool-type coating, which is a material lots of sewists will be unfamiliar with, and can therefore seem a little bit intimidating. The good news is it's so much easier to work with a coating fabric than you'd think - yay!
Before we get started, let's talk a bit about coating fabric. Coating refers to fabric suitable for coat or jacket making. There are loads of different coating options available - you can buy a 100% wool coating or a blend with one or more different materials, such as viscose (rayon) or polyester. You also can also buy coating fabrics without any wool content whatsoever. Our Eden coat kits come with a super soft wool type fabric which also makes them vegan friendly :)
There are quite a few different coating options out there so if you're ordering online I'd advise to order a swatch of fabric so you can have a closer look before purchasing. If you want a bit more info on the different types of coatings available, such as boiled wool, cashmere or boucle, check out our fabric suggestions blog post for our fave coat pattern ever, the Eden coat and jacket.
Whilst sewing a winter coat is quite time consuming it's totally worth it for the amount of wear you'll get out of it, as you can wear it all autumn and winter long. Actually, if cared for properly (and not nibbled at by hungry moths!) a good coat can last for many years. That's a lot of opportunites for you to proudly say "why yes, I made it myself".
So, are you ready to learn some top tips about sewing with wool coating? Let's get cracking.
1) Shrink it
We're told time and again to pre-wash our garment fabric to shrink fabric, but what about wool and coating fabric? The good news is the fabric in our Eden kits is a wool-free coating and can be pre-washed at 30 degrees in the washing machine (yay!).
For wool coatings and wool blends, there are a few different schools of thoughts here but you don't generally need to wash wool fabric before sewing. It is however a good idea to pre-shrink wool coating before cutting into it. One way of doing this is to take it to the dry cleaners to get them to do it for you, but you can also do this easily at home.
The easiest way to pre-shrink wool is to chuck it in the tumble dryer with a couple of damp towels. Wring out the towels so they're damp rather than sopping wet, put in the tumble dryer and remove when the towels are dry.
If you don't have a tumble dryer you can also shrink your wool with an iron and a muslin press cloth or cotton tea towel. Wet the cloth and wring out the excess moisture, then place the cloth on the wool and press until the muslin is dry. Do this as many times as necessary until you've pressed all the fabric.
2) Match your needle to your project
Before I sewed a coat I thought I'd need some sort of hi-tech, futuristic needle for my project, but it turns out a regular 90/14 needle was all I needed. If you're sewing with a particularly heavy coating a 90/14 or 100/15 needle should be fine. If your fabric is a lighter-weight wool you may want to try a thinner needle, such as an 80/12 sized needle. Whatever size you are using, make sure it's a fresh needle so it's nice and sharp to help it get through the layers easily.
3) Interfacing
As you're investing a bit of time and money in this project, make sure you get the interfacing your lovely new me-made coat deserves.
For most coatings a woven, medium-weight fusible interfacing will do the job perfectly well. Test your chosen interfacing on a scrap of fabric to check that they fuse together okay.
If the interfacing doesn't stick to the fabric you can use a woven, sew-in interfacing instead. To attach sew-in interfacing, tack (baste) the piece close to the edge of the fabric. If there are any pieces that can't be attached at the edge of fabric - like the front facings and hood interfacing pieces on the Eden jacket and coat - tack what you can to the edges and attach the other edges with some invisible hand stitches.
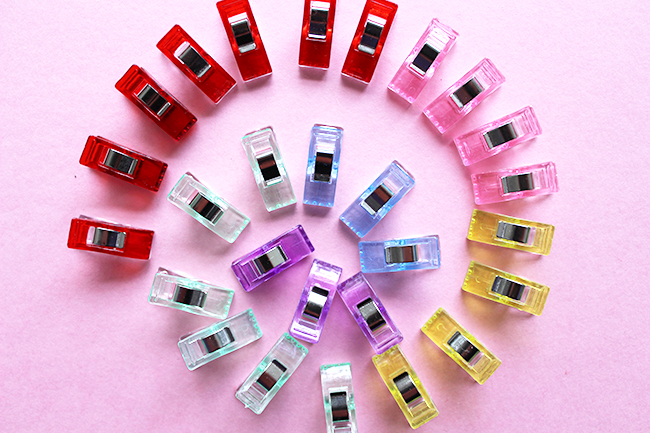
4) Use fabric clips
I mean this with absolute sincerity when I say that discovering fabric clips (affiliate link) changed my (sewing) life. Dramatic? Maybe. But 100% true!
When sewing a coat, you'll often have to pin through multiple layers of coating and lining fabrics, and this can be a bit taxing on regular pins. I'd recommend investing in a pack of fabric clips to use instead of pins. They're cost effective and eliminate the danger of stabbing yourself whilst trying to force a pin through multiple layers. A win-win!

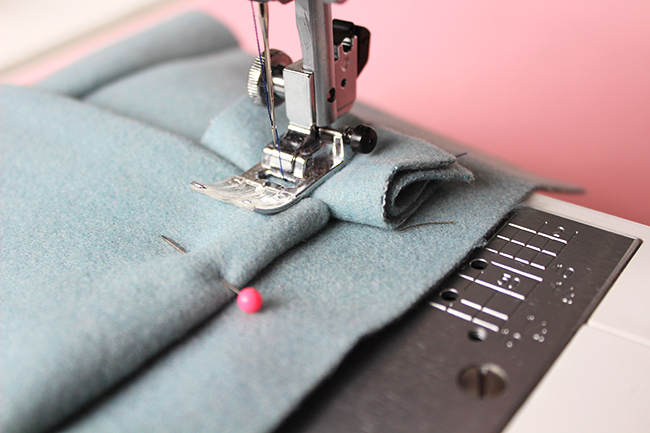
5) Lower the presser foot pressure
If you're sewing with bulky coating fabrics it's a good idea to lower the presser foot pressure on your machine, if your machine lets you do so. This will make it easier for thick fabrics to pass through the machine and will avoid squishing all the layers as you sew.
6) Stitch length
If you're sewing with a thick coating fabric, it's a good idea to slightly lengthen your stitch to around 3mm. A lighter weight coating will need a stitch length of around 2.4-3mm. If you're not sure what stitch length to use, try it out on a scrap of fabric and increase the stitch in small increments until you've found the length you're happy with.
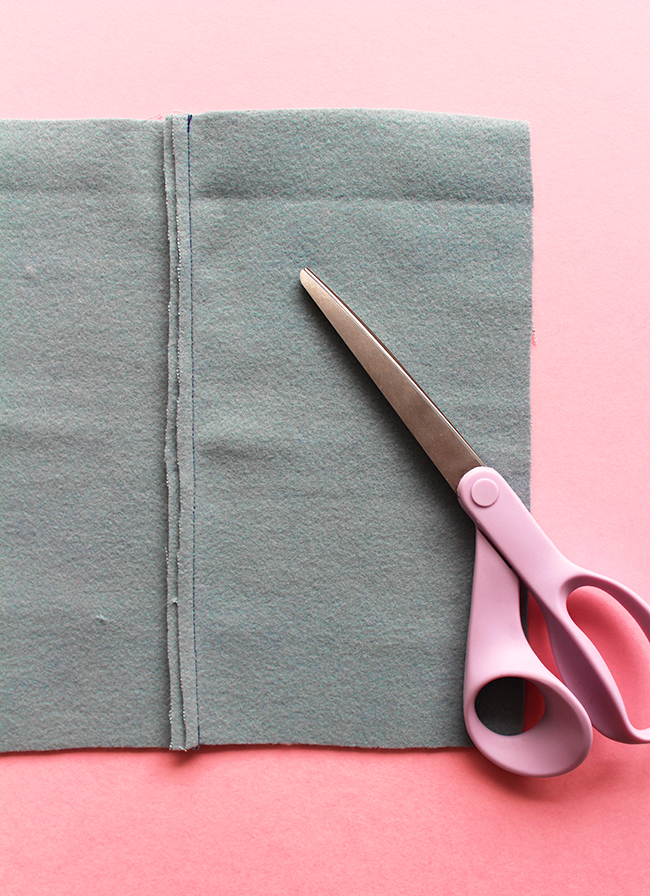
7) Grade seam allowances
As sewists we're usually taught to trim our seam allowances once we've sewn a seam, but when sewing with a thicker coating fabric you can go one step further and trim and grade them. Grading seam allowances simply means to trim one seam allowance narrower than the other. If you're sewing two different types of fabric together, such as a coating fabric and a thinner lining fabric, trim the thicker coat fabric narrower than the other one.
By grading one seam allowance narrower than the other you'll reduce the bulk in the seams. This makes it much easier to press as there's less fabric in the seam and gives a much neater result overall.
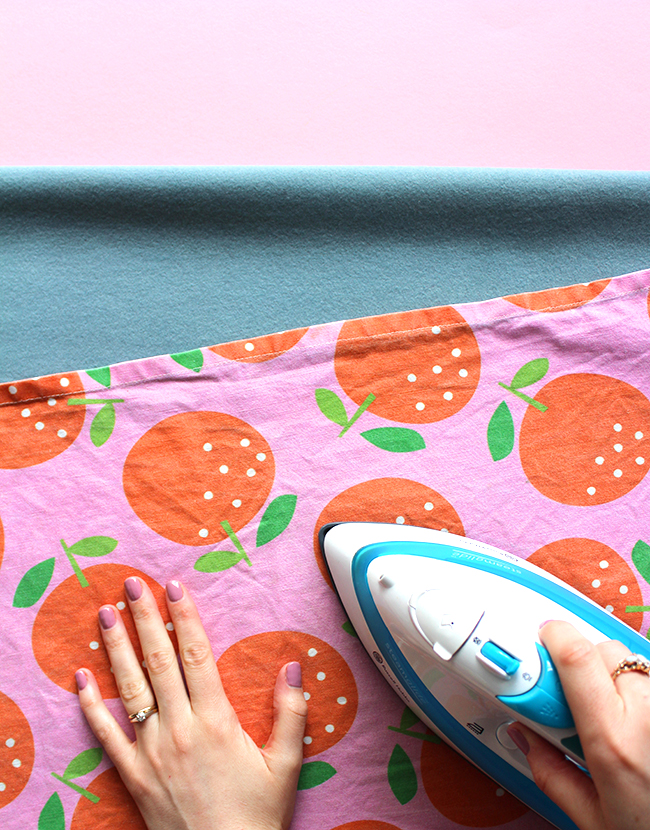
8) Pressing
Coating fabrics require a bit of care when pressing. Turn the iron down to a medium-low temperature (many irons have a wool temperature setting), use plenty of steam and only press from the wrong side. Some wools and coating fabrics become a bit shiny after they've been pressed, so you might also want to use a pressing cloth or tea towel when pressing the seams to avoid the iron coming into direct contact with the fabric. If you need to press the right (nice) side of the fabric, then I'd definitely advise using a pressing cloth.
As coating fabric is quite thick you can sometimes see seam impressions from the right side after pressing. To avoid this, place some card between the seams before pressing - this will add a barrier between the coat and the seams and will stop from the shape of the seam being seen from the right side.
If you want to be totally profesh, you can get lovey flat seams by using a wooden clapper. Give the seams a steamy press then remove the iron and immediately put the clapper (or even a flat piece of wood) on the seam and press down until it has cooled. You'll then be left with beautifully flat seams.
9) Use a stitch starter
Do you find that your machine has a bit of a tantrum when you're trying to start sewing the edge of a patch pocket or similar in bulky fabric? Tilly showed me an amazing tip where you can make a "stitch starter" out of a scrap of material to help the presser foot get over the initial lumpy corner.
It's super easy - all you do is fold a scrap of fabric a few times, put it under the back of the presser foot to lift it up so it's the same level as the pocket you want to attach. Make sure it's behind the needle so you don't accidentally sew it to your fabric. This extra little lift makes the presser foot level with the fabric, making it much easier to sew on things like pockets, pocket flaps and storm flaps. Magic!
10) Use a walking foot
We're a big believer at Tilly Towers in making do with the tools you already have. If you have a walking foot, or your machine has a dual feed foot built in, then I'd recommend using one if you're sewing with wool coating. As there are a few thick layers involved when sewing a coat, a walking foot can help to pull them all through the feed dogs smoothly and make your life a bit easier. Saying that, I've never owned a walking foot and I've made several coats and jackets without feeling like I need one so worry not if you don't have one :)

And that's it! I hope you've found our ten tips on sewing a wool coat helpful. You can also find loads more resources on sewing outerwear on our Eden sewalong page. If you're planning on sewing an Eden coat or jacket make sure you tag us on Instagram @tillybuttons with the hashtag #SewingEden so we can see your beautiful makes :)
Liked this post? Check out Ten Tips For Sewing Rainwear Fabrics.
*****
Author: Nikki Hoar
Photos: Jane Looker
