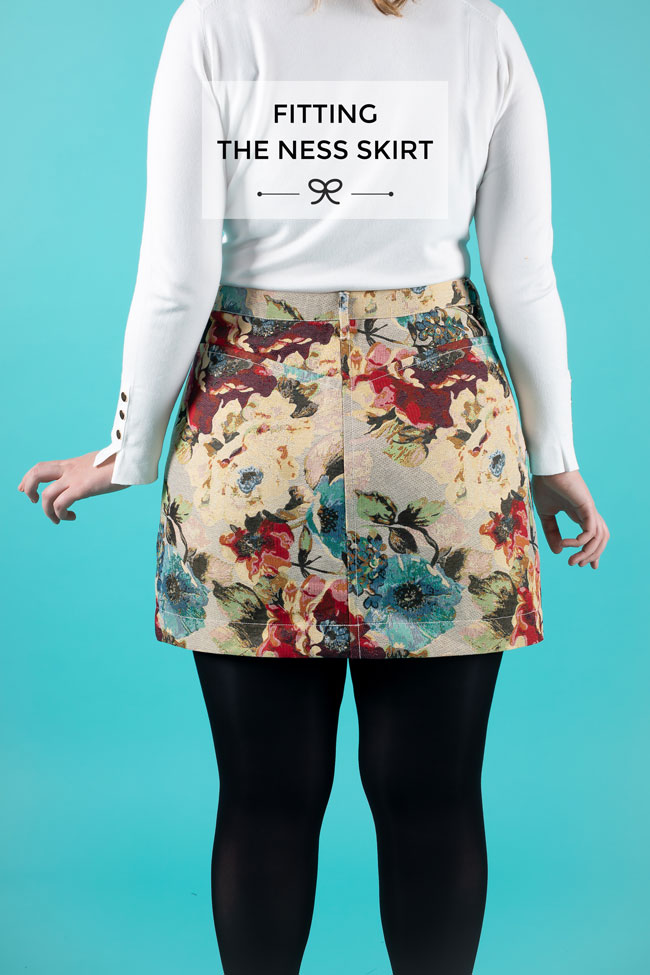
Making the Ness skirt? If you need any help choosing your size or fitting the skirt, you've come to the right place. It's Serefina here, the Sewing Pattern Developer at Tilly and the Buttons, to talk you through what you need to know.
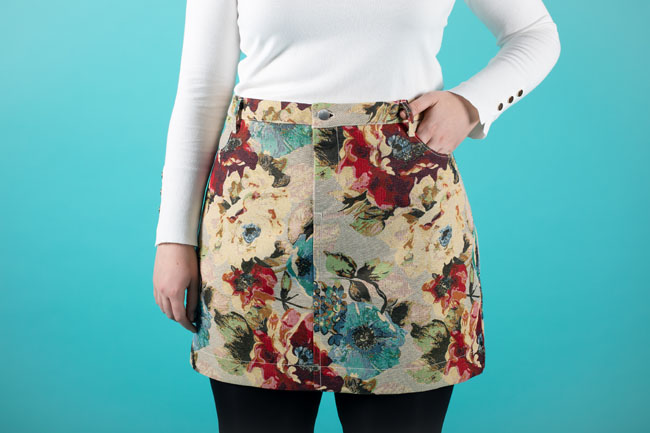
So versatile, our latest skirt pattern can be worn all year round, and works in so many different fabrics. Dress it up, keep it casual or make it in a traffic-stopping print - if you get the fit of this down, you’ll be able to reuse the pattern again and again.
The good news is the Ness pattern only has a few areas that are crucial to the fit. It’s a good idea to make your first one as a sort of work-in-progress. If you only do one thing, tack (baste) together the side seams before you sew them together, trying it on and taking it in or letting it out where needed. Check it's comfy to sit down in as well as stand up in! If you want to make any further alterations, read on...
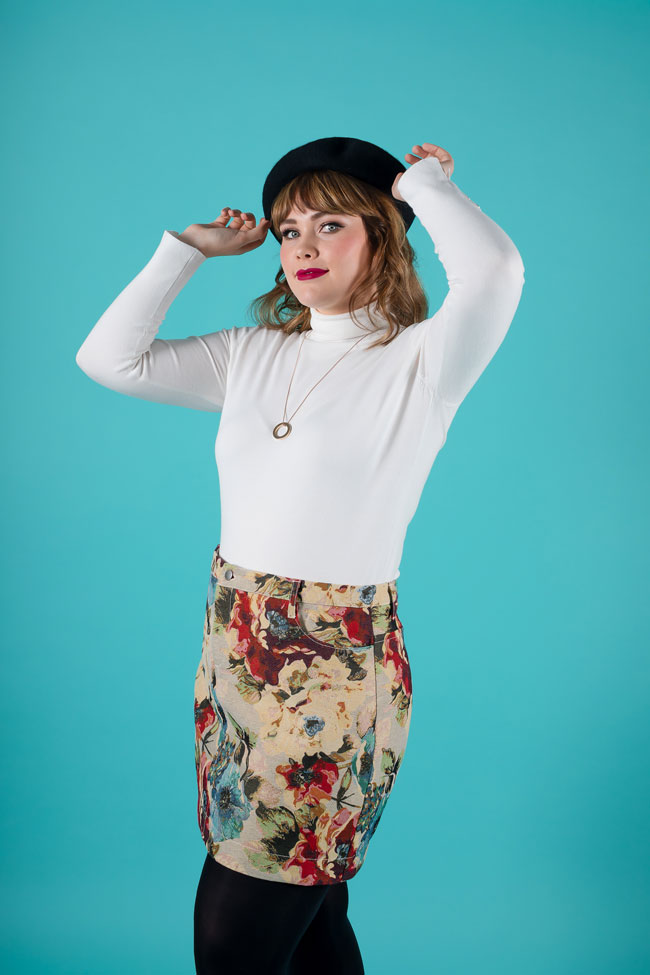
In this post I'm going to take you through the most common adjustments that you might need to make to your pattern - if you are already aware of which alterations you’ll need to make, go ahead and adjust the pattern before you make your toile or tack together your real fabric. Or if you're not sure, make your skirt first and adjust the pattern based on how that fits.
We're going to cover:
- Choosing your size
- Lengthening and shortening
- Combining waist and hip sizes
- Fitting the back yoke
Choosing your size
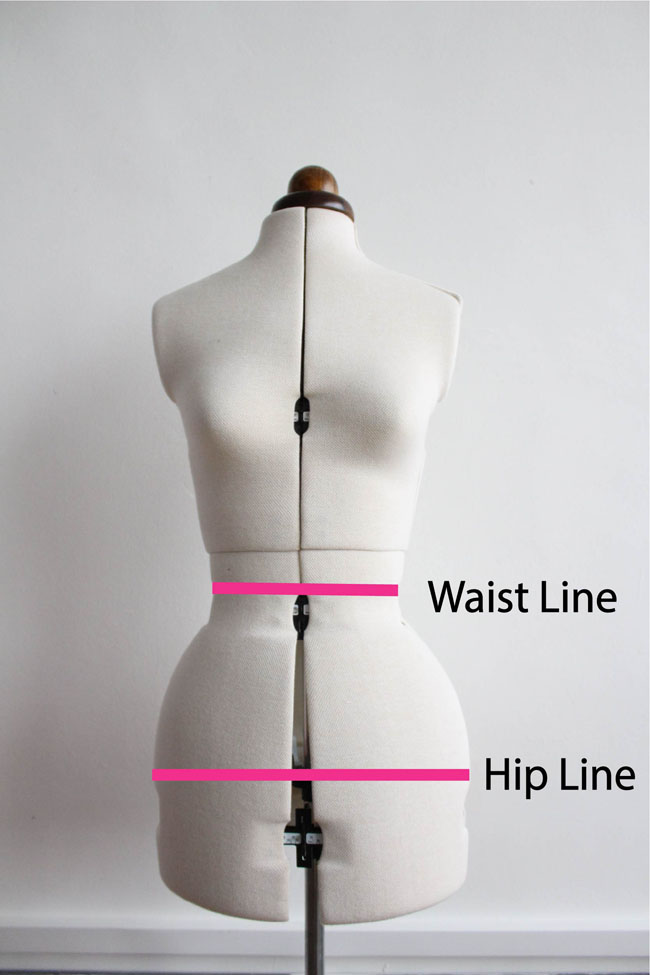
Using a flexible tape measure, and ensuring you hold it level to the floor, find the circumference of your:
- Waist - where you bend at the side
- Hips - fullest part

Circle your measurements on the ‘Body Measurements’ chart in the pattern instructions. If your measurement falls between sizes (for example, if your hip is 40in rather than 39in or 41in), it’s generally safer to go for the larger size - if it’s too big it’s easier to take the skirt in as you're sewing than to let it out if it’s too small.
If your waist and hip measurements fall into the same size, then happy days! Each size has a different style of cutting line - check which one is for your size and that’s the one to follow when you cut out your pattern.
If you are one of many of us who fall into different sizes, then welcome to the club! See 'Combining pattern sizes' below...
You can also alter the length of the skirt if you want. The skirt already has mini and knee-length options, but if you want to lengthen or shorten it without changing the fitted shape of the hem, you can use the "lengthen or shorten here" lines.
Here's how...
Shortening the skirt

Draw a parallel line below the lower of the "lengthen or shorten here" lines on the front and back skirt pieces - the distance between the two lines should be how much you want to shorten it by. In the picture above I'm shortening the skirt by 30mm (1 1/8in).
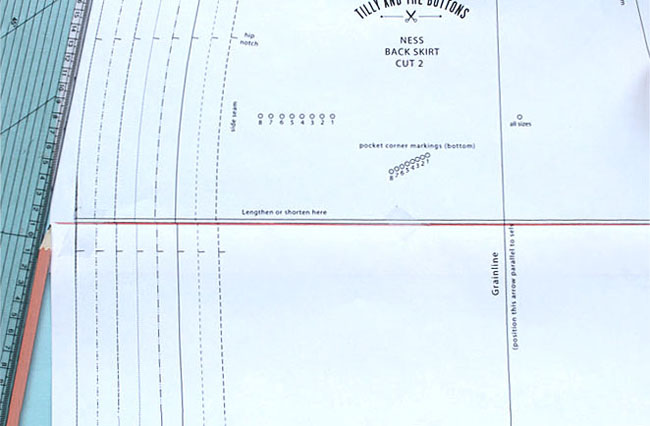
Cut along the lower of the "lengthen or shorten here" lines and move the lower pattern piece straight up until it meets the line you drew in the previous step. Align the grainlines on each to make sure the pieces don’t shift to either side. Tape or glue the pieces together. Redraw the side seams so they're smooth.
Lengthening the skirt

Get two pieces of paper, a little longer than the width of the skirt pieces. Draw two parallel lines on each, the distance between them being the amount you want to lengthen the skirt by. Cut along one of the "lengthen or shorten here" lines marked on each of the the front and back skirt pieces.
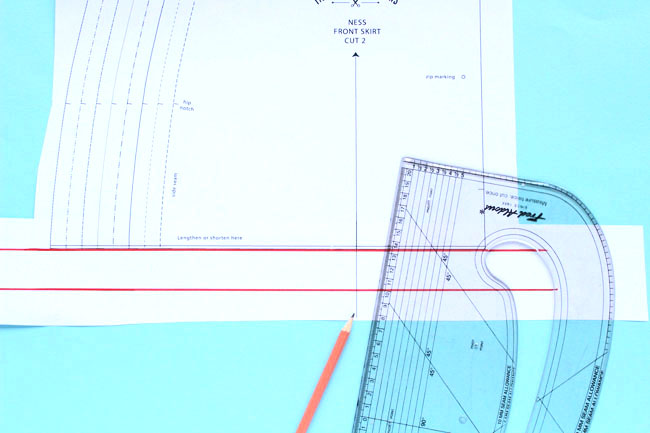
Place the paper strip with the set of lines on underneath the top pattern piece, aligning the newly cut edge with the upper horizontal line, and stick it down with tape or a glue stick.
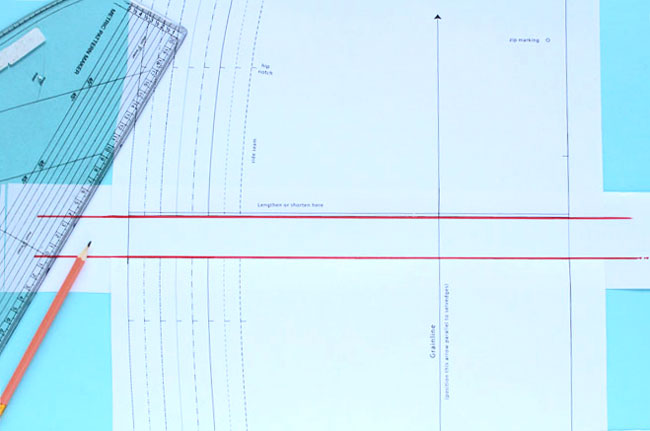
With a ruler, extend the grainline arrow from the top pattern piece right down through the paper you just attached. Now align the lengthen/shorten line on the bottom piece with the lower horizontal line, and match up the grainline arrows. Repeat these steps for both the front and the back pattern pieces.
Join the side seam lines and the centre front/centre back lines through the new extension and cut away the excess paper.
Combining pattern sizes
If your waist and hip measurements span different sizes, make the following alteration to ensure a perfect fit. As the front skirt includes in-seam pockets, we’ll need to ‘build’ the pattern pieces before altering them….
If your waist size is smaller than your hip size:
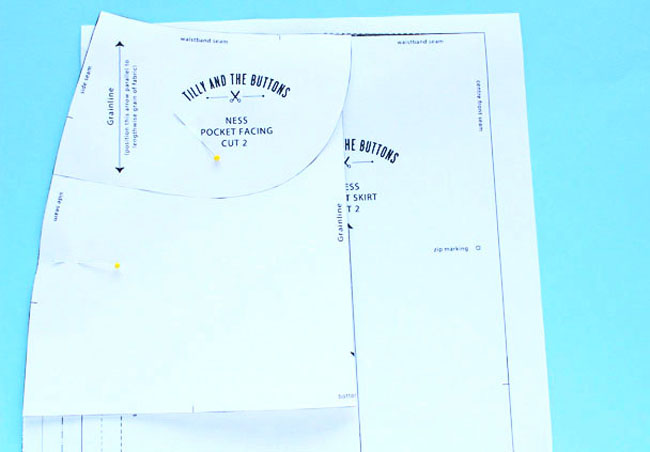
On the front skirt, cut along the side seam size that you need for your hip measurement, leaving the rest of the edges with paper around them, just in case! Completely cut out the pocket facing and pocket bag pieces. Fold the pocket bag in half so the side seams join, and line it up with the side seam and pocket opening line of the size line that corresponds with your hip measurement. Pin the pieces together.
Place the pocket facing over the pocket bag, lining up the top and side edges. Pin this in place too.
Make a note of how many sizes smaller you need to make the waist. The example shown is to make a size 4 waist and a size 6 hip. (This is the maximum amount advised to reduce at the side seam, but shown here to demonstrate the most extreme alteration). If you have a bigger difference than 2 sizes, you’ll need to add darts or take out of the yoke at the back in a separate adjustment.

Keeping all the pieces pinned together, mark the new waist point in from the top left edge of the pocket facing - measure 1.25cm (1/2in) in for each size difference. So for this example, the new waist is marked 2.5cm (1in) in from the side seam as it's two sizes smaller than the hip. Draw a line from the new waist point to the hip notch - it should be a smooth, gradual curve.
Tip: Try to keep the top corner a right angle so you’ll have a smooth seam to join the waistband to!
Cut through all the layers along this new line.
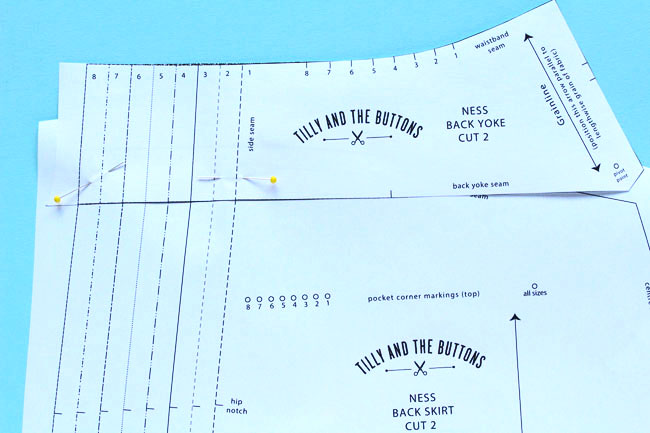
Now to alter the back skirt. Pin the back yoke to the back skirt pattern, making sure the edges overlap 3cm (1 1/4in) - this is because the seam allowance on each piece is 1.5cm (5/8in). The shapes are slightly different from each other, so concentrate on pinning the side seam area - while it may look awkward in paper, they go together nicely in fabric to create a beautiful 3D shape over your booty.
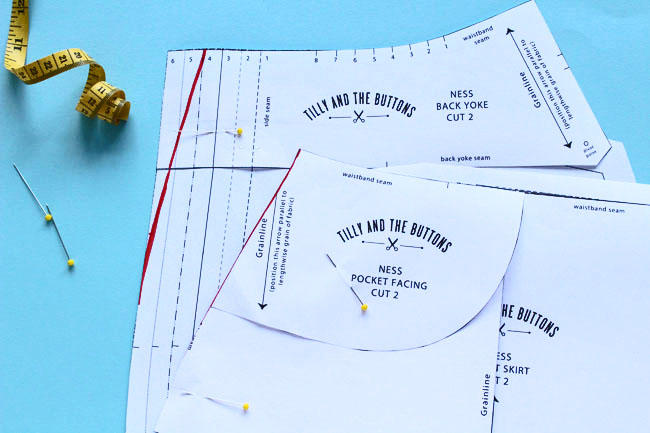
Lay the (still pinned) front side seam over the back, matching up the hip notches and the new front waist point with the same size on the back yoke. Trace around the front hip curve - this saves time trying to redraw an identical shape from scratch! Because you are changing the angle of the side seam, the front and back might now be different lengths. You can fix this while you’re actually making the skirt- match the pieces at the hip notch and trim off any excess at the top edge before attaching the waistband.

Unpin the front pieces. Line up the pocket openings of the pocket bag and skirt, using the hip size line as a guide. Trace a new pocket opening curve using the waist size - you’ll need to extend it out to the hip size once you get to the side seam - and cut that out. This is to ensure the pockets stay in proportion to the skirt.
Tip: Cut through both pattern pieces along the new line and you’ll save time!
If your waist size is bigger than your hip size:
For increases of up to 1.5 sizes, carry out the following alteration. If you need more than this, I would suggest cutting out a bigger hip size, making a toile (mock up in cheapo fabric) and pinning it on you to get the best fit.
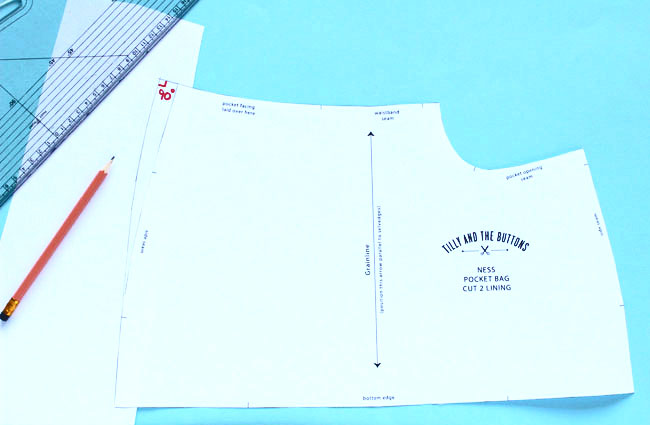
Separate the pocket bag pattern out from the other pieces, but don’t cut it out properly. From the top left corner, measure out and mark your new waist point - for example, to increase the waist by one size measure out 1.25cm (1/2in). Draw a line from this new point to the hip notch - the more you add to the waist, the straighter this line will be. Connect the top edge of the original pocket bag to the new line, making sure the corner point is a right angle, and the length of the line from the hip notch to the top left corner point stays the same as it was originally (you can measure this with a tape measure stood on its side).
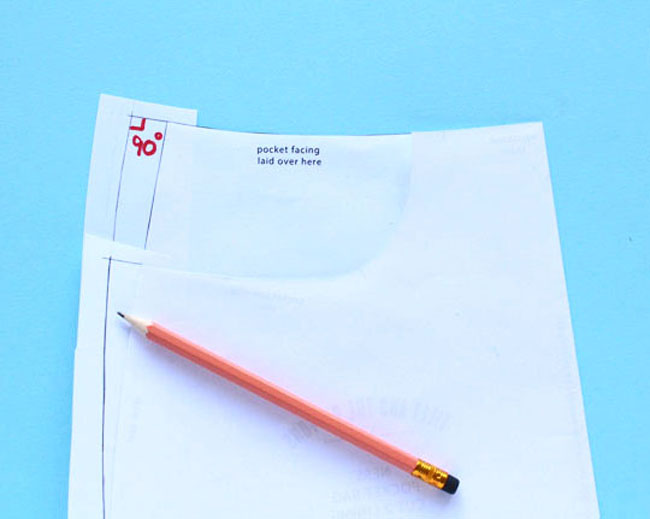
Fold the pocket bag in half to join the side seams, matching the original notches. Trace the new side seam line needed for the pocket opening side of the pocket bag and connect this to the pocket opening corner point. Cut this piece out.
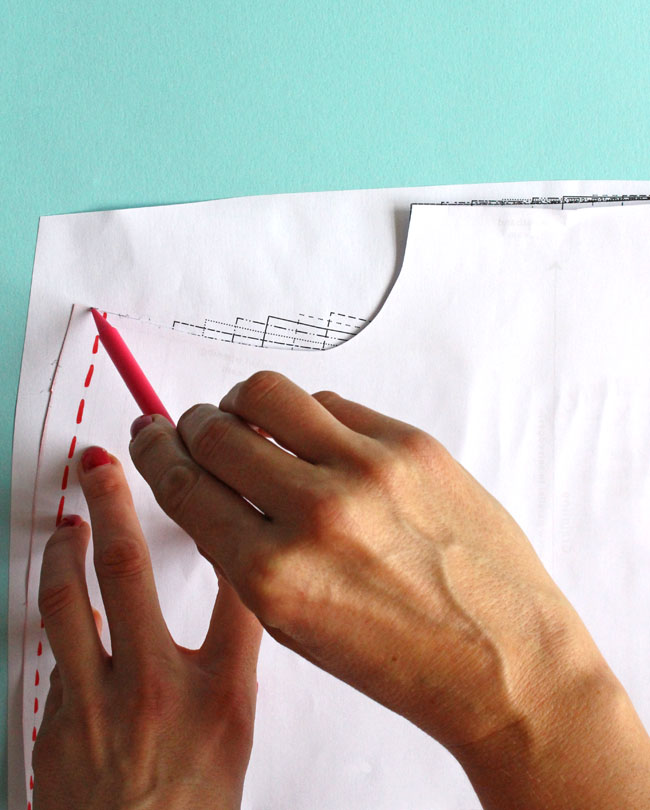
Lay the pocket bag upside down over the front skirt, lining up the pocket opening with your hip-size line. Trace around the new side seam shape.
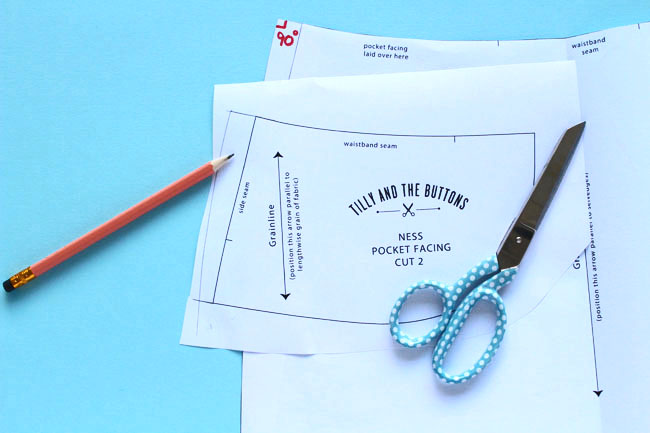
Cut around the pocket facing shape, leaving extra paper around the edges. Trace the new waist shape from the pocket bag and cut it out. Your front skirt pieces are now ready to use! Now for the back...

Cut the back skirt and back yokes out, leaving extra paper on the side seams to make this next bit nice and fast! Overlap the back skirt top edge and yoke bottom edge by 3cm (1 1/4in). The shapes are slightly different from each other, so concentrate on pinning the side seam area - while it may look awkward in paper, they go together nicely in fabric to create a beautiful 3D shape over your booty. Pin in place.
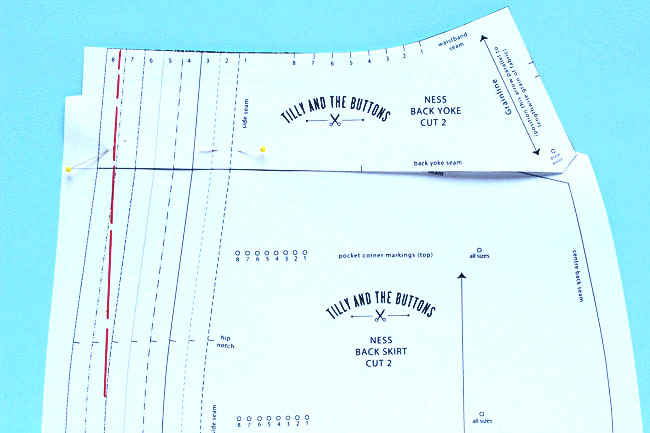
Mark the waist increase amount on the yoke, just like you did with the new front waist. Draw the new side seam in with a ruler, connecting the new waist point to the hipline. The more you add to the waist, the straighter this line will be. Measure the original length from the hip notch and check that the new line is the same length. For the waistband, simply cut it out in the new waist size, and it will fit your altered pattern.
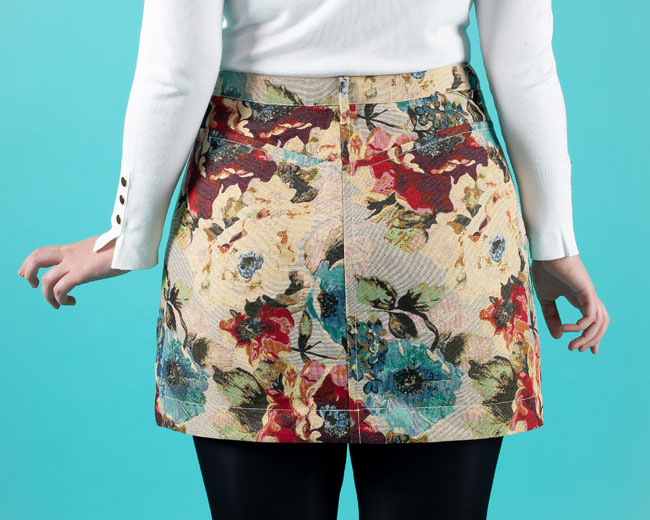
Fitting the back yoke
There are two main reasons why a back yoke alteration might be necessary:
- You need to add more than two sizes to your waist, keeping a smaller hip measurement
- You have what is affectionately termed a ‘sway back’- which basically means your lower back is super curvy, or you are of the curvy-bum persuasion, in which case you always end up with fabric pooling in the small of your back, with no place to go…..
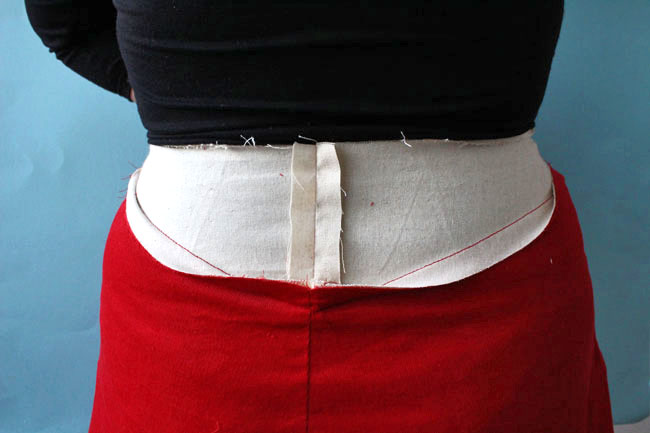
If something is too small, or needs making bigger in certain areas, the path of least resistance is to make a toile that you can slice into. The idea of making a toile can elicit groans from the best of us, but there are certain situations where you really will be saving time (and the heartache of making something beautifully that then does.not.fit.you). Making a yoke bigger is one of these situations!
Happily, the rest of the skirt is largely unaffected, so if you’re really running low on time/patience/insert reason here, go ahead and cut out and assemble everything except the yoke and the waistband.
Tack (baste) it all together, and don’t worry about topstitching at this stage. When you come to cut and sew the yoke, you can either:
- Cut it in calico and tack it into the seam OR
- Cut and sew it in the real fabric, with the knowledge that you will probably end up slicing into this piece and replacing it anyway. If it’s cheap fabric, and you have enough of it, you may prefer to use it instead of an alternative.
So, assemble the skirt, all except the waistband. Try it on.
If the yoke is too tight:
Is it too tight? A dead giveaway is if the side seams are straining at the waist and/or they are pulling towards the back of the skirt.

Take the skirt off and cut through each yoke, roughly halfway between the centre back seam and side seam, stopping at the join with the main back skirt piece.
Put the skirt back on. The amount that the yoke is ‘yawning’ is the amount you need to add. To make sure you are accurate, measure the distance between both cuts and then divide it by two to get the total added (left hand side of the photo).
This bit is definitely easier with an assistant! If you’re doing it by yourself, you can pin a triangle of fabric behind each split, extending the waist the amount you think it needs, try it on and tweak it as needed (right hand side of the photo).
Once you’ve worked out the amount you need to add, let’s get to the pattern alterations….
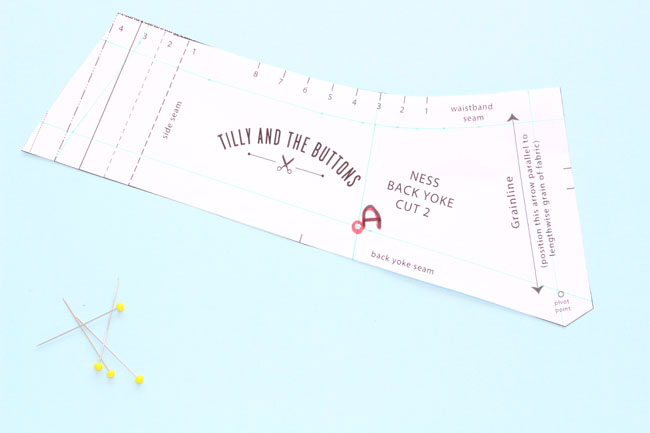
Draw the seam lines on the yoke piece, 1.5cm (5/8in) away from the cut edges, all the way around. For all sizes, draw a line through the yoke from the size 3 waistband notch, through to the lower edge of the yoke. Where this line intersects with the lower seam line, label this point A.
Cut along the line you just made, starting at the waistband seam and stopping at A, then cut up from the bottom edge, through the seam allowance to meet point A, creating a hinge.
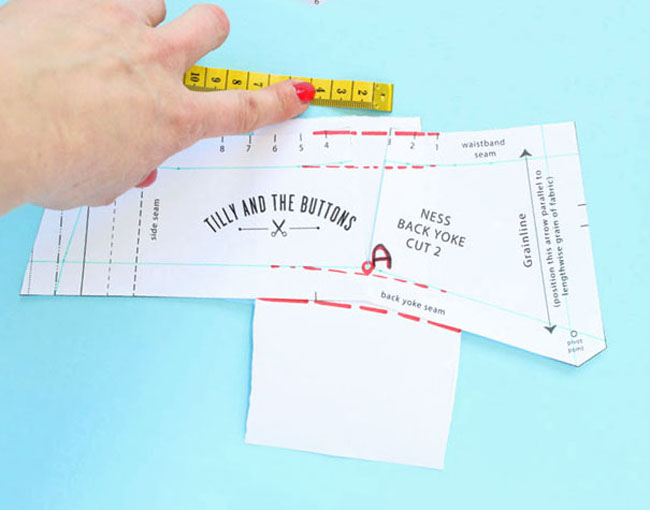
Take a scrap of paper and place it behind the line you just cut. Spread the yoke open here, adding half the total amount of extra that you need to put into the waist. Make sure you measure it at the seam line, not the edge, so that you get an accurate extension!
Tape or glue in place, and then smooth out any pointy bits. You might need to add extra paper behind your pattern piece to do this.
If the yoke is too big:
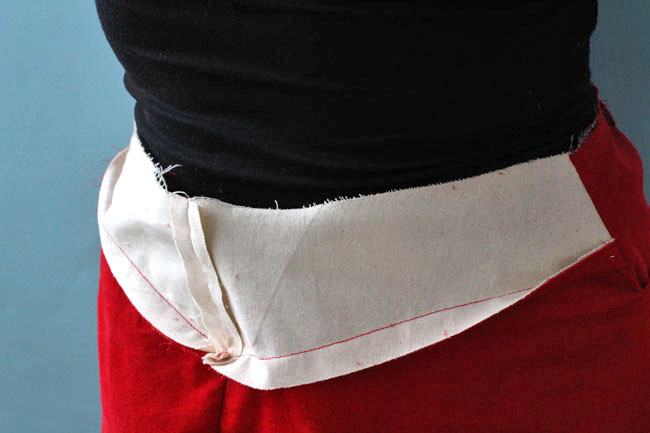
Follow the instructions to prepare the skirt for fitting as above.
Try the skirt on, it’s usually apparent which areas need to be taken in, as the fabric will gape in exactly the places it’s too big. Simply pin the sections that are baggy, then remove the skirt.
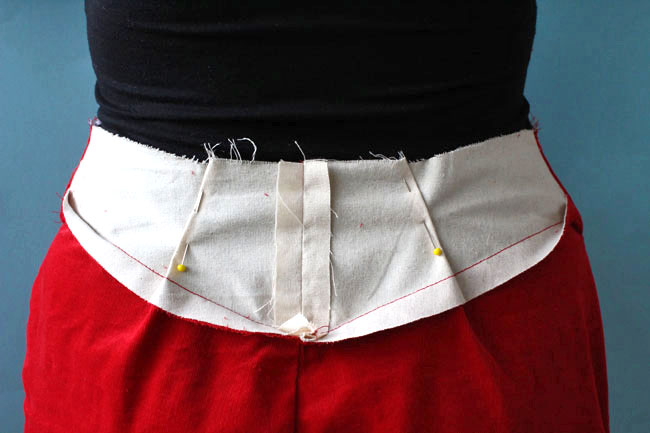
Measure the amount pinned out in each section, add it all together and then divide it by the number of pins to get an average. For example, if I pin two sections - one measures 1.5cm and the other 2.5cm, I add this together and then halve it, getting a total amount of 2cm.

Draw the seam lines on the yoke piece, 1.5cm (5/8in) away from the cut edges, all the way around. For all sizes, draw a line through the yoke from the size 3 waistband notch, through to the lower edge of the yoke. Where this line intersects with the lower seam line, label this point A.
Cut along the line you just made, starting at the waistband seam and stopping at A, then cut up from the bottom edge, through the seam allowance to meet point A, creating a hinge.
Now, cross the yoke over itself, measuring the same amount that you need to reduce the yoke by. Tape or glue in place and smooth out any bumps.
Now to amend the waistband. If you have reduced the waist by one or two sizes exactly, then work out which size that is and cut out the corresponding waistband. If it’s a size and a half, then cut in between sizes at either end of the waistband.
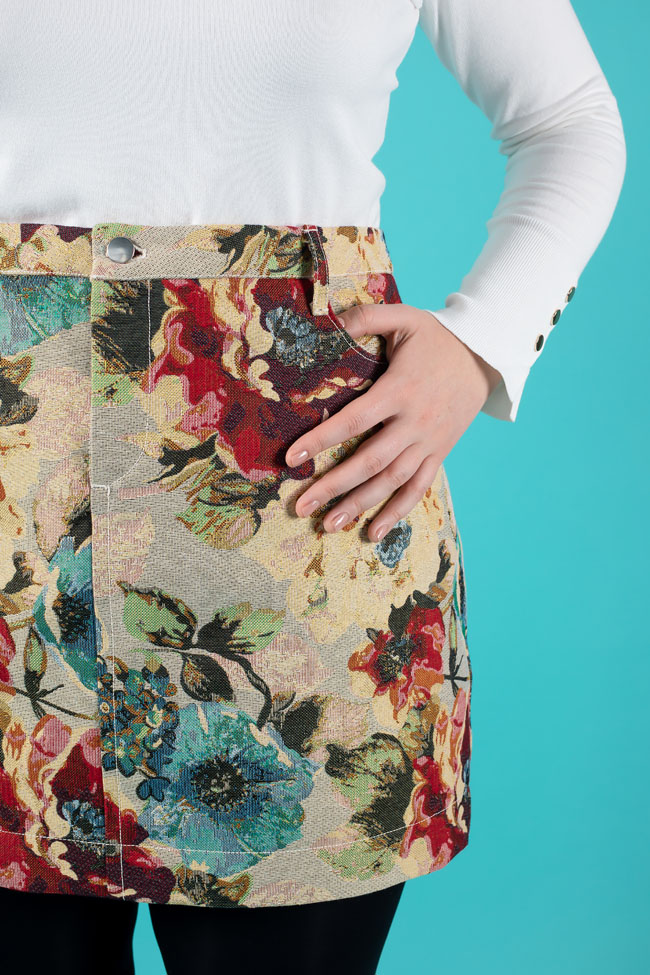
Well done! That’s it for Ness pattern adjustments. I hope this has helped if you do need to make adjustments, but please don't get bogged down or stressed out by fitting. No doubt your finished skirt will look beautiful!
