27 May 2015

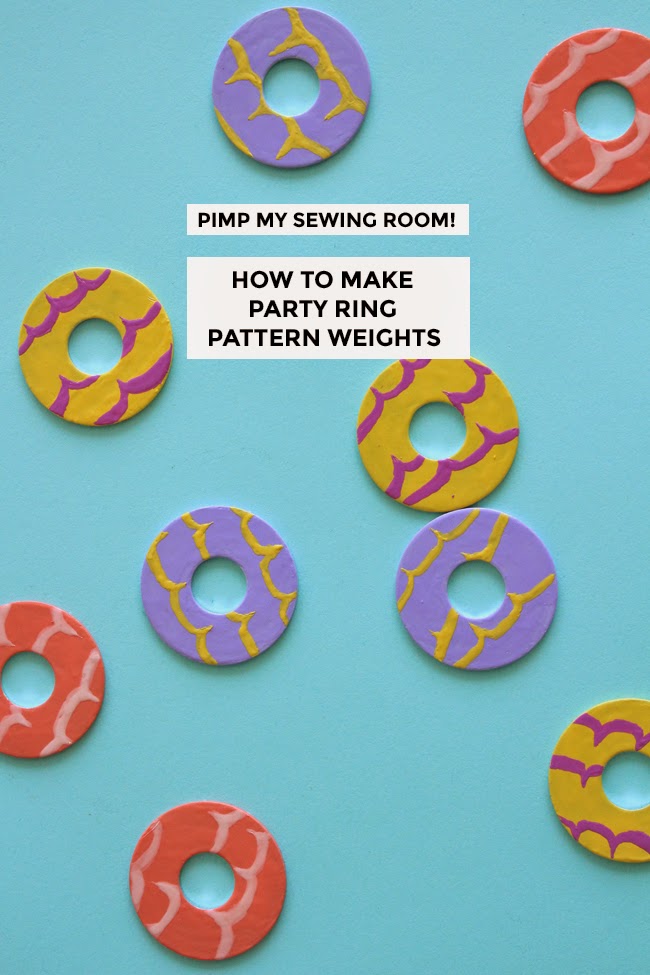
Pimp My Sewing Room! How to Make Party Ring Sewing Pattern Weights

Make Your Own Party Ring Sewing Pattern Weights!

Wanna make sewing pattern weights that look like your favourite childhood biscuits? Of course you do!

How to Make Party Ring Pattern Weights

Pattern weights are a great alternative to pins for holding sewing pattern pieces onto fabric when you're tracing them off or cutting them out with a rotary cutter. They're also useful for tracing patterns onto paper for alteration or preservation purposes (here are my tips on tracing sewing patterns).

Make Your Own Party Ring Sewing Pattern Weights!

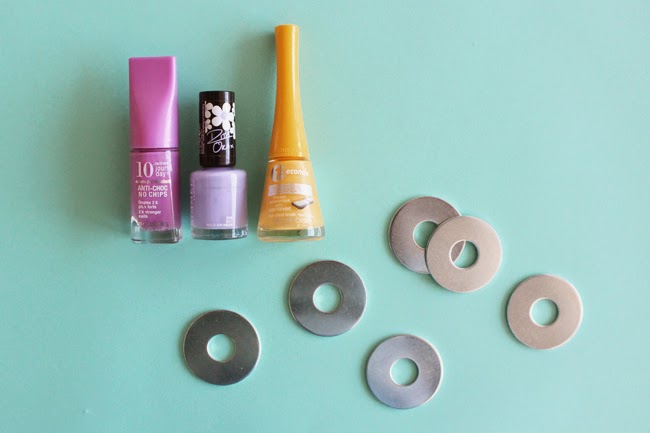
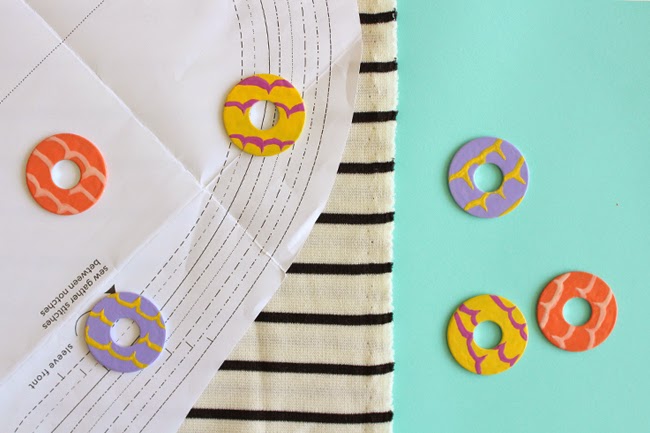
Until recently, I've just used whatever I had to hand as makeshift pattern weights - scissors, pin holders, a plate o' jaffa cakes (ALWAYS to hand)... A lot of people swear by washers, so a quick trip to B&Q and a nail polish makeover later, and these babies were born!

Make Your Own Rainbow Sewing Pattern Weights!

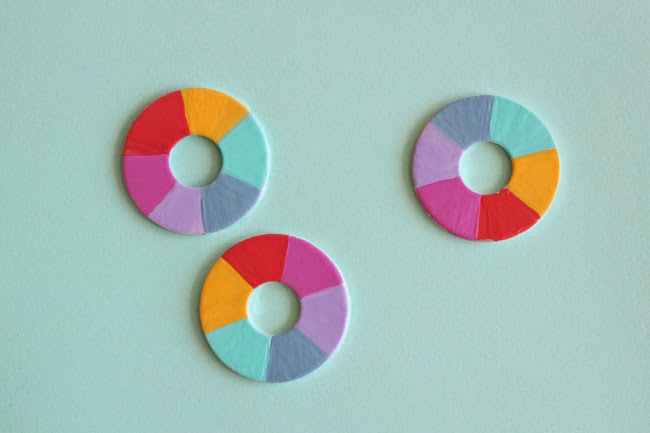
I started by making rainbow pattern weights, because rainbows...

Make Your Own Party Ring Sewing Pattern Weights!

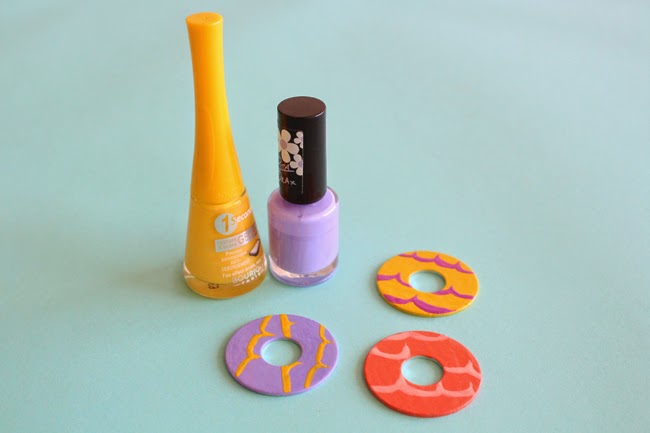
... and then asked Laura to make some Party Ring ones (it's a tough job etc). They're inspired by my friend Lauren who can't get enough of Party Rings.

Make Your Own Party Ring Sewing Pattern Weights!

A few notes on making these:

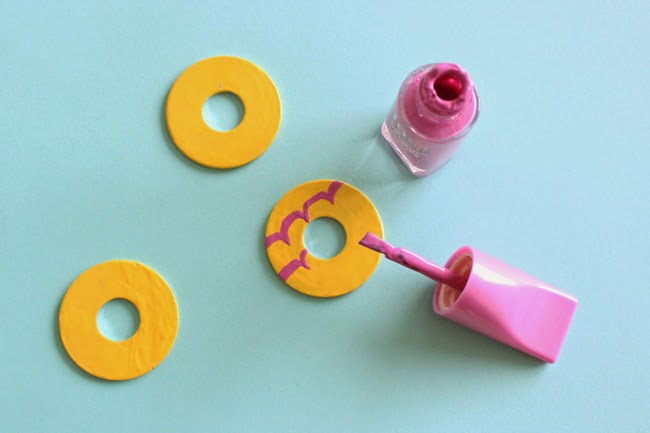
1) Nail polish on metal takes waaaay longer to dry than you might think. Don't stack these on top of each other for a few days, particularly if you've painted the underside. I did and they stuck together (boo).
2) Laura found a pin helpful for making the marbled icing effect on the Party Ring ones. (Mmm... marbled icing...)
3) Erm... that's it!

Make Your Own Sewing Pattern Weights!

If you make your own, we'd love to see! What design would you go for?

PS. We've got a new sewing pattern coming out next week, along with something else extra exciting. Join our email list if you wanna be first to know what they are! (Eep!)

PPS. Liked this? Make an ironing board cover to match!

20 May 2015

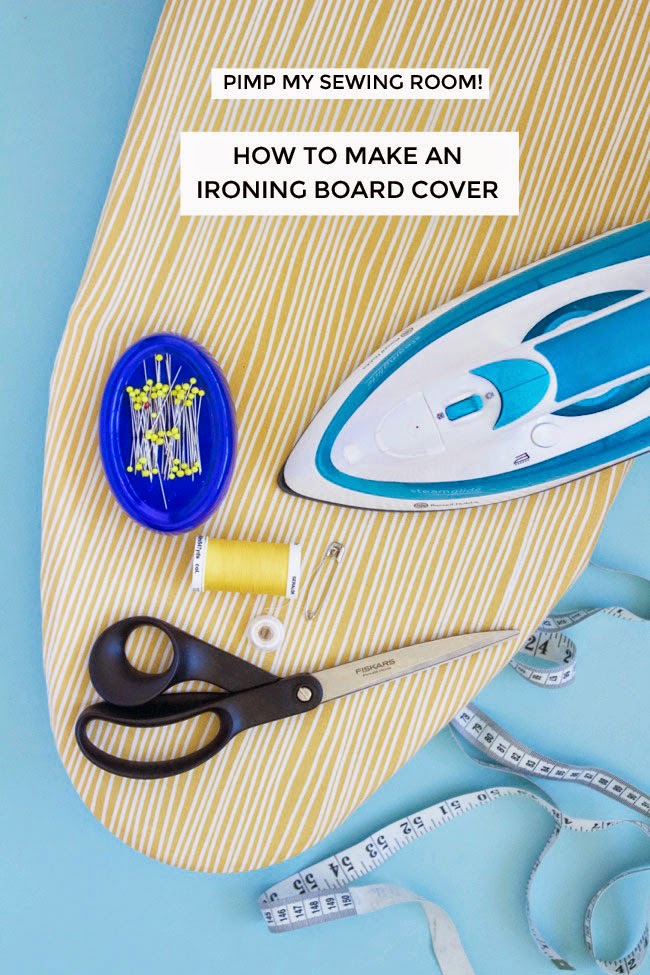
Pimp My Sewing Room! How to Make an Ironing Board Cover

How to Make an Ironing Board Cover

Do you like the cover that came with your ironing board? Is it still clean, or has it got interfacing gunk stuck all over it like ours did (ssshhh!)? Vanessa here today – I recently recovered the ironing board at T&TB HQ in a gorgeous yellow fabric, and thought I’d share with you how to go about it. A nice and easy project that will make you smile whenever you press those seams!

How to Make an Ironing Board Cover

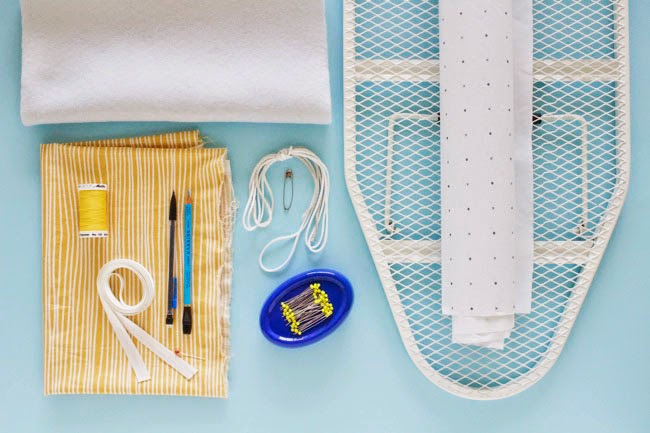
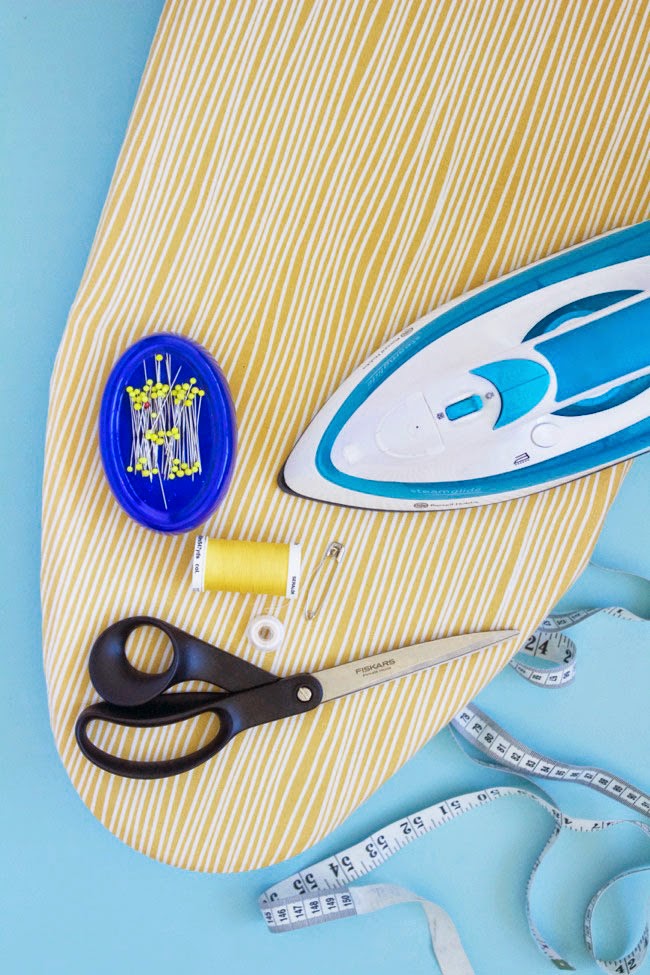
You will need:

  • Ironing board
  • Enough fabric to cover it – medium weight cotton is ideal (the fabric I used is from Ray Stitch)
  • Matching thread
  • Heat protective wadding – or reuse the stuff that’s already on your ironing board, like I did
  • Bias binding – a bit longer than the circumference of your ironing board
  • String – a bit longer than the circumference of your ironing board
  • Medium-large safety pin
  • Sewing machine and basic tools, including a chalk pencil or washable pen
  • Optional: Pattern paper
  • Optional: About 40cm (15in) of 1cm (3/8in) wide elastic

How to Make an Ironing Board Cover

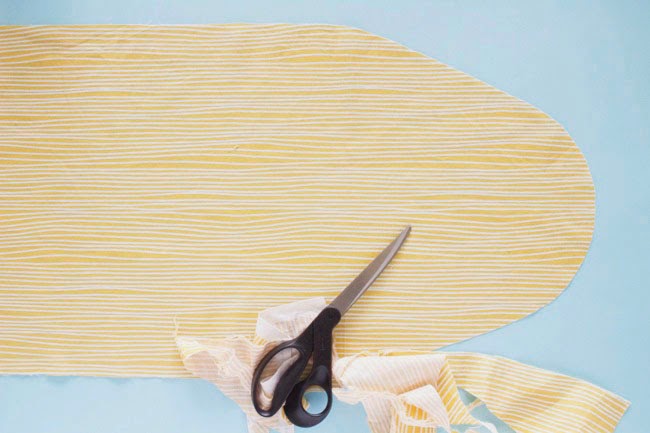
Remove your current ironing board cover. Lay your ironing board onto your fabric (or pattern paper if you want to make another one for later) and draw around it, 5cm (2in) away from the edge.

How to Make an Ironing Board Cover

Cut your marked shape out of the fabric. If you're adding new wadding, cut it to the exact size of the ironing board (I'm just going to add the stuff that's already on the board).

How to Make an Ironing Board Cover

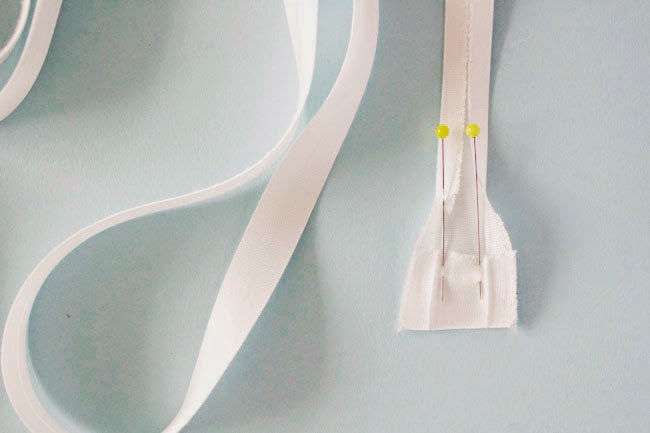
Open out the bias binding and press one of the short ends under about 1cm (3/8in), wrong sides together.

How to Make an Ironing Board Cover

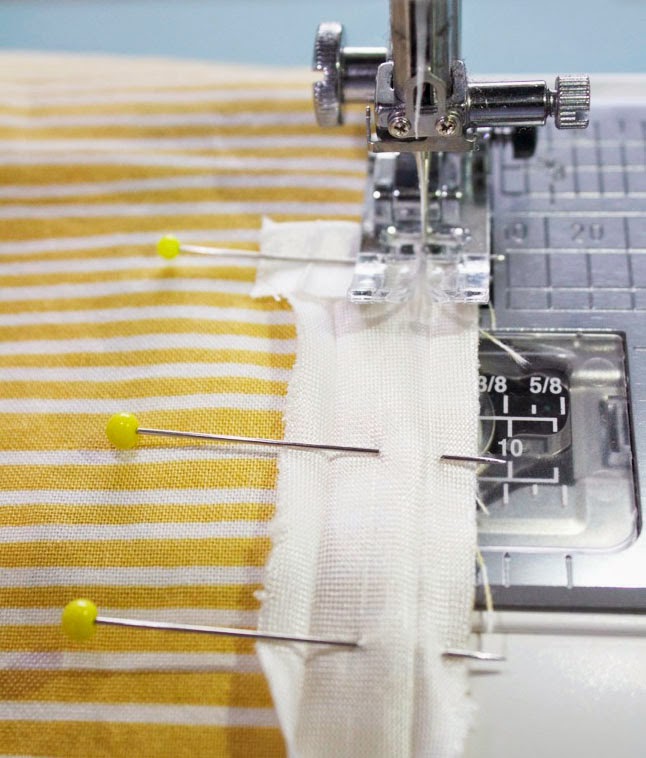
With one of the long sides of the binding opened out, pin it to the raw edge of the fabric, right sides together. With the short end still pressed under, start stitching the binding to the fabric together along the fold nearest the raw edge...

How to Make an Ironing Board Cover

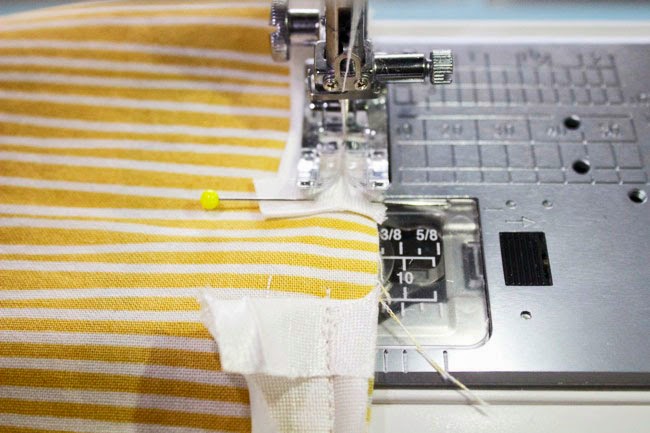
When you are about 2cm (1in) from where you began, stop stitching and cut your binding with about 4cm (1½in) to spare. Fold this end under, pin and press with your fingers, then stitch over the folded edge, guiding it under the needle carefully.

How to Make an Ironing Board Cover

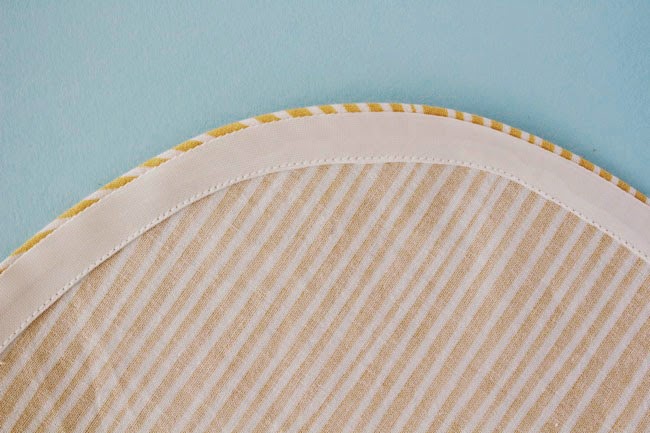
Press the binding away from the fabric, then press it towards the wrong side of the fabric, rolling the seam under slightly. Pin the binding to the fabric, then edgestitch approximately 2mm (1/8in) from the folded edge.

How to Make an Ironing Board Cover

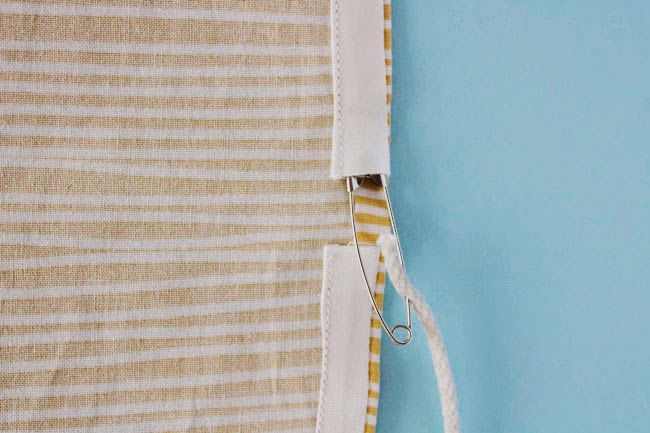
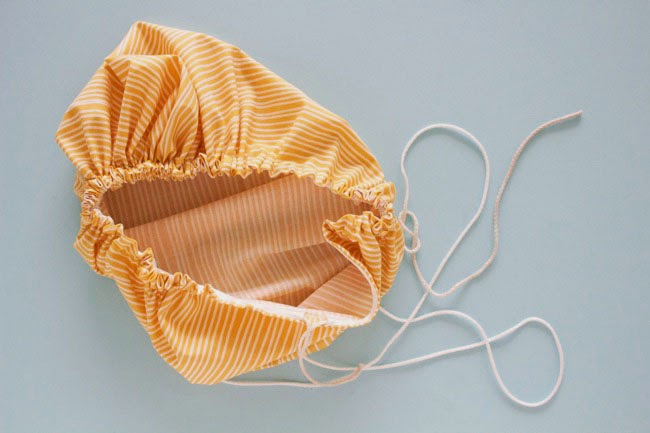
You should now have a little self enclosed tube running around the underside of your fabric. Attach a safety pin to one end of the string. Post it into the tube and using both hands to push and pull, guide it right the way around the casing until it pops out the other side – make sure the end of the string doesn’t vanish inside the tube!

How to Make an Ironing Board Cover

And now you will now have something resembling a shower cap ☺

How to Make an Ironing Board Cover

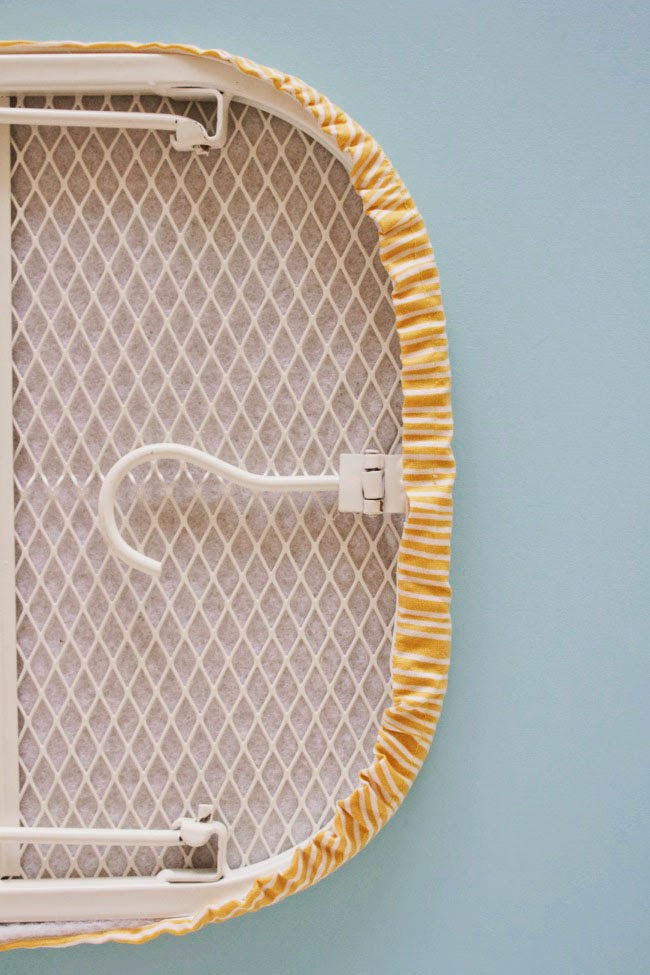
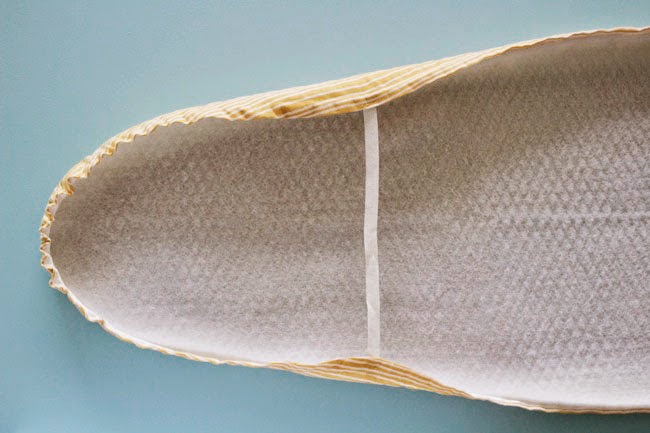
Again making sure neither end of the string vanishes back into the casing, distribute the gathers out until it takes the shape of your ironing board. Remember – more gathering = more curves. Position your ironing board inside the cover, with the wadding in between, then tighten the string until it fits snuggly around the base. Tie a double bow as tight as you can to secure.

How to Make an Ironing Board Cover

For extra security, you can stitch a piece of elastic to either side of the cover to secure it – not essential, I added this as an afterthought.

How to Make an Ironing Board Cover

Give your new ironing board an iron (not something I ever thought I would be suggesting people do, but as zen a task as any). You now have a beautiful, clean and un-scorched ironing board!

This project has given us the bug for tarting up more stuff around the studio, so look out for more posts in our ‘Pimp Your Sewing Room’ series!

PS. Have you seen we've got new dates for our sewing workshops? Come and brush up your skills at our studio in South London. (You can use this ironing board if you like!)

13 May 2015

Your Makes!

Hello! Laura here. It’s our favourite time again, where we get to look at some of the gorgeous clothes you've been creating with our patterns. The Your Makes post has come a little bit later than usual, as we have been busy working on some new and exciting projects, so it's a bumper edition with even more amazing makes to swoon over...

Arielle sewing pattern

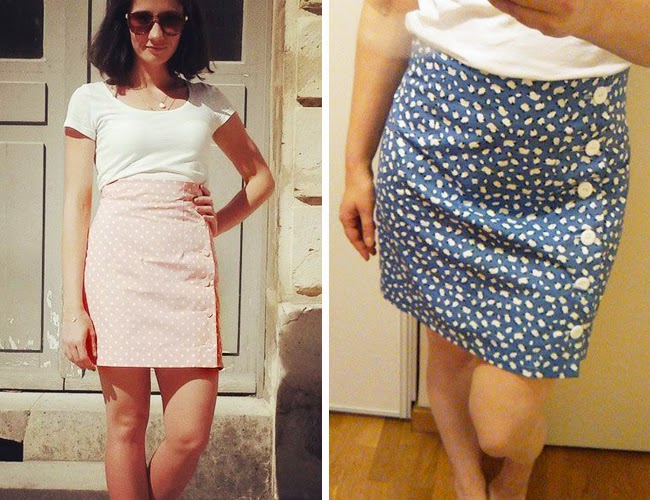
What’s that we see? Our brand spanking new pattern, the Arielle skirt! The new pattern launched just a few weeks ago, but we have seen some great Arielle’s already. Keeping it short, are Charlou with her adorable pink polka dot version, and Emilie who has used a very cute sheep print. Yes, sheep!

Arielle sewing pattern

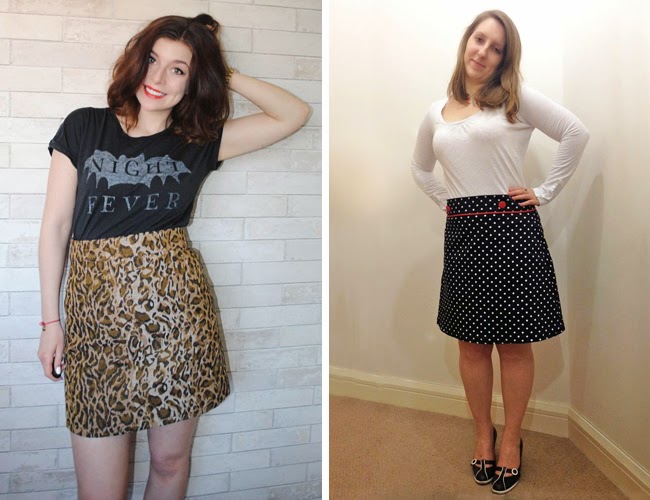
The longer version of the Arielle skirt makes a great wardrobe staple. Jane has also chosen denim for her Arielle, brightening up with some fun red buttons. Meg’s Arielle might look black, but close up the fabric has navy, maroon and green running through the weave.

Megan dress - sewing pattern from Love at First Stitch

We have a huge polka dot obsession here at T&TB (it’s getting serious) and are loving Kylie’s Megan dress, from Love at First StitchEvi has added her own touch to her Megan dress by creating a waistband complete with pretty contrast white piping.

Coco sewing pattern

We love Katie, aka Skunkboy’s, blog and her awesome personal style. She looks amazing in her floral print Coco, which she made for an A Beautiful Mess e-course, accessorized with some fun purple tights. Amy has made the top version of the Coco with optional funnel neck in a classic Breton stripe.

Delphine skirt - sewing pattern from Love at First Stitch

Who doesn’t love a bit of animal print? Fritha has used some super cool leopard fabric for her Delphine skirt (pattern in Love at First Stitch.) We all know men love to sew too, and Marc has created this gorgeous Delphine for his lucky girlfriend Sophie, with added buttons and piping. Cuteness!

Delphine skirt and Margot PJs - patterns in Love at First Stitch

Anna has made a retro seventies-inspired Delphine skirt in denim with added button detail down the front. Tilly is totally going to make one just like this! Katja has created some very stylish ‘house trousers’ using the Margot PJs pattern, also from Love at First Stitch.

Miette skirt sewing pattern

We want to own EVERYTHING that Sandee, aka Royalty Girl, makes as she always adds some extra creative touches. She has adapted the Miette sewing pattern into a stunning pinafore dress and has added some extra nautical charm to a red Miette skirt with an appliqued anchor. Adorbs!

Miette sewing pattern

Claire has used a wild jungle print in summery pastel colours for her Miette skirt - love it. This pattern is super easy to make and a perfect project for beginners. Suzanne’s lovely red Miette is her first ever dressmaking project – who would have guessed?!

Mimi blouse - sewing pattern from Love at First Stitch

A unique print can make a garment into something really special. Jenny has used a honeycomb fabric for her Mimi blouse (pattern in Love at First Stitch), and if you look closely you will see an added bee detail. Frances has made a Mimi blouse with fabric covered in sewing scissors – very fitting! (Sewing bee collage??)

Lilou dress - sewing pattern in Love at First Stitch

Floral prints are perfect for this time of year and look especially lovely made into a Lilou dress (pattern in Love at First Stitch). Amy has chosen a delicate ditzy pattern, while Sandra has gone all out with this bold tulip design. Beautiful! Bring on wedding season, we say.

Mathilde blouse sewing pattern

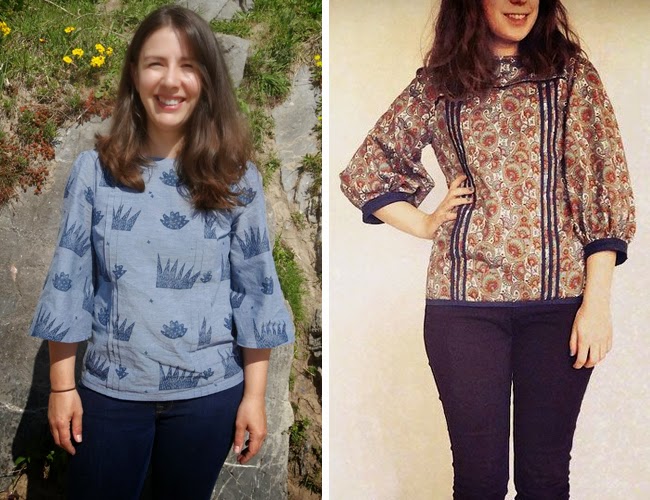
Adding special touches to your makes is definitely worth the extra effort. Marilla has hand-printed the chambray fabric used for her Mathilde blouse, and has chosen to leave off the cuffs. Becky has added bias binding on the tucks on her Mathilde to make them pop against the printed fabric.

Francoise sewing pattern

Last but not least, the sleeveless version of the Francoise sewing pattern is great for the warmer weather. Bianca has bound the hem of her Francoise dress to match the cute collar - we LOVE this. Lauren has also been super creative by hand-sewing some teeny tiny lace flowers over her Francoise, and has teemed it with an amazing beehive for full-on sixties chic. Soooo cute.

It was sooo hard to choose just a few of your creations to post this month, so please go and check out all the other amazing makes in our Maker Galleries on Pinterest. If you've sewn something with a Tilly and the Buttons pattern, send us your best photo for the Maker Gallery - you can tweet us, email us or send us a link through this page (unfortunately we can't pin from Instagram). We are very excited to see what you get up to!
6 May 2015

Polka Dot Arielle Skirt

Polka dot Arielle skirt - sewing pattern from Tilly and the Buttons


Polka dot Arielle skirt - sewing pattern from Tilly and the Buttons

Are you participating in Me Made May? In case you don't know what I'm talking about, it's a challenge dreamed up by Zoe - who teaches some of our workshops here at T&TB HQ (new dates up now if you wanna come!) - to wear your self-stitched clothes every day through the month of May. I've been playing along for five years now, and always find it a useful way of figuring out where the gaps are in my handmade wardrobe.

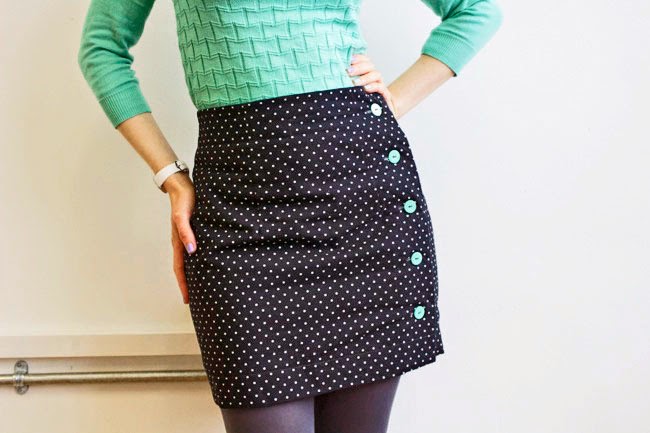
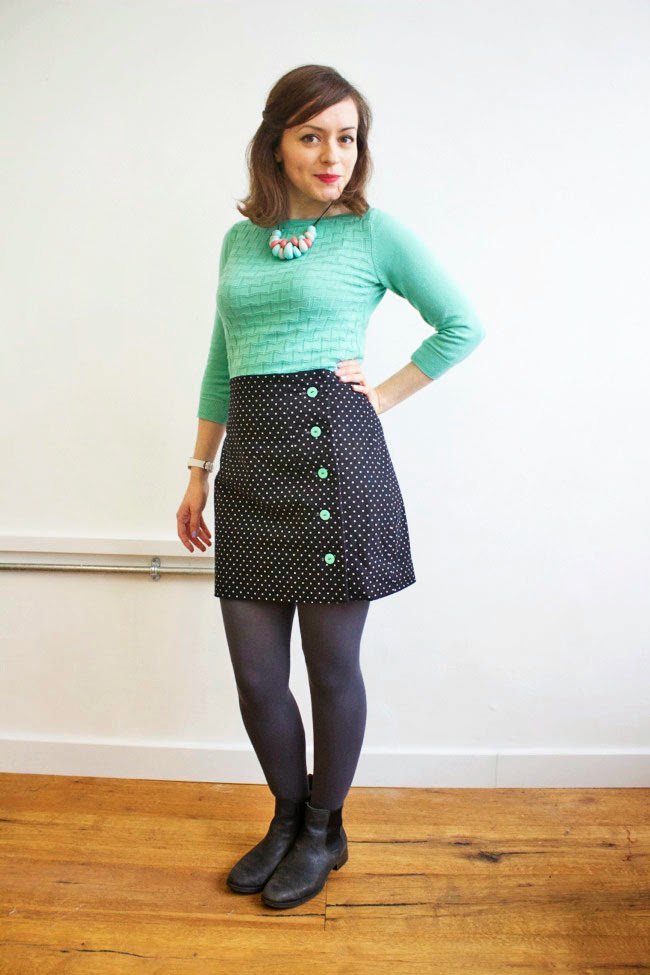
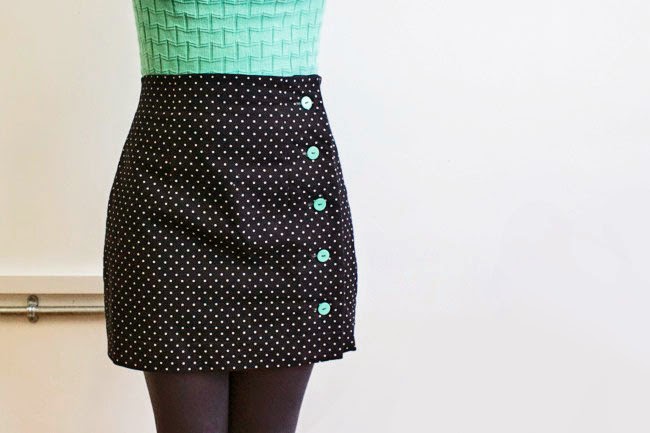
I haven't been documenting my participation this year, mainly because I'm mostly wearing samples of patterns that we haven't released yet! But here's one I can show you - a polka dot Arielle skirt, the mini version of the pattern. Yeah it's pretty chilly in London at the moment, hence the sweater and tights. I'm also wearing a vest, if you must know.

Polka dot Arielle skirt - sewing pattern from Tilly and the Buttons

I found the fabric in one of the shops on Goldhawk Road. I'm terrible at remembering the names of the individual shops, but it's the one towards the Japanese restaurant, you know, the one with all the fabric. Nope. It's gone. Anyway, it's a cotton canvas with a lovely texture to it. The turquoise buttons were sitting in my stash, just waiting for a button-showcasing project like this one.

Polka dot Arielle skirt - sewing pattern from Tilly and the Buttons

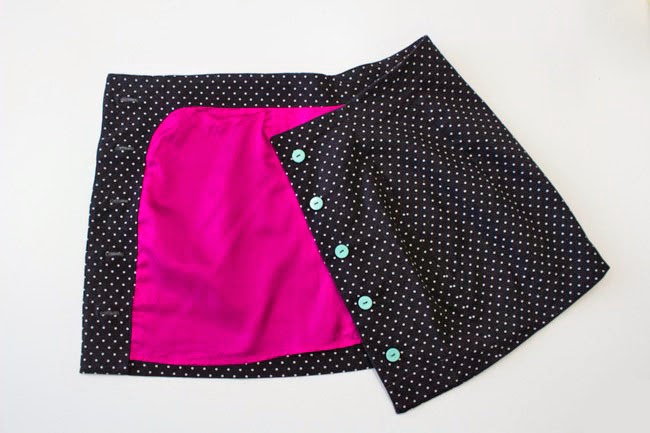
Ooh yes, and it's got a slightly mad lining! This hot pink lining fabric was also sitting in my stash. I love the way it looks against the more sober monochrome shell fabric.

BTW I am LOVING seeing all the pics of people wearing the clothes they've made with T&TB patterns for Me Made May. So keep tagging me in on Instagram and Twitter - looking through them over breakfast is such an inspiring start to my day!

[Soundtrack: 'Playground Love' by Air]