27 April 2022

Five Tips For Spring Cleaning Your Fabric Stash

Five Tips For Spring Clean Your Fabric Stash

With blossoming trees and lighter, longer days at this time of year, many of us feel the urge to give our homes a good spring clean. And there's no reason to leave out our sewing spaces, as we sewists can certainly gather a wide variety of bits and bobs that are due a seasonal sort out... Yes, we're looking at you, fabric stash.
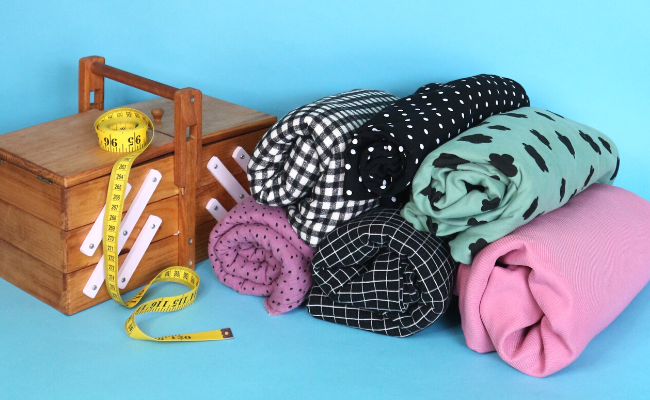
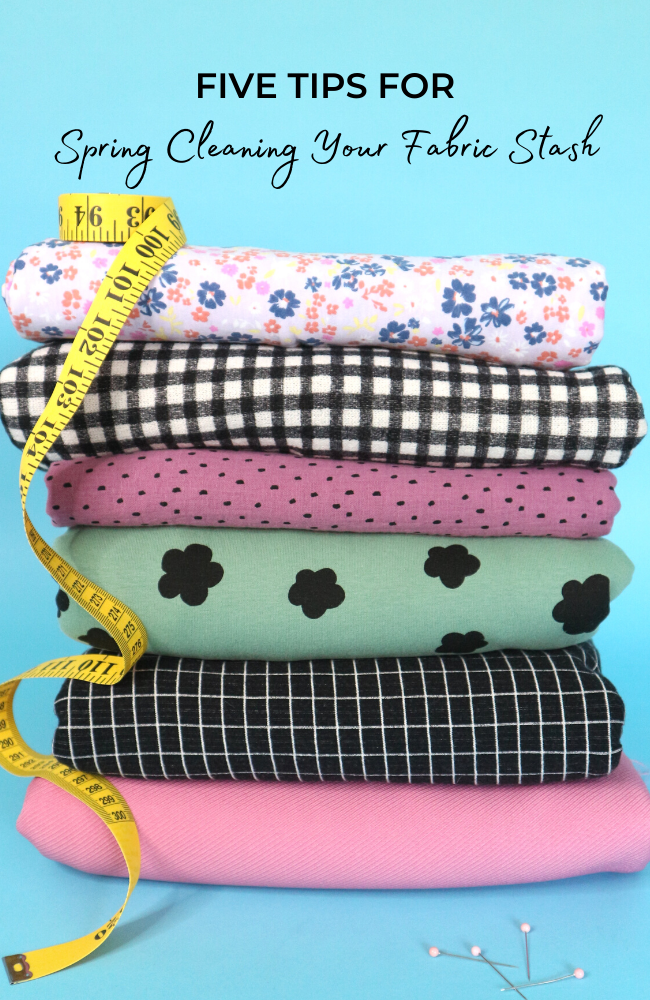
Five Tips For Spring Clean Your Fabric Stash - pile of fabrics

Acquiring a large collection of fabrics can be part and parcel of dressmaking, and fabric shopping is a separate hobby in itself, right? So it's no surprise our once humble fabric storage solutions quickly become overwhelmed. Not to mention the bags of scraps we hoard in case they come in handy someday (spoiler: they rarely do).

Sometimes a quick tidy isn't always the solution, sometimes you need to face facts and declare a destash! Whilst toying with the idea of simply buying another shelving unit for the overspill might sound like a plan, we understand that this quick fix won’t get to the root of the problem. Let's face it, for a lot of us, there are not enough days in the week to work our way through our fabric stash at a reasonable rate. 

It's time to take action! If you're feeling overwhelmed and uninspired by your fabric stash, here are five tips to spring clean your fabric stash...
Five Tips For Spring Clean Your Fabric Stash - pile of fabrics

1. CREATE A "CAPSULE STASH"

A “capsule stash” is in the spirit of the “less is more” wardrobe principle. Our taste in fabrics can certainly change over the years, so weed out any pieces that don't match your current style - they deserve to be loved by someone, after all. Or, if you've discovered certain colours don't suit your skin tone as well as others, set those pieces aside because we want our fabrics to bring out the best in us!

20 April 2022

Erin Dungarees Sewalong: See The Buttons & Janome's Team Makes!

Erin Dungarees Sewalong: See The Buttons & Janome's Team Makes!

Our cute and comfy Erin dungarees sewing pattern became an instant hit amongst Team Buttons, we've racked up quite the number of dungas between us now! To celebrate the end of the Erin dungarees sewalong, supported by our friends at Janome, both teams are getting involved in sharing our Erin makes with you here on the blog. 

So keep on scrolling for a whole host of Erin dungarees in a wide range of fabrics and styles, demonstrating just how versatile Erin can be! 

Team Buttons


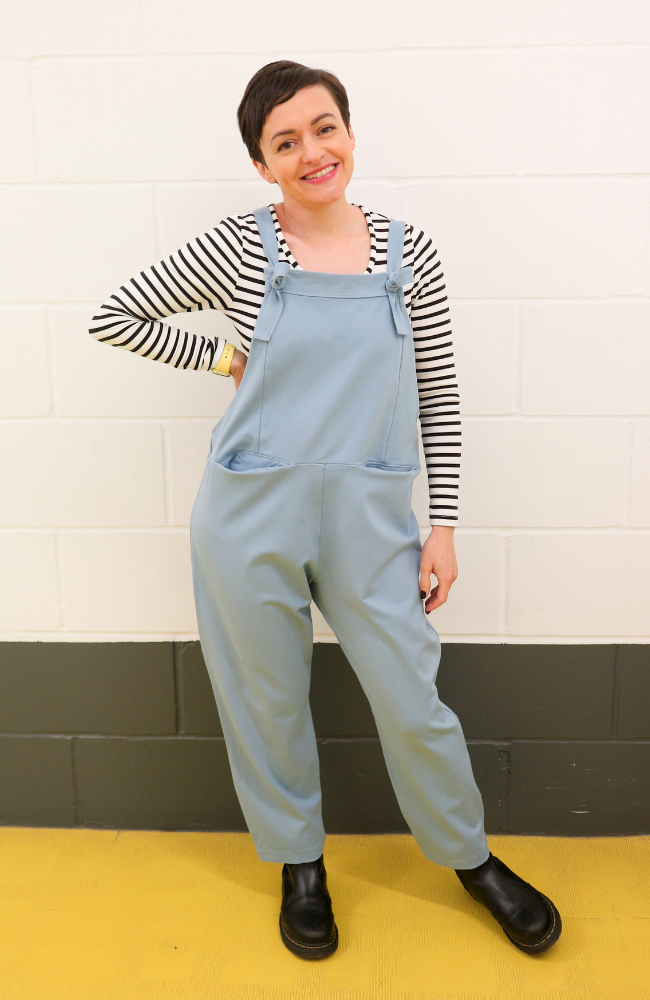
Tilly wears a pair of Erin dungarees in light blue ponte roma

Tilly made her first pair of Erin's from a gorgeous muted blue Ponte Roma fabric.

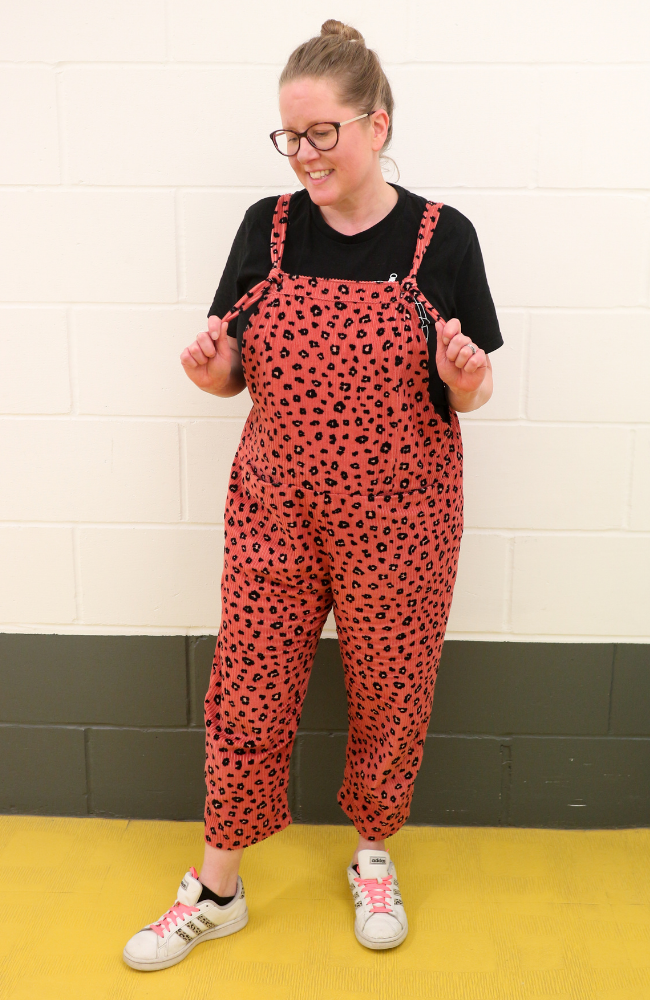
Kate wears a pair of Erin dungarees in coral leopard print needlecord

Kate made her dream dungas with a vibrant leopard print coral needlecord.

15 April 2022

Erin Dungarees Sewalong: Finishing

Erin Dungarees Sewalong: Finishing

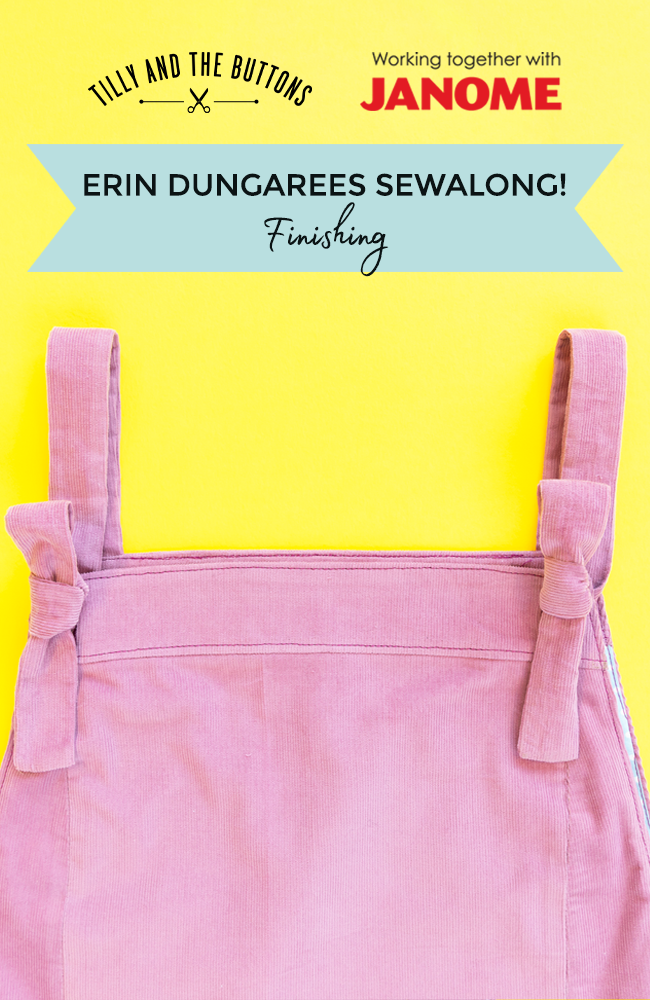
It's time to finish our Erin dungarees or overalls! We're at the last step of the Erin sewalong, which has been made possible thanks to support from Janome.

In this part of the Erin sewalong we'll cover:

  • Hemming
  • Sewing the buttonhole version
  • Finishing the tie shoulder version


Follow the Erin sewalong!


Tilly and the Buttons Erin dungarees or overalls sewing pattern in sizes UK 6-34

Watch the video for this step of the Erin sewalong here:


Erin Dungarees Sewalong: Hemming

HEMMING

Try on your dungarees and check you’re happy with the length, bearing in mind the full length or cropped legs will be 25mm (1in) shorter and the shorts will be 10mm (3/8in) shorter once hemmed. If you’d rather they were shorter, you can trim them down. If you’d rather they were longer, you can use a smaller hem allowance, and make a note to lengthen them next time you make them.

If you’re using woven fabric, finish the raw edges of the leg hems with zigzag stitch or an overlocker. Press the hems under to the wrong side by 25mm (1in) if you’re making the full length or cropped legs or by 10mm (3/4in) if you’re making the shorts. Pin in place.

Topstitch the hems using a 20mm (3/4in) seam allowance for the full length or cropped legs or 7mm (1/4in) for the shorts. Topstiching just means sewing visible stitches through the layers. If you’re using woven fabric, you can use a straight stitch on a regular sewing machine. If you’re using a knit fabric, you can either use a twin needle or an even zigzag stitch – try setting it to 2.5 length by 2.5 width.

13 April 2022

Erin Dungarees Sewalong: Assemble the Legs and Pockets

Erin Dungarees Sewalong: Assemble the Legs and Pockets

It's time to sew the legs and pockets of our Erin dungarees or overalls! We're breaking down the Erin sewalong into manageable chunks, with support from Janome - so no matter how much time you have to sew today, you can make some progress with your project. We're SEW close to finishing our dungas now...

In this part of the Erin sewalong we'll cover:

  • Making the legs
  • Attaching the pockets
  • Sewing the bodice and legs together


Tilly and the Buttons Erin dungarees or overalls sewing pattern in sizes UK 6-34

Watch the video for this step of the Erin sewalong here:

Erin Dungarees Sewalong: interfacing pockets

INTERFACING THE POCKETS

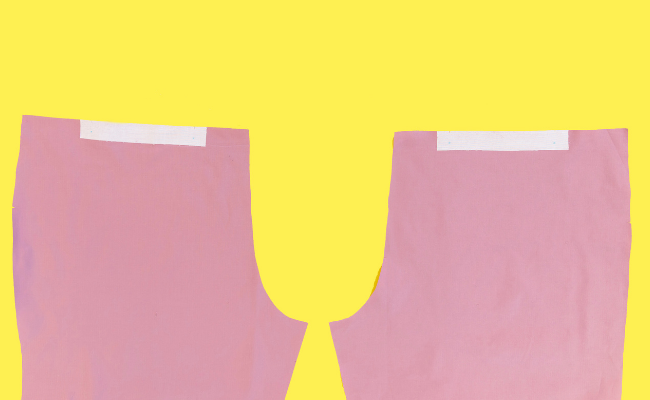
You should have cut two pocket interfacing strips in, you guessed it, interfacing, and marked on the pivot points. We’re going to apply them to the top edges of the front legs where the pocket openings will be – the interfacing will add some structure to the pocket openings so they stand up to wear and aren't too droopy.

The front legs are the ones that have single notches along the crotch curve (the back legs have double notches here). With the front legs wrong side up, lay the pocket interfacing strips over them at the waistline, or top edge, positioning them so the pivot points are 15mm (5/8in) from the waistline raw edge and aligned with the pocket bag notches on the legs. The rough, glue side of the interfacing should be face down. Press them in place with a dry iron. Snip the pocket bag notches again if you can’t see them.

11 April 2022

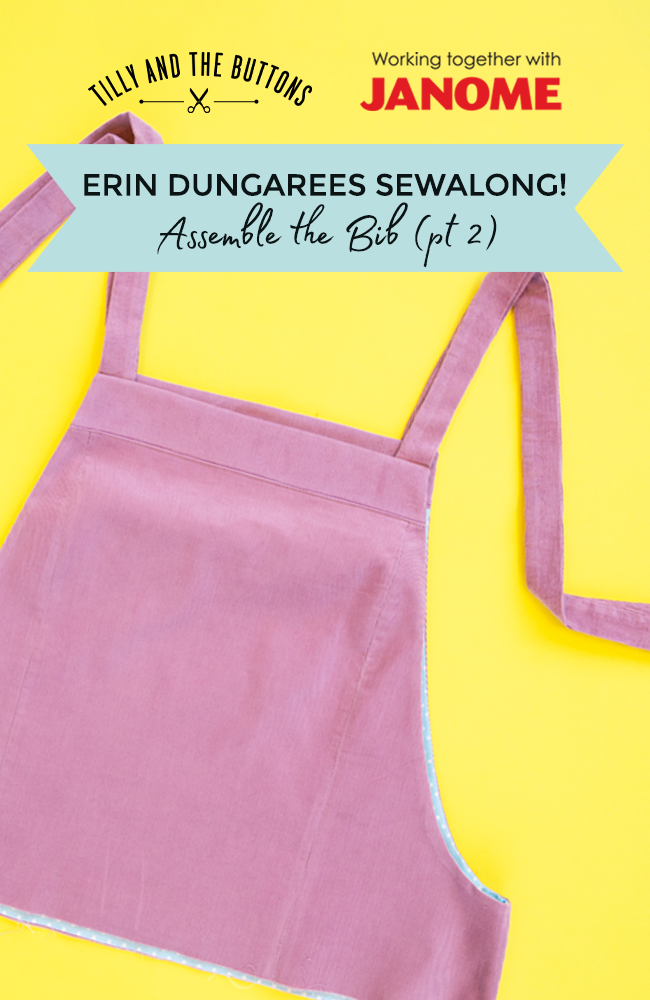
Erin Dungarees Sewalong: Assemble the Bib (Part 2)

Erin Dungarees Sewalong: Assemble the Bib (Part 2)

Let's continue to sew the bib for our Erin dungarees or overalls! We're breaking down the Erin sewalong into manageable chunks, with support from Janome - so no matter how much time you have to sew today, you can make some progress with your project.

In this part of the Erin sewalong we'll cover:

  • Making the straps (all versions)
  • Attaching the straps to the bib
  • Sewing the bib and bib lining together
  • Edgestitching


Tilly and the Buttons Erin dungarees or overalls sewing pattern in sizes UK 6-34

Watch the video for this step of the Erin sewalong here:


Erin Dungarees Sewalong: making the straps

MAKING THE STRAPS


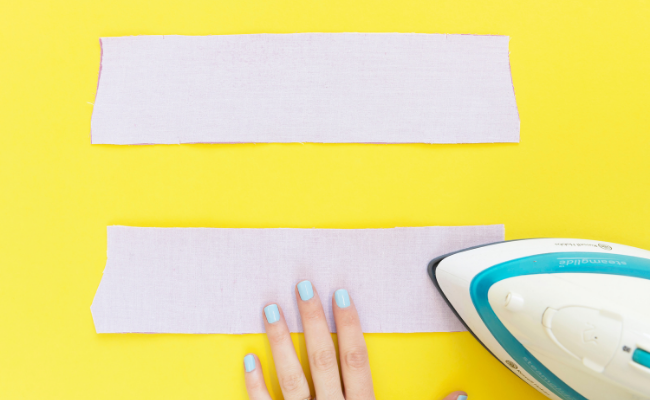
Let’s start by making the dungaree straps. You’ll need four straps if you’re making the shoulder tie version or two straps for the buttonhole version. Fold each strap lengthways, right sides together, and press the fold. 

Pin together the long raw edges. We’re going to sew across one short end, starting at the fold, pivoting at the corner, then up the long edge, leaving the other short end unstitched. Sewing machines love sucking narrow pieces like this under the needle plate so, if you find that happens, don’t worry - pull it out, unpick any knots, then start again, this time starting a little way in from the edge – then you can sew back over the gap at the end, starting from the other direction.

So, we’re sewing across one short end first - start at the fold, back tacking, pause sewing 15mm (5/8in) before the raw edge, keep your needle down to keep the project in place, then raise your presser foot and pivot the strap so the long edge is pointing towards you. Lower the presser foot, then sew up the long edge. Back tack just before the end. Remember to leave the other short end unstitched.

If you’re using an overlocker, you can simply overlock one seam at a time rather than pivoting at the corner. 

If you used a regular sewing machine, trim and grade the seam allowances (remember, grading means trimming the seam allowances to different widths to cut down on bulk). Snip diagonally across the corners at each short, stitched end, taking care not to cut through the stitches. 

8 April 2022

Erin Dungarees Sewalong: Assemble the Bib (Part 1)

Erin Dungarees Sewalong: Assemble the Bib (Part 1)

Now it's time for the fun stuff! Let's get sewing the Erin dungarees or overalls - woo! 

We're breaking down the Erin dungarees sewalong, supported by Janome, into manageable chunks so no matter how much time you have to sew today, you can make some progress with your project.

We're starting with assembling the bib of the dungas. In this part of the Erin sewalong we'll cover:
  • Applying interfacing to your facings
  • Staystitching the bib underarm curves
  • Stitch settings for woven and knit fabrics
  • Starting to assemble the front bib


Tilly and the Buttons Erin dungarees or overalls sewing pattern in sizes UK 6-34

Watch the video for this step of the Erin sewalong here:


Erin Dungarees Sewalong: interfacing

INTERFACING


We're starting by applying the interfacing to the yoke, which will give the top of the dungas some structure to stop it drooping. 

You should have cut out two front yokes and two back yokes, plus one front yoke and one back yoke in interfacing. Place the interfacing pieces glue side down on the wrong side of one front yoke and one back yoke - the glue side of the interfacing is the one that feels rough to the touch, and the "wrong" side of the fabric is the side that will go on the inside.

Hold a hot, dry iron on top for a few seconds to fuse the interfacing to the fabric. When applying the interfacing, try not to move the iron back and forth - instead use an up-down motion to move into you don't squidge up the interfacing while the glue is melting.

Snip the notches. The notch can stick together again if you snip them before applying the interfacing, so snip them after applying the interfacing instead.

These interfaced yokes will go on the outside of the dungas, and the ones that aren't interfaced will join the lining on the inside.

Bonus blog post: Tips for Interfacing Fabric!

6 April 2022

Bethany Rutter's Sewing Style!

Bethany Rutter's Sewing Style!

Hi makers! We've got a gorgeous blog post for you today, courtesy of one of our Indigo sewing pattern models, Bethany Rutter. Not only is Bethany #StyleGoals, but she's also a talented author and it just so happens the protagonist of her latest book Welcome To Your Life is just as obsessed with sewing as us. 

Let's hand things over to Bethany for some serious sewing inspiration...

Bethany Rutter - Welcome To Your Life

Serena, the protagonist of my new book Welcome To Your Life, lives to sew. She would rather be sewing than doing pretty much anything else: for her, it's a relaxation tool, a hobby, but most importantly a way of reclaiming her personal style from fashion brands that don't want to make clothes in her size. Throughout the book, Serena makes loads of different pieces for different occasions, and here are a few more size-inclusive styles I think she would love to make!

Bethany wearing a white broderie anglaise Indigo dress

INDIGO ADD-ON

In the book, Serena does actually make an outfit featuring white Broderie Anglaise so it felt fitting to include the Tilly and the Buttons pattern that I modelled in a white Broderie Anglaise! Serena is quite a low-key dresser (unlike her colleague Nicole) so the Indigo add-on sewing pattern in this pretty fabric represents the perfect mix of a more relaxed shape with a sweet, summery edge.

1 April 2022

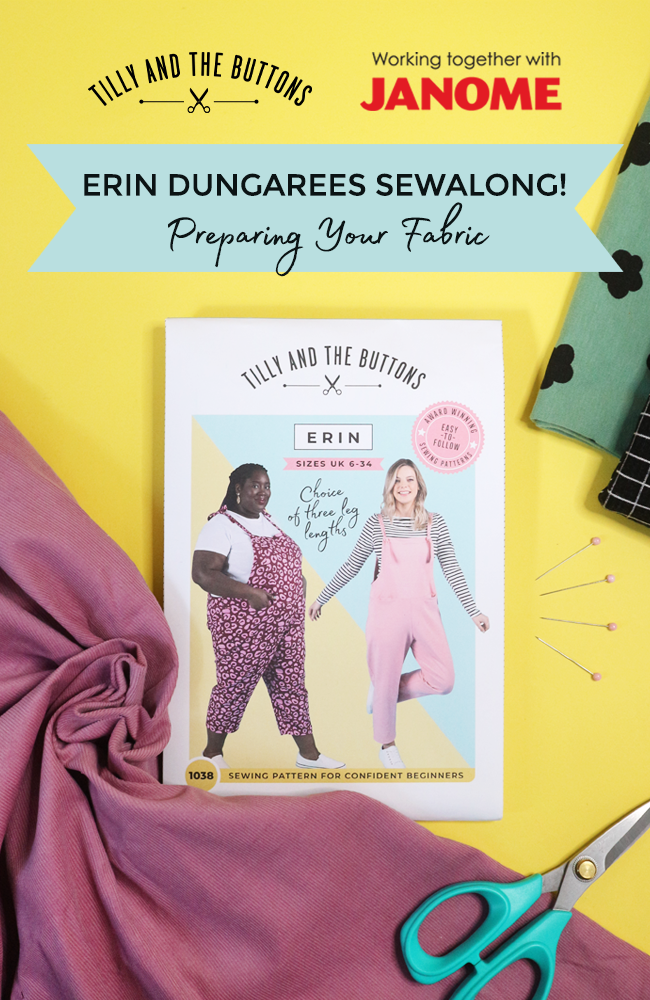
Erin Dungarees Sewalong: Preparing Your Fabric

Erin Dungarees Sewalong: Preparing Your Fabric

By this point in the Erin dungarees sewalong, supported by Janome, you'll know all about just how fabric-versatile Erin is, thanks to our collection of inspiration and fabric picks. No matter which fabric you've selected for your project, this blog post will help you get your fabric prepped and ready to move on to the good stuff - the sewing!

In this part of the Erin sewalong, we'll cover:
  • Prepping your fabric (includes wovens and knits)
  • Before you cut your fabric
  • Laying out your fabric
  • Tips for cutting out your fabric

Iron and ironing board

BEFORE YOU CUT YOUR FABRIC


You've got your pattern and your fabric to make Erin. But before we get to wield the scissors, there are a few little things to do first...

Start by washing your fabric and letting it dry. It may well shrink a little, or change other properties such as the drape, resulting in a garment that’s too tight for you if you don't wash it first. Just get into the habit of whacking it in the wash as soon as you get home from fabric shopping and you’ll save a lot of frustration later.

Once dry, iron out any creases.

Fold the fabric lengthways right sides together, parallel to the finished edges or, if you're sewing with knit fabric (such as terry or ponte) the direction with the least amount of stretch. You will bring the selvedges together or towards the centre, depending on which pieces and/or size you're cutting - the cutting layouts in the instruction booklet will help you.

Check out our essential marking and cutting tools to make your project go as smoothly as possible.