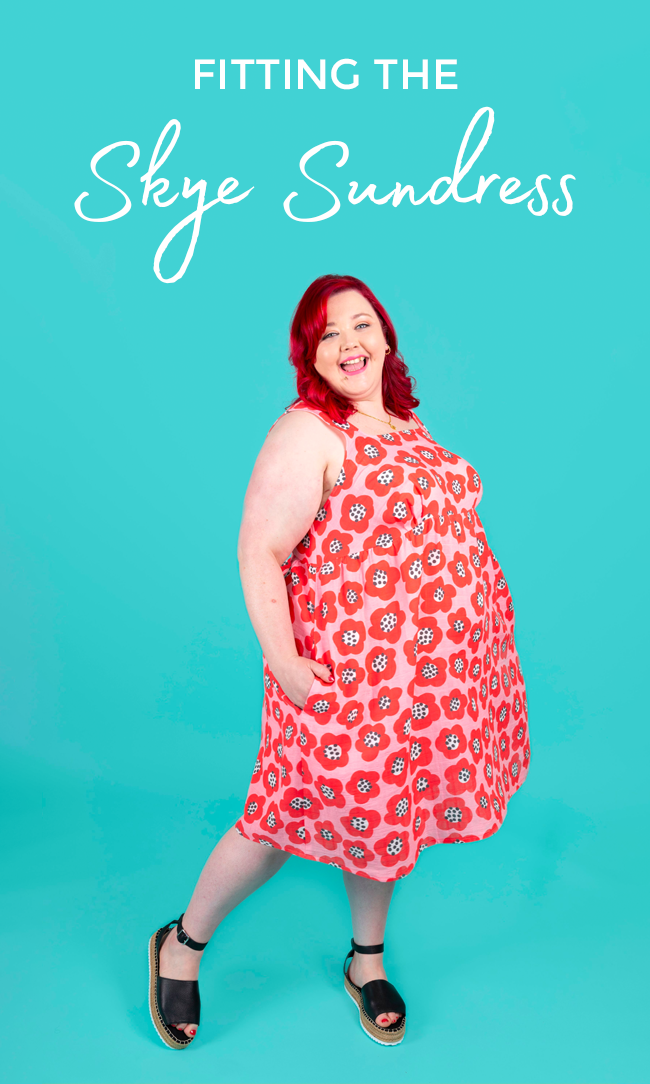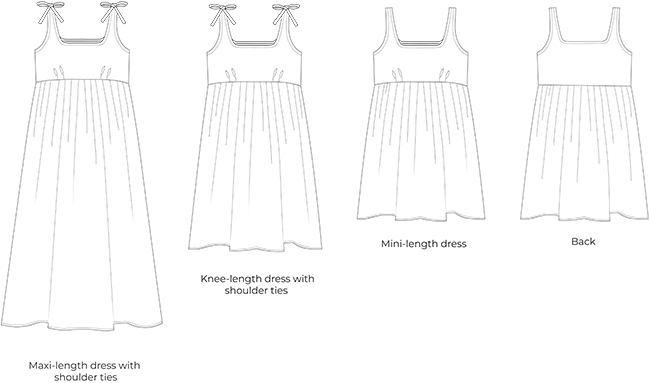
Bias binding is a lovely, tidy finish for your makes, concealing your raw edges and neatly tucking them away. It's useful for creating a neat finish on seams that aren’t attached to anything else and don’t have a facing. In this blog post and accompanying tutorial video, I’ll be showing you how to sew your bias binding to the neckline and armholes of our Skye sundress sewing pattern. But this tutorial will apply to any garment where you need to sew with single fold bias binding - woo!
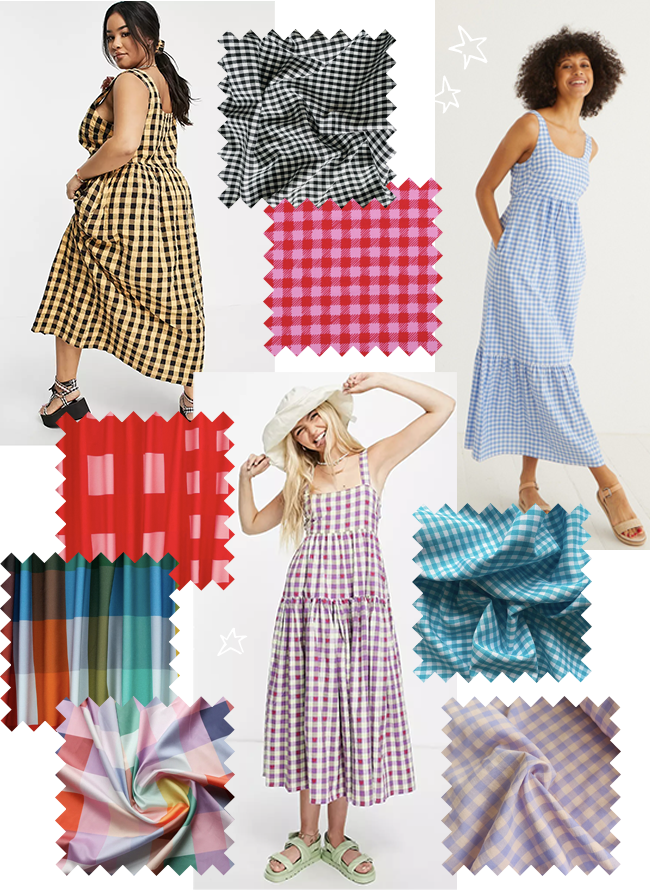
For Skye you want to look for a 10-13mm (1/8-1/2in) wide single fold bias binding, approximately 20-26mm when folded flat, if you want to buy it pre-made, or a lightweight cotton if you want to make your own. If you have some lovely suitable fabric scraps calling your name, learn how to make your own bias binding with our step-by-step tutorial and video.
With your bias binding ready, let's get into the tutorial...
Take the folded bias binding and start at the shoulder seam or underarm seam if you’re attaching bias binding to an armhole. Leave 10-20mm (3/8-3/4 inch) of binding overshooting the starting point.
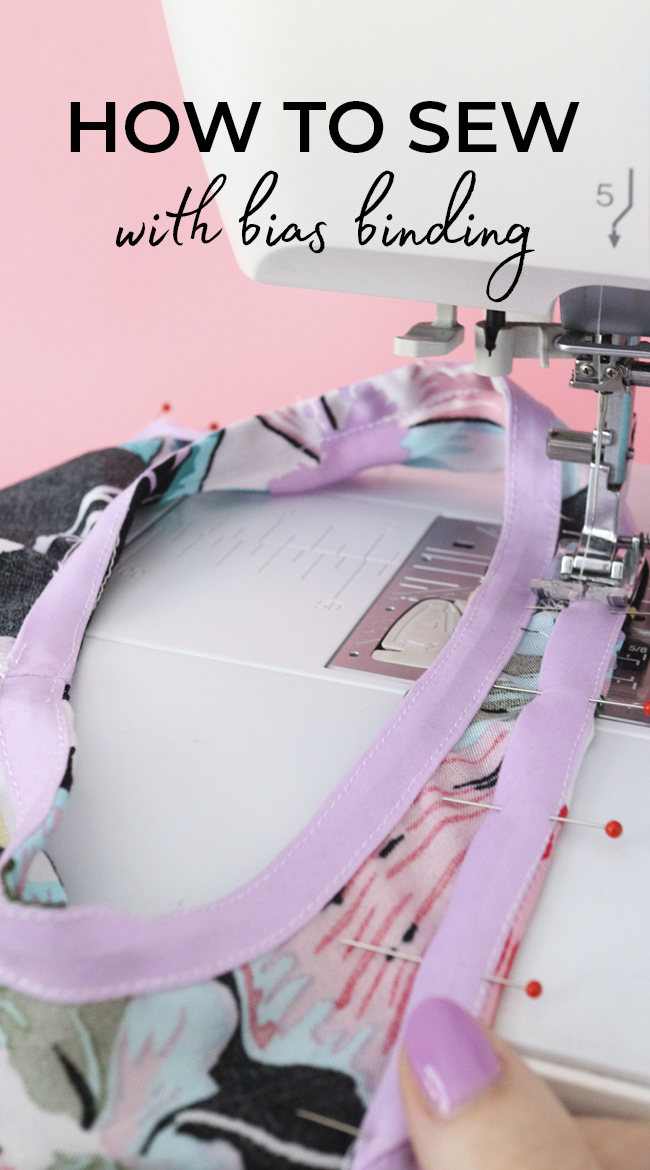
Open one side of the folded bias binding and pin in place all the way around the raw edge of your garment, right sides together. If you have stay stitching make sure the binding fold is just past the stay stitching so it’s hidden when stitched.