27 February 2015

Your Makes!

Happy Friday, everyone! Tilly is head down working on our next sewing patterns, so it's Laura here today. London has been going clothing crazy during the last few days with London Fashion Week, but we much prefer seeing the handmade fashion you've been making yourself with T&TB pattterns!


This month people have been suffering from Megan madness – we have seen so many great versions of this dress being made! Charlotte loved making herself a new Little Black Dress, and Jemima made the Megan dress her own by lowering the empire waist line and adding a self-drafted collar and button placket. The pattern is included in Tilly's book, Love at First Stitch.


Katie used some swoon-worthy floral Liberty fabric to make her Megan dress. And Jane looks very happy to be wearing her version made with a beautiful swirly print fabric.


The Lilou dress (also from Love At First Stitch) has been getting some major love too. Thouraya has sewn her new favourite dress in a fab arrow print fabric, while Elie’s floral version looks super cool with black tights and boots.


Who would have guessed that this awesome bright red Coco is the first garment Lisa has ever made?! I love how Selmin has used a different colour fabric for the funnel neck and sleeves on her Coco - such an effective idea.


Spring is definitely in the air, and Holly is getting in the spirit with her adorable floral Mimi blouse (pattern in Love at First Stitch). Sylvia has also used a fab flower print for her version, in a gorgeous shade of green. Cute buttons too!


Lottie had her head in the clouds when making herself this fun Clemence skirt (project included in Love at First Stitch). Sarah has chosen some great fabric too – who doesn’t love a bright geometric print? It really stands out when teamed with a black top and tights.


The sleeveless version of the Francoise dress will be great for warmer weather. Ping looks stunning in her printed velvet dress with contrasting collar, and Tabatha was getting into the Valentines Day spirit with her Francoise in a crazily cute heart print. Also, anyone else have major rug envy?!


The Margot pyjamas (pattern included in Love at First Stitch) are just what you need to get cosy in the cold weather. This fab pair sewn by Sara are the first garment she has made – so impressive! Andy is also getting involved in the action, with these super fun pjs made for him by Christina.


Running out of things to team with a classic Breton striped top? What better than a bright yellow denim Delphine skirt, like this awesome one made by Jenna. Sophie has made her Delphine in a super stylish tartan. (Pattern from Love at First Stitch.)


Lindsey has made not one, but two adorable versions of the Mathilde blouse with short sleeves. Emma’s version looks great worn with some jeans – such a pretty, relaxed look.

If you (like me!) are getting major sewing envy right now, there is loads more inspiration in the Maker Galleries on Pinterest - go see what people have been making. If you've sewn something with a Tilly and the Buttons pattern, send us your best photo for the Maker Gallery - you can tweet us, email us, or send us a link through this page (unfortunately we can't pin from Instagram). We can't wait to see!

24 February 2015

I Made a Bra!


If you'd been a fly on the wall during the creation of this - my first homemade bra - you would have heard a repetitive stream of frustrated "doh!", "aaarrrgh!",  and "I'm so stupid!", interjected with the occasional "ooh!" exclamation of delight.

This baby is essentially a wearable toile, a tool in the learning process as I figured out how to make a bra. I don't think I've ever used the seam ripper tool so much in my life, as I sewed things together in the wrong order, used the wrong stitch setting, left holes in places where there really shouldn't be holes, and came to realise what a huge difference one single mm makes when working on such an intricate scale. But when I trimmed off the loose threads and admired my work, I felt that immense sense of pride you get when you make something with your own hands... I made a bra!


This was the result of a course I've been doing at Morley College on lingerie construction. We started with a pattern from the book Bare Essentials: Bras - Construction and Pattern Drafting for Lingerie Design and adapted it to a strapless shape (purely because strapless bras was the focus of the course this term). We made a rough toile and fitted it to our own bodies. It was at that point that I realised I personally don't like the shape of the cups on this pattern. You could call them "vintage", but they just remind me too much of Kermit the frog's mouth. But I persevered with it, the plan being that once I grasp the construction methods I can play around with the seam lines and shaping of the cups, adapting it to something I like better.


I know some of you are looking for lingerie supplies, so here's where all the bits are from:
- turquoise cup lining, black power mesh, underwires, hook & eye closure bought from Sewing Chest
- black stretch lace, stabiliser fabric, underwire casing and two different types of lingerie elastic from Freya (thanks, Freya!)
- satin-covered boning bought from Minerva
- padding scrounged off Carol at Morley College.

I enjoyed learning a new skill so much that I've signed up to the next six weeks of the course too. We're going to do moulded cups next, and I'm going to ask if I can go off piste and make a bra with straps. I can't wait!

Have you learnt any exciting new sewing skills lately?

20 February 2015

Stash Busting (and a New Sewing Magazine)


Guys, my fabric stash is out of control! I can't fit any more Expedits - sorry, Kallaxes - in my world, so I fear it's the excess fabric that needs to go. Plus I've finally admitted to myself that I won't be able to sew through it all in this lifetime. I know.

I'm going to have a serious sort out of my stash in the next few weeks and am thinking of holding a sale of the bigger pieces on Instagram (or maybe the blog?) at some point - so watch this space if you're interested in taking some of it off my hands. I haven't held an online fabric sale before so if you have any tips, I'm all ears...


What do you do when you have too much fabric in your life? I asked this question on Instagram a few weeks ago while writing my column for new magazine Simply Sewing - thanks so much to everyone who contributed ideas for using up fabric, from making bias tape to pin cushions. 

Have you seen Simply Sewing magazine? It was a gamble signing up to write a column for a mag that I hadn't seen before, but I'm really impressed with the first issue. It's published by the same people as Mollie Makes, and features bright, modern colours and great styling. There's a whole ton of useful information and inspiring sewing ideas inside, from a guide to buying a sewing machine, to refashioning projects such as a pashmina-to-top tute from Portia and a homemade hot water bottle cover (I'm definitely making one of those!), to a hand embroidery 101, and garment projects such as a downloadable dress pattern from Lauren's book and a printed Japanese pattern for a child's dress.

It was sad to see both Crafty and Cloth magazine fold, so I'm hoping that the emergence of a new sewing magazine - and one that features dressmaking at that - is a positive sign about the growth of DIY fashion. The more we can encourage new people to get into sewing, the better :)

Bon weekend, tout le monde!

17 February 2015

The Great British Sewing Bee: Fashion with Fabric


The Great British Sewing Bee is back! And with it the third tie-in book - this time written by Claire-Louise Hardie, the sewing producer of the show who also runs sewing school The Thrifty Stitcher. Wanna see inside? Spoiler alert - the book features projects from the series, so if you would like to keep the contestants' makes a surprise, best stop reading...


Still here? Okay, let's take a look. The book is a hefty hardback, accompanied by a pack of printed patterns. It begins with some sewing basics, followed by four chapters divided up by fabric type - cottons, wool and other animal fibres (leather and silk), stretch fabrics, and luxury fabrics (such as lace, satin and tweed). Each section starts with a glossary of those kinds of fabrics, some tips on working with them, and even a bit of history on their origin - the series is on the BBC, after all!

I really like the idea of breaking the book up by fabric type, as it not only helps stitchers to understand the impact that fabric choice makes on a finished project, but it might also encourage people to branch out and work with materials they haven't tried before. I'm definitely feeling inspired to try some of the tips and projects - and on that note...


The projects! While the book is very text-heavy, it also includes a ton of garment projects for women, men and kiddos - some made from the patterns included, others with instructions for drafting your own, plus a few variations. There are seven women's sizes included (UK 8-20), six men's sizes and the range of children's sizes differ between the patterns.

Obviously being a mainstream BBC TV show the book is aiming to appeal to a wide target audience, and it covers a lot of ground, from simple skirts to a leather jacket (omigawd I can't wait to see that episode!). While on the downside there may be only a couple of things in here that suit your particular taste, on the plus side there is, as they say, something for everyone. If you're looking to sew for your family, then this could be a great resource for you, as you get a ton of patterns for the price of a book.


I haven't tried the projects yet myself as the book just arrived yesterday (and because hello project backlog), but I've got my eye on the jumpsuit and casual trousers variation for Summer. And I might have to make the elephant costume for a random child - did you see that episode? Awwww!

The Great British Sewing Bee: Fashion with Fabric comes out at the end of February and is available for pre-order now.

Book c/o Quadrille. Opinions my own.

13 February 2015

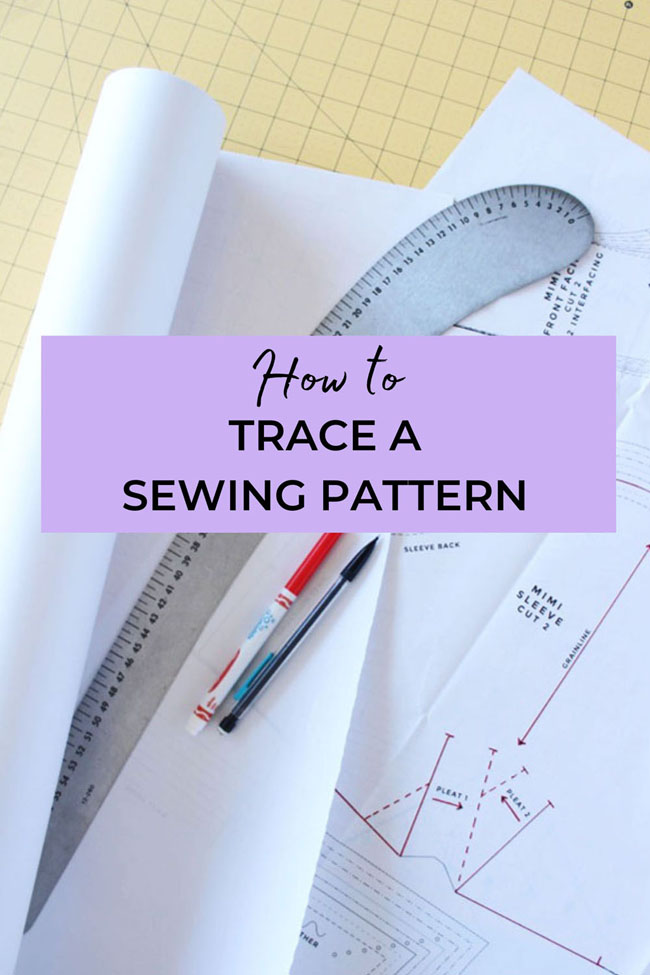
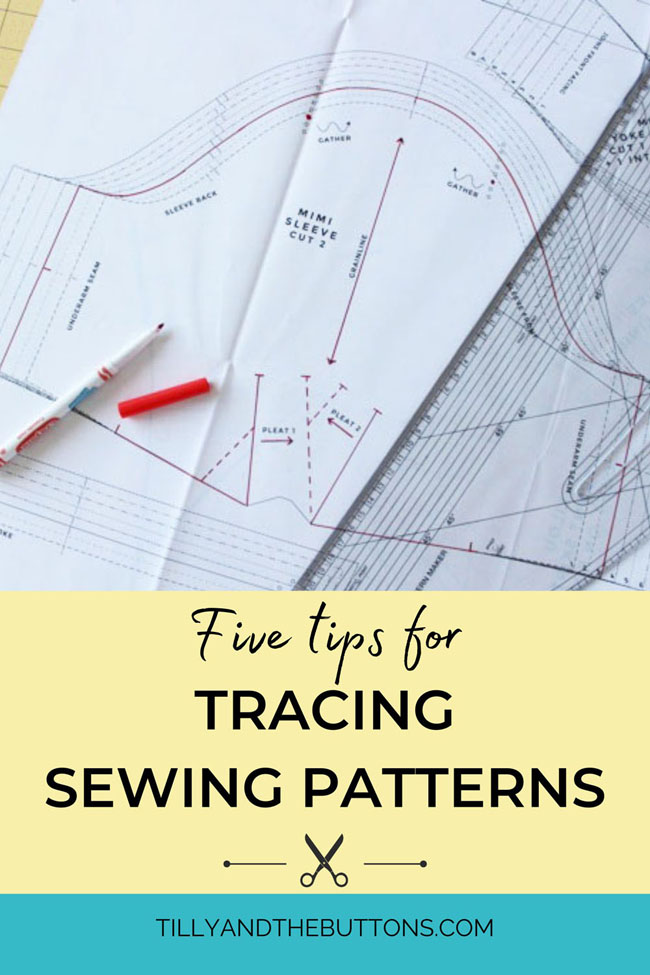
Tips for Tracing Sewing Patterns

Tips for Tracing Sewing Patterns - Tilly and the Buttons


Can we talk tracing techniques, please? Tracing sewing patterns is one of those subjects that will either seem really obvious to you or will leave you perplexed and wondering if you’re doing it right. Most people haven’t traced anything since primary school! Since it’s something I get quite a few questions about, I thought it worth covering dans le blog…

Tips for Tracing Sewing Patterns - Tilly and the Buttons

Firstly, why might you need to trace a sewing pattern? There are lots of reasons. To keep the other sizes on a multisized pattern intact for later if you intend to slice through it when cutting out your fabric. To have a copy that you can play around with, whether to make fitting adjustments for your individual body shape or for design hacking purposes. To use a pattern from a magazine or book, which are usually printed double-sided and overlapping to get lots of patterns in while keep the price affordable (as is the case in Love at First Stitch). To preserve the original pattern, particularly if it’s printed on delicate tissue, or if it’s a vintage pattern that future generations might enjoy one day.

That’s why – but how do you trace a sewing pattern? Here are a few tips that I find useful…

Tips for Tracing Sewing Patterns - Tilly and the Buttons

1) Prepare the pattern

If you’re using a multisized pattern (such as T&TB patterns), you might find it useful to highlight your size first to help you see which lines to trace. Go over the lines in a coloured pen, and don’t forget the markings such as notches, grainline arrows and gather points too.

Tips for Tracing Sewing Patterns - Tilly and the Buttons

2) Choose your paper

There are no rules on what paper to use for sewing patterns, so choose what works for you. You can try tracing paper, baking paper, lightweight flipchart paper, spot and cross paper, or even Swedish tracing paper, which is a stitchable material great for making toiles. I like to use big rolls of this 60gsm printer paper - it's not quite as translucent as tracing paper but I find it less slippery to use. I also find it can help to put a piece of blank white paper under the pattern to hide any distracting markings on the cutting mat.

Alternatively, you could use a non-translucent paper, such as parcel paper – lay the pattern on top, trace over the lines with a tracing wheel, then go over the indentations with a pencil.

Tips for Tracing Sewing Patterns - Tilly and the Buttons

3) Keep it steady

To get an accurately traced pattern, start by making sure the pattern itself lays nice and flat. If it’s crumpled, give it a press with a cool, dry iron to smooth it out. Lay your tracing paper on top, and secure everything down with either tape or weights (as you can see, I use whatever I have to hand as “weights”!). I’d avoid using pins here as they can make the paper rise up a little and thus change the shape that you’re tracing.

Tips for Tracing Sewing Patterns - Tilly and the Buttons

4) Join the dots

Using a light pencil so you can erase any mistakes, start by quickly dotting the corners and every couple of cm or so on any curves, all the way round the pattern. Add in the markings, such as notches, gather points and grainlines. Check the paper hasn’t shifted and that all your dots and markings are in the right place. Now join up the straight lines and corners with a straight ruler, and join the dots on the curved lines with a curved ruler (or a steady hand if you don’t have one). Once you’re happy that your lines are accurate, you can go over them in a pen if you like – a finer pen will keep the pattern more accurate.

Tips for Tracing Sewing Patterns - Tilly and the Buttons

5) Transfer all the information

Finally, label your pattern pieces so when you find them a few months down the line under a pile or random stuff, you know what they are and how to use them! Write on each piece the name of the pattern, what piece it is, the size, any fitting or design changes you’ve made to it, how many pieces to cut and any interfacing pieces you need to cut from it. T&TB patterns also include labelled seam lines and markings so you can easily see which bits go together – you may want to transfer these too to help you during the construction process.

Tips for Tracing Sewing Patterns - Tilly and the Buttons

And that’s it! What I really want to get is a lightbox to help me see through the paper even more easily. One day… In the meantime, do you have any tracing tips of your own to share?

10 February 2015

TIPS FOR SPEEDY SEWING


Last week we talked tips for accurate sewing, and I enjoyed reading your own ideas in the comments. But what about when you need to sew something really fast? Maybe you’re snatching a precious half hour of creative time before work. Perhaps you’re finishing up a dress to wear to a wedding in a couple of hours (we’ve all removed pins and sewn buttons on our handmade dresses on the train, right?!). Or maybe you’re a contestant on The Great British Sewing Bee and only have two hours to cut and stitch a pair of trousers!! I enjoy sewing for pleasure, and will take it at a leisurely pace when I can, but it’s good to have a few speed sewing tricks up your sleeve when needed…


1) Forego the pins

Don’t have time to pin? Then don’t! Live dangerously, people. Match up the first few cm of the seams and start sewing, bringing together the edges of the fabric bit by bit as you sew. If you need to pause to adjust the seams, do so with the needle down so you don’t accidentally shift the fabric and thus the stitching line. Once you get the hang of it, this technique is pretty straightforward on many fabrics and areas, but personally I would still pin the heck out of slippery fabrics, gathering, and set-in sleeves. I’ve tried setting in sleeves without pins and much prefer to take the extra couple of minutes to get it right ;)


2) Try chain stitching

Stitching a simple seam doesn’t seem like a lot of work, but if you think about it, it involves a number of steps – lowering the presser foot onto the fabric, checking the threads are behind the needle, putting your foot down on the pedal, stitching, lifting your foot from the pedal when you come to the end of the seam, raising the presser foot, taking out the fabric, and trimming the threads. Phew! Chain stitching is a way of saving time on all the stopping and starting by stitching continuously between multiple pieces in one go. Once you’ve come to the end of the first seam (and backtacked if you want to – see the next tip below), keep stitching and feed another but seam under the presser foot. Keep going until you’re out of pieces to stitch (or need a cup of tea), then raise the presser foot and trim the threads on all the pieces in one go.


3) Bye bye back tacking

Back tacking – sewing backwards over the start and end of a line of stitching – can stop your stitches coming undone before you’ve had a chance to sew over them. It’s something we include in our sewing pattern instructions, but to be honest it’s really just a precautionary measure. If you’re going to sew across the same seam in the same sewing session - for example, if you're going to cross a side seam by hemming it - you don’t necessarily need to back tack. Simply attach the next piece (or hem it or whatever you're doing), and the second stitching line crossing the first one will do the same job of keeping the threads in place. Be aware, though, that the stitching might unravel at the seam allowances unless you finish the seams. And do back tack if you’re not going to be going over the stitching line again – for example, if you’re topstitching a patch pocket to the outside of a garment.


4) Save up your pressing

Pattern instructions often tell you to press seam allowances open or to the side after each step where needed. You don’t literally have to get up from your sewing table at that point and press the seam allowances open though. As long as you’re not about to sew across that unpressed seam, save up a few pieces of pressing, then go over to your ironing board and press a whole batch of pieces at once. (Also - omigawd my hands look so cold in these photos!)


5) You don’t always need to press

We’ve heard it said countless times - pressing seams before stitching over them can make a handmade garment look lovely and neat. And it’s true. However, you don’t always have to press every single seam. For example, when you’re understitching a facing to seam allowances, if you pull the fabric either side of the seam nice and taut as you’re sewing, then not pressing beforehand shouldn't really make a difference to the end result. Every time I come to understitch a facing, I remember saying to a tutor at the London College of Fashion that I was going to press it first – her reply was a bemused, “Why would you bother doing that? Understitching serves the same purpose”. As with so many sewing techniques, you can add the qualification that it depends on your fabric, so use your judgement here as to whether you can get away with not pressing it. But if your fabric can get away with it, this is a useful shortcut to know!

Do you have any other tips for speedy sewing? I’d love to hear them!

And don't forget to check out the tips for accurate sewing if you missed last week's post.

6 February 2015

The Beginnings of a Bra


Have you looked inside a bra lately? Like, properly looked?

Not in a rude way, I mean, have you looked at how it's constructed? I've been doing a lot of that recently, as I'm taking a bra-making course this term at Morley College. The course follows a section from the book Bare Essentials: Bras - Construction and Pattern Drafting for Lingerie Design. We started by adapting the basic structured bra pattern to make a strapless design. We're now making a toile in our size, which we'll fit to our bodies next week (the pattern doesn't actually come in my size, so I'm making a similar size for now and will fit from there).


I'd never really thought about how much is involved in bra construction before, let alone all the different bits and bobs you need to make one - from different types of elastic to padding to power mesh to underwire casing to boning to sliders and rings and things. I found the shopping list of materials a bit overwhelming, but luckily my friend Freya knows about these things so hit me up with a supply from her stash last night (thanks, Freya!).

If you have any suggestions for great underwired bra patterns, resources or UK supply sources, I'd love to know. I can't wait to make my first bra, oh la la!

3 February 2015

Tips for Accurate Sewing


When I teach new people to sew, there are a few tips and tricks I share to help them feel more confident and in control of their stitching. I thought I’d post them on the blog today – depending on how long you've been sewing, these tips might induce an "oh wow!" or a "duh, obvs!", but even if you are an experienced stitcher there may be one or two useful reminders here for when you need to sew something with an extra dose of precision. I’m generally pretty chillaxed about sewing personally, but sometimes it’s good to take a bit of extra time and care!


1) Use the hand wheel or the needle up/down button

If you want to start or end your stitching line at a particular point – for example, because you want to turn a corner, or avoid catching another seam under the thread – forego the foot pedal in favour of the hand wheel. Turning the hand wheel towards you will make your machine sew individual stitches reeeeally slowwwly. If your machine has one, use the needle up/down button (often marked with two arrows) instead. Press it once and a needle in the up position will move down; press it a second time and the needle moves back up - allowing you to sew stitches one by one. Handy!


2) Highlight the seam allowance guide

As you probably know, the seam allowance guide lines on the needle plate tell you how far you're stitching from the edge of the fabric - keep the edge of the fabric lined up with these guides to sew with a consistent seam allowance. If you find these lines difficult to see - or if you are using an old machine that doesn't have them at all - highlight your most used line (usually 15mm / 5/8in) with a strip of tape or a coloured label. Looks pretty too!


3) Shift your needle

Sometimes you won't be able to use the seam allowance guides to help you sew accurately. If you are understitching a facing to the seam allowance, for example, you want to sew a line a couple of mm away from - and parallel to - a seam line. In this case, you can use the seam line itself as a guide. Many sewing machines have a stitch setting which shifts the needle 2-3mm to the left (it’s often the second stitch option after the regular straight stitch); other machines allow you to shift the needle either left or right by various increments. With your needle shifted to one side, line up the seam line with the central groove of your presser foot. Keep it aligned like this as you sew, and you should end up with a nice, accurate stitching line exactly parallel to the seam line. Lovely stuff!


4) Use pins wisely

If you're sewing slippery fabric, or if you're sewing together two or more pieces of fabric that don't lie flat on top of one another - for example, if you're sewing a gathered piece to a non-gathered piece - then using lots of pins will help you get a neat result. Sometimes, however, lots of pins can have the opposite effect - use too many pins, and they will stop the pieces lying flat against each other. So for basic assembly, keep the number of pins to the minimum you need to hold the pieces in place. A related tip is to pin perpendicular to the edge with the pin heads sticking out so they don't distort the fabric.


5) Draw the stitching line onto your fabric

This might sound like cheating, but if you are preparing to sew a corner, or perhaps an even more complex shape such as scallops, try drawing the stitching line onto the wrong side of the fabric (or interfacing) to help you see where exactly you need to pivot or turn your stitching. On the collar piece in the photo above, I've drawn the stitching line of the corner on the point where need to pivot, 15mm (5/8in) from each edge. Remember to use a chalk pencil or washable pen so the marking comes out afterwards!

Do you have any tips of your own to share for accurate stitching? Let us know in the comments...