28 November 2018

How to Make a Christmas Confetti Sweater

How to Make a Christmas Confetti Sweater with Sew Jessalli and Tilly and the Buttons

Want a fun and festive way to decorate an old sweater or one you've made yourself?

You might have seen our Sew an Xmas Sweater Contest, where we are challenging you to stitch and embellish one of our patterns to win some fantastic prizes (closing Dec 9). Sophia Palmer, of Sew Jessalli, is a pro at embellishing and a wonderful judge in our contest, so we just had to ask her to share her skills with us.

Sophia creates and sells the most gorgeous personalised gifts (perfect for xmas pressies) and teaches sewing workshops from her studio in Dorset - we are particularly taken with the 'Revamp Your Sweater' workshop.

Over to the lovely Sophia to show us how she made this gorgeous Nora top with glittery baubles and machine embroidered felt stars...

How to Make a Christmas Confetti Sweater with Sew Jessalli and Tilly and the Buttons

23 November 2018

How to Make a Fairy Lights Xmas Sweater


Tis’ the season to be lit up like a Christmas Tree! Is this the cutest Christmas sweater ever or is this the cutest Christmas sweater ever? If you fancy making your own, Marnie from Happy Fabric has created a quick and easy tutorial for how to upcycle a top using vinyl sheets that you cut and press onto your garment. Enter your DIY into our Xmas Sweater Contest if you want a chance to win some amazing goodies!

You will need:

  • 1x A4 sheet HappyGlitter for the baubles in each of the following colours: red, orange, gold, kelly green, royal blue, lavender, egg plant.
    (Suited for cotton, polyester, poly/cotton blends, sublimated polyester.) 
  • 1x metre of HappyFlex in black for the wire and top of bauble.
    (Suited for cotton, polyester and poly/cotton blends.)
  • Iron
  • Greaseproof paper 
  • Ball point pen 
  • Scissors
  • Sweater, t-shirt or sweatshirt

Lay out your sweatshirt and plan out where you want the wire of the lights to go. For this one we will be creating a squiggly line going from the right shoulder down to the waist on the left. Once you have an idea, lay the black vinyl across the jumper facing down. With a pen begin to draw your squiggly line. Remember when you turn your vinyl over to be ironed it will be in the reverse. Once you are happy with line you have drawn, draw another line running alongside your first line about 5mm (1/4in) apart, then cut it out.

Xmas Sweater Christmas Lights Tutorial


21 November 2018

Black Friday Sewing Goodies Sale

 Shop all the Black Friday offers at Tilly and the Buttons

Our biggest sale of the year is here, with up to 40% off sewing goodies - yay!

We have discounts on patterns, books, fabric, and more so make sure you check out these very special offers. You can build your stash, or give the gift of sewing this Christmas - you decide : )

The Black Friday sewing goodies sale must end Monday 26 November midnight GMT, so don't miss out!

 Shop all the Black Friday offers at Tilly and the Buttons
 Shop all the Black Friday offers at Tilly and the Buttons
 Shop all the Black Friday offers at Tilly and the Buttons
 Shop all the Black Friday offers at Tilly and the Buttons

17 November 2018

Design Your Own Fabric with Spoonflower! - Part Two

Design Your Own Fabric With Spoonflower


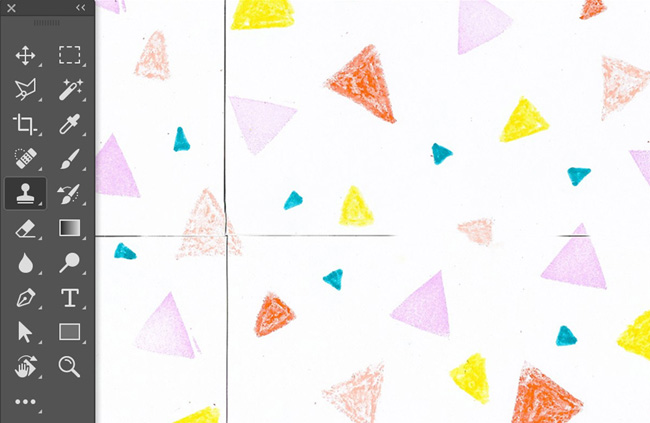
Welcome to part two of designing your own fabric with Spoonflower! If you missed part one you can find it here. Now that you have finished making your design (yay!), it’s time to start cleaning them up and getting them ready for Spoonflower to print. With the help of our wonderful teacher Suzie, we have put together some retouching tips for you.

You will need
  • Scanner
  • Computer
  • Adobe Photoshop or any photo editing software of your choice
  • Internet - to upload to Spoonflower
  • Biscuits (as a treat for designing your own fabric, of course!)

Design Your Own Fabric with Spoonflower


The following steps are shown using Adobe Photoshop, if you use an alternative editing software these may differ.

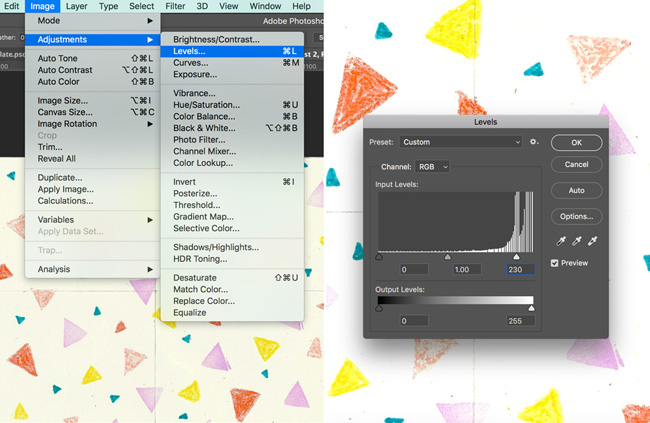
After opening up your scanned design in Photoshop (or equivalent) you’ll want to begin by adjusting the image using Levels (Image > Adjustments > Levels). If you move the slider (on the right) to the left it will brighten the image, making the whites more white. And by moving the opposite slider (on the left) to the right this will make the blacks more black. This helps to brighten up scans and make the ‘paper’ background disappear. 

Design Your Own Fabric with Spoonflower


15 November 2018

Design Your Own Fabric with Spoonflower! - Part One

Designing your own fabric with Spoonflower - by Tilly and the Buttons

Have you ever wanted to design your own fabric? If you're anything like us at TATB, the idea of not only making your own garment, but designing fabric to go with it, makes us squeal with excitement! We have teamed up with Spoonflower to show you how to design your own seamless repeat pattern.

Spoonflower enables you to upload your own designs and print them onto so many different fabrics. Their digital printing process uses eco-friendly, water-based pigment inks and dyes that produce very little waste. They hold the largest collection of independent designers in the world, so you can browse a wealth of designs - but why not have a go yourself?

Spoonflower asked the lovely Suzie to come along to our studio to teach us how to design our own seamless repeat pattern, which is then scanned to become a print. Suzie is a wonderful print designer from Suzie London and is based in the cutest shop (that she describes as a shed) in North London.

Let the designing commence!

Designing your own fabric with Spoonflower - by Tilly and the Buttons

14 November 2018

Say Hello to A0!

Tilly and the Buttons digital patterns now include A0 pattern files!

If you're a digital pattern lover, you may be excited to hear that we now include A0 copy shop patterns with all your PDF purchases. We received feedback that many of you would love to have this option, so have been beavering away to get the files set up for all our patterns - phew!

You might be wondering what the A0 copy shop option means. Well, you can have your pattern printed on a large format printer directly onto A0 paper. Take the files to a local copy shop, or stay at home and get your pattern printed and delivered to your door by our favourite printing option, Netprinter.

Your pattern will be printed on one, two or very occasionally three large sheets (depending on the size of the pattern) and you'll be able to cut your project straight out without having to stick any of the pages together.

When you buy a PDF pattern from us, you'll still get the option of A4 / Letter sheets to print at home, as well as the large format option if that's what you prefer.

8 November 2018

Sew a Xmas Sweater Contest

Tilly and the Buttons contest - Sew a Xmas Sweater!

We are so excited announce announce a very festive Tilly and the Buttons contest! Everyone is invited to join us in stitching and embellishing a Tilly and the Buttons' sewing pattern to wear for the holiday season. We are using the term 'xmas sweater' loosely - it could be a Christmas sweater, Hanukah hoodie or Diwali turtleneck... as long as it's festive a snuggly it will fit the bill!

Creativity is key here – we are not going to be checking seams, hemlines or fastenings, we want you to have fun and be free to add the wow factor to your project. We suggest using Coco, Stella, Nora, and Freya – as they’re all pretty speedy to make and cosy to wear. Embellish, embroider and applique to your hearts content. Here is a little inspo to give you some ideas for what you could do : )

Tilly and the Buttons contest - Sew a Xmas Sweater!
Clockwise L-R: 1 / 2 / 3 / 4 / 5 / 6

5 November 2018

Free Coin Pocket Pattern! Add this to Your Ness Skirt

Free Coin Pocket Pattern - Tilly and the Buttons

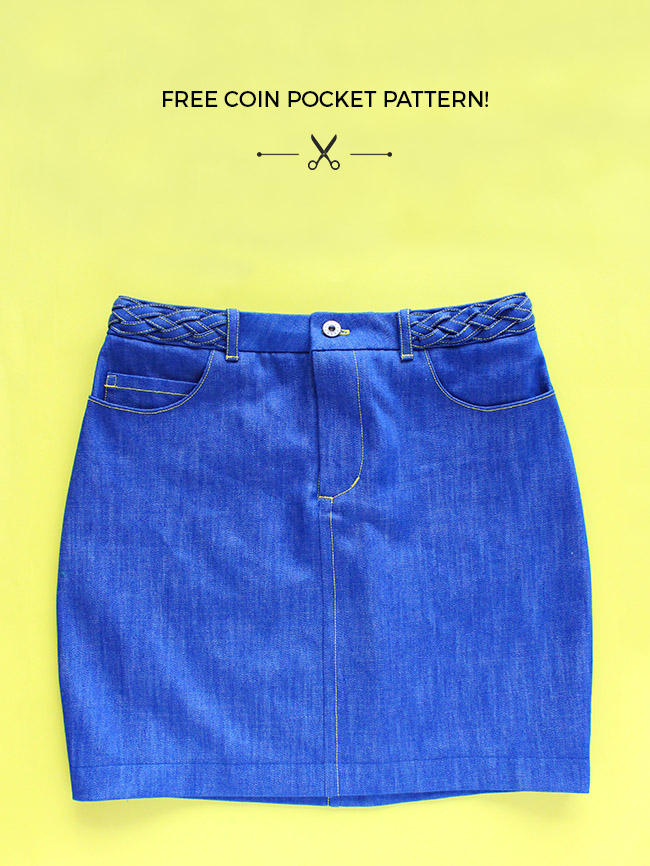
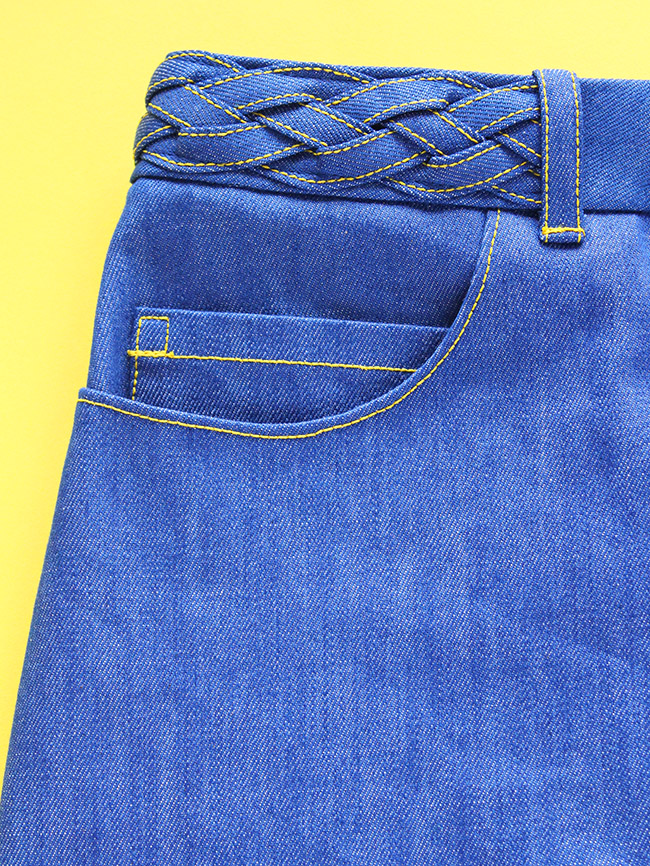
Fancy adding a little something extra to your Ness skirt? A coin pocket will heighten the jeans-inspired detailing on this classic skirt. And there’s no such thing as too many pockets, amirite?

We’ve created a bonus pattern piece that you can download for free, plus instructions below on how to add it to your skirt.


Free Coin Pocket Pattern - Tilly and the Buttons

The pattern prints on one sheet of A4 or Letter size paper. You won’t need any extra fabric – the pattern piece is small and will fit on the fabric around the other pieces.

2 November 2018

How to shorten a metal zip

How to shorten a metal zip - Tilly and the Buttons

Zip too long for your pattern? It’s not always easy to find a good quality zip in the right colour and type that you need which also happens to be the exact length stated in a sewing pattern’s supplies list.

Never fear – you can always get one that’s a bit longer than needed and cut it down.

You may have shortened an invisible zip before by sewing a bar tack over the teeth to create a new bottom stop. But if you’re using a zip with metal teeth, as needed for our Ness skirt sewing pattern, there’s a different approach you can take.

I’m going to show you how to shorten a metal zip using Ness as an example – but you can apply this to lots of other patterns too.

How to shorten a metal zip - Tilly and the Buttons

Attach the zip tapes to the garment as normal, following the instructions in the pattern, using the bottom stop as a guide for where to line it up. In other words, in the Ness skirt instructions we ask you to place the metal bottom stop of the zip 15mm (5/8in) up from the bottom of the zip guard. When you join the zip guard to the skirt, it will end up in the correct position no matter the length of the zip.

How to shorten a metal zip - Tilly and the Buttons