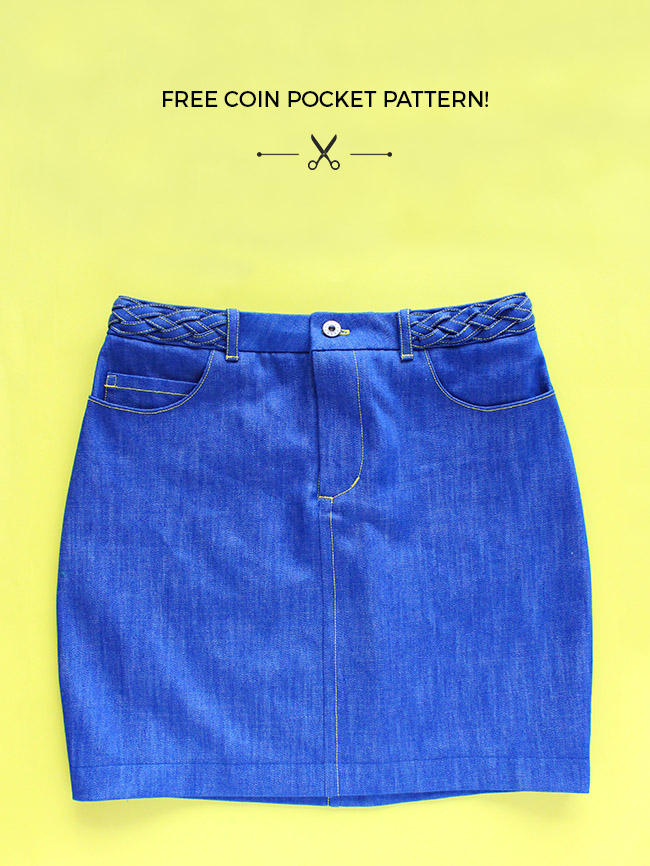
Fancy adding a little something extra to your Ness skirt? A coin pocket will heighten the jeans-inspired detailing on this classic skirt. And there’s no such thing as too many pockets, amirite?
We’ve created a bonus pattern piece that you can download for free, plus instructions below on how to add it to your skirt.
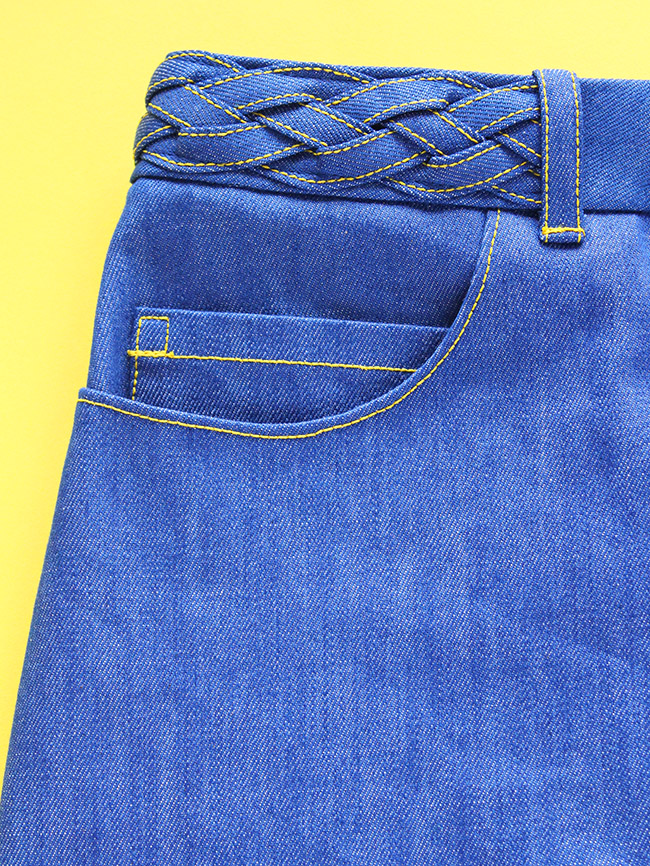
The pattern prints on one sheet of A4 or Letter size paper. You won’t need any extra fabric – the pattern piece is small and will fit on the fabric around the other pieces.
Click the arrow top right of the new window to download the PDF. Find it in your downloads folder or desktop - wherever your downloaded files usually go - and open the pattern in Adobe Reader (you can download it for free).
In the print settings, select "poster" if it's not centred in the preview window, and check the scale is 100% or "actual size". After printing, measure the test square to check it’s exactly 60mm - if it’s not, have another go in your print settings to print it full size.
Cut one coin pocket with the fabric wrong side up.
Make your coin pocket any time before step 9 in the instructions, before you attach the pocket facing to the pocket bag.
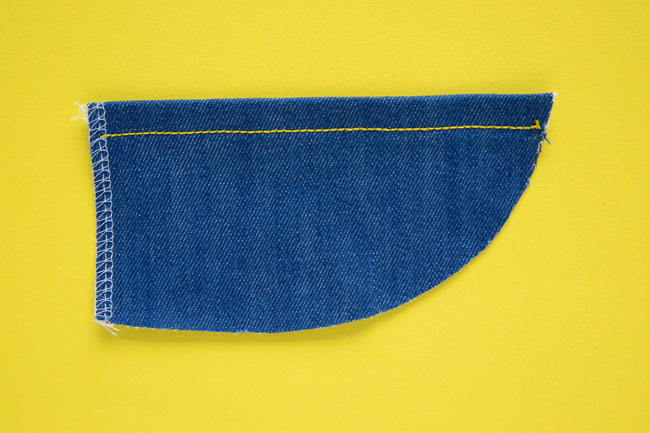
Finish the short straight side of the coin pocket with zigzag stitch or an overlocker (serger). Fold the top edge under 5mm (1/4in) towards the wrong side and press. Fold it under another 10mm (3/8in) and press again. Topstitch 7mm (1/4in) from the top fold, using either matching regular thread or contrast topstitch thread.
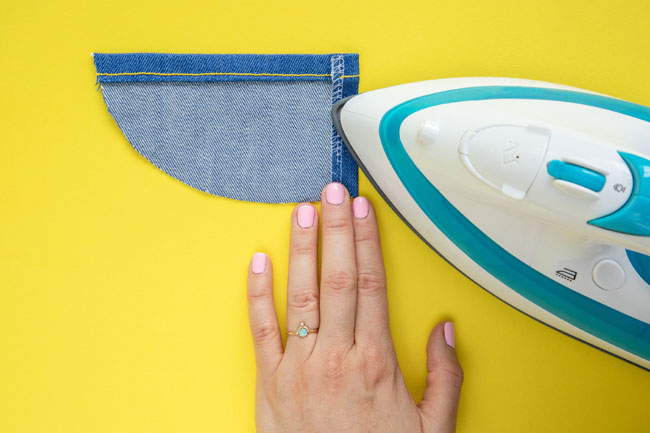
Fold the short straight side under 15mm (5/8in) to the wrong side and press.
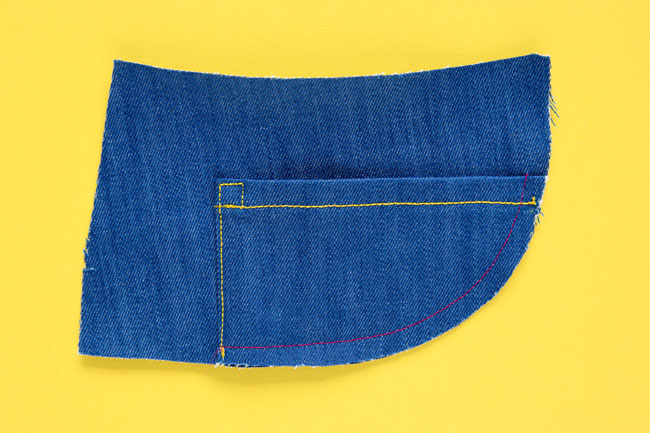
Lay the coin pocket over the right-hand (as you’d wear it) pocket facing (see photo!), aligning the curves. Pin in place. Topstitch the short straight side of the coin pocket to the facing, 7mm (1/4in) from the edge, in matching or contrast thread. Reinforce the corner with a square as shown.
In regular thread, staystitch the curve of the coin pocket to the pocket facing – you can either sew them together with a 5mm (1/4in) seam allowance and leave the stitching in (you’ll go over this line when you join the facing to the pocket bag), or tack (baste) them together in contrast thread 10mm (3/8in) from the edge and then remove the tacking once you’ve joined the pocket bag to the facing.
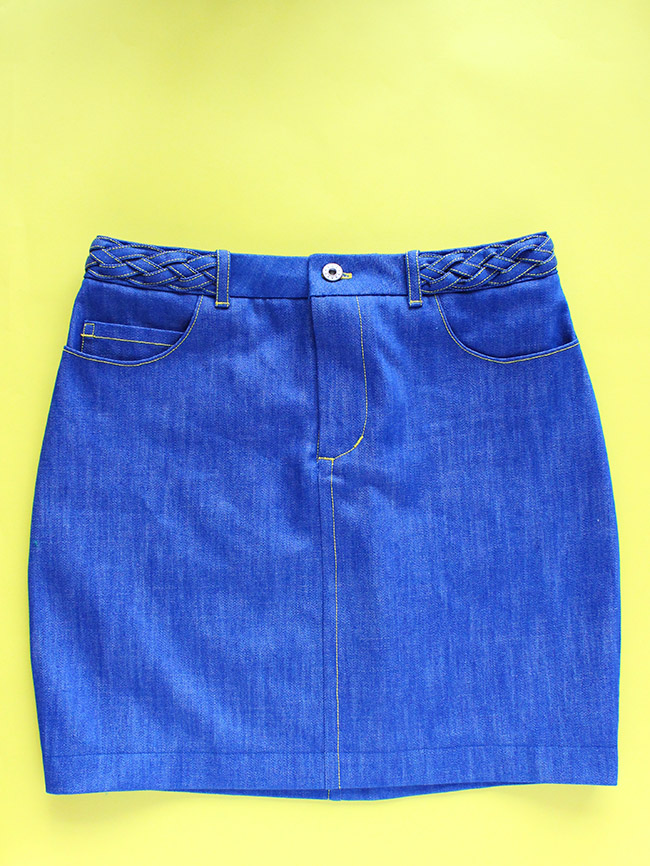
And that’s it! You can now carry on sewing your Ness skirt following the instructions.
We can’t wait to see your finished Ness skirts! Do share with us on Insta @TillyButtons with the hashtag #SewingNess so we don’t miss your post :)
