By this point in the Erin dungarees sewalong, supported by Janome, you'll know all about just how fabric-versatile Erin is, thanks to our collection of inspiration and fabric picks. No matter which fabric you've selected for your project, this blog post will help you get your fabric prepped and ready to move on to the good stuff - the sewing!
In this part of the Erin sewalong, we'll cover:
- Prepping your fabric (includes wovens and knits)
- Before you cut your fabric
- Laying out your fabric
- Tips for cutting out your fabric

BEFORE YOU CUT YOUR FABRIC
You've got your pattern and your fabric to make Erin. But before we get to wield the scissors, there are a few little things to do first...
Start by washing your fabric and letting it dry. It may well shrink a little, or change other properties such as the drape, resulting in a garment that’s too tight for you if you don't wash it first. Just get into the habit of whacking it in the wash as soon as you get home from fabric shopping and you’ll save a lot of frustration later.
Once dry, iron out any creases.
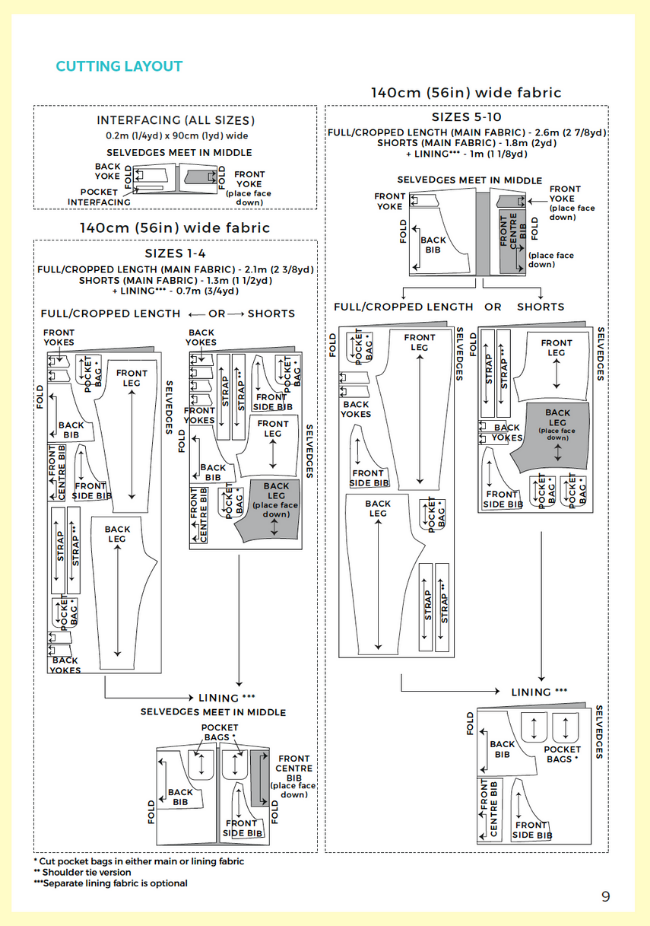
Fold the fabric lengthways right sides together, parallel to the finished edges or, if you're sewing with knit fabric (such as terry or ponte) the direction with the least amount of stretch. You will bring the selvedges together or towards the centre, depending on which pieces and/or size you're cutting - the cutting layouts in the instruction booklet will help you.
Check out our essential marking and cutting tools to make your project go as smoothly as possible.


Choose which style of Erin you want to sew this time and pick your sewing pattern size, if you need help with this, check out our previous step of the Erin sewalong for fitting help. Cut out your sewing pattern along the lines associated with your size.
You can choose between shorts, cropped or full-length hems with tie shoulder (which will have 4 straps to cut out), or pull-through ties (which will have 2 straps to cut out). If you're cutting the shorts or cropped version, save the lower part of the pattern in case you want to make a longer version another time. Remember:
- Erin has a different front side bib piece for sizes 1-6 and 7-15 (the latter is longer to account for a larger bust)
- if you're making the full-length legs, stick part 2 of the pattern to part 1 before cutting the fabric
- if you're making the shorts or cropped version, trace or cut along the magenta hem lines
- if you're making shorts, the hem corners are angled to ensure the hem doesn’t ripple when pressed up to the edge it will sit against
CUTTING YOUR FABRIC
Lay your fabric out on a table or cutting mat and smooth out any wrinkles. If you're using knit fabric, realign the folds if they're twisted so they lie smooth and are in line with the fabric ribs if you can see them. If you're using needlecord, make sure the fold runs exactly along one of the wales (or ribs).
If your fabric is on the thicker side, such as needlecord, you can use a light-weight fabric for the bib lining (and pocket bags if you like). For other fabrics, you can use your main fabric for the lining.
Place the pattern pieces on the fabric - the cutting diagrams in the instruction booklet will help you. If you’re feeling thrifty, the aim of the game is to fit all the pattern pieces on as short a piece of fabric as you can manage. You can follow the diagram we've created in the booklet, or you can play around to see what works best for the width of fabric you have and the size you're making. You can also rearrange the fabric fold if it saves fabric – for example, folding one third over two thirds – as long as the selvedges remain exactly parallel to each other.
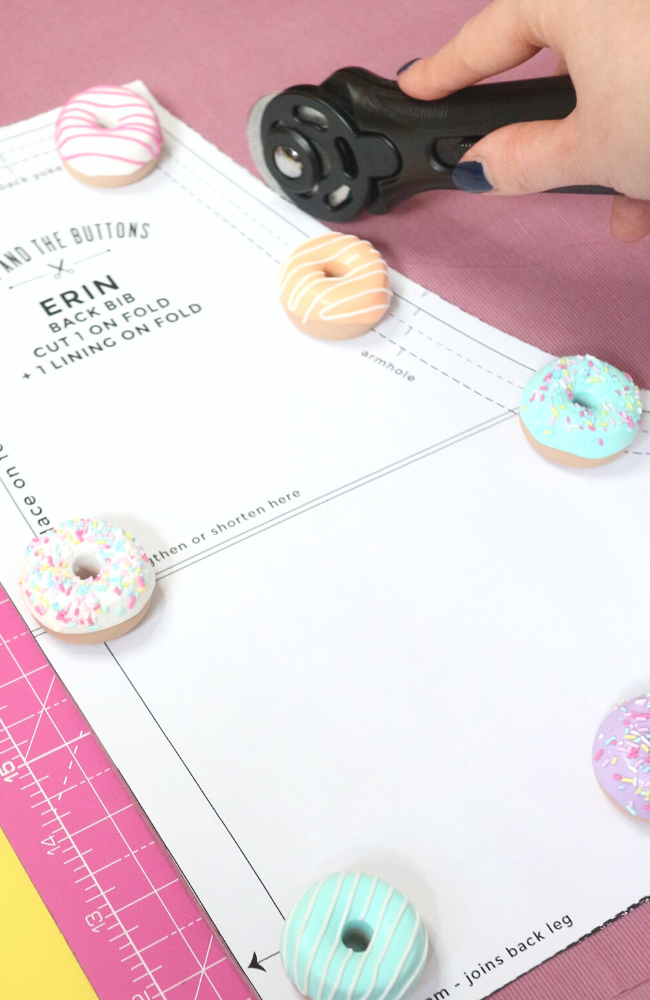
Where the pieces have a "place on the fold" arrow, line up these edges with the fabric fold. Line up the grainline arrows on the other pieces so they're parallel to the selvedge. Hold the pattern pieces in place with pins or pattern weights.
Cut your fabric around the pattern outlines with fabric scissors or a rotary cutter.
MARKING NOTCHES
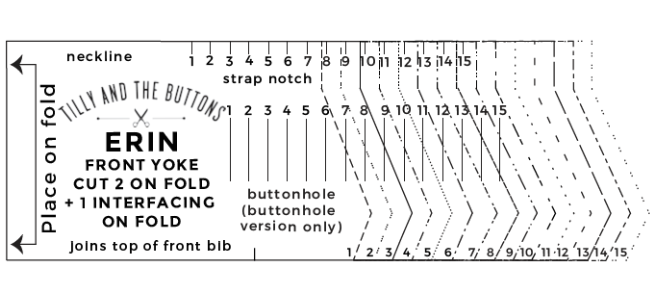
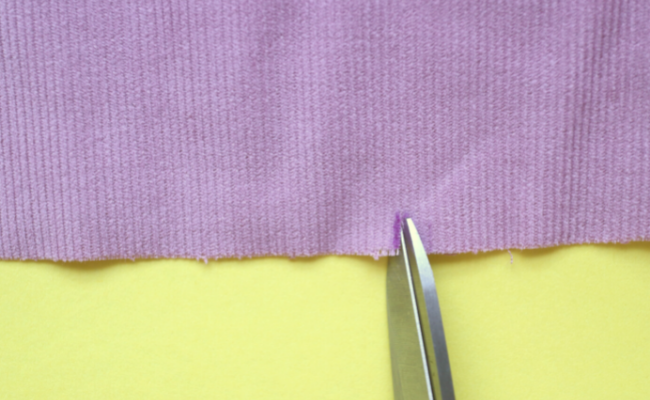
Cut short snips for the notches (about 5mm/1/4in). Snip extra notches at the centre folds of the front yokes, back yokes, front centre bib, front centre bib lining, back bib and back bib lining.
If you're making the buttonhole version, use dressmakers' carbon, chalk pencil or washable pen to mark the buttonholes on the right (nice) side of the front yokes.
Cut one front yoke, one back yoke and four pocket interfacing strips in interfacing.
Mark the small notches at the centre folds. Mark the small circles on the pocket interfacing strips - these are the pivot points. To help identify the top edge of the front centre bib, mark with a pin or safety pin.
If you'd like some specific fabric help, dig into our blog archive for tips:
.png)
Now you’ve got time to get your Erin pattern prepared and your fabric prewashed & your dungas cut out. See you on Friday 8th April and we’ll start sewing!
Share what you're making
We absolutely looove seeing all your Tilly and the Buttons makes, and we're especially excited to see your Erin dungarees throughout this sewalong and beyond. So let us know you're joining in by using #SewingErin when you share your posts on social media. Don't forget we love project planning and in-progress shots too!
Grab your copy of our Erin dungarees sewing pattern and meet us in the next blog post...


