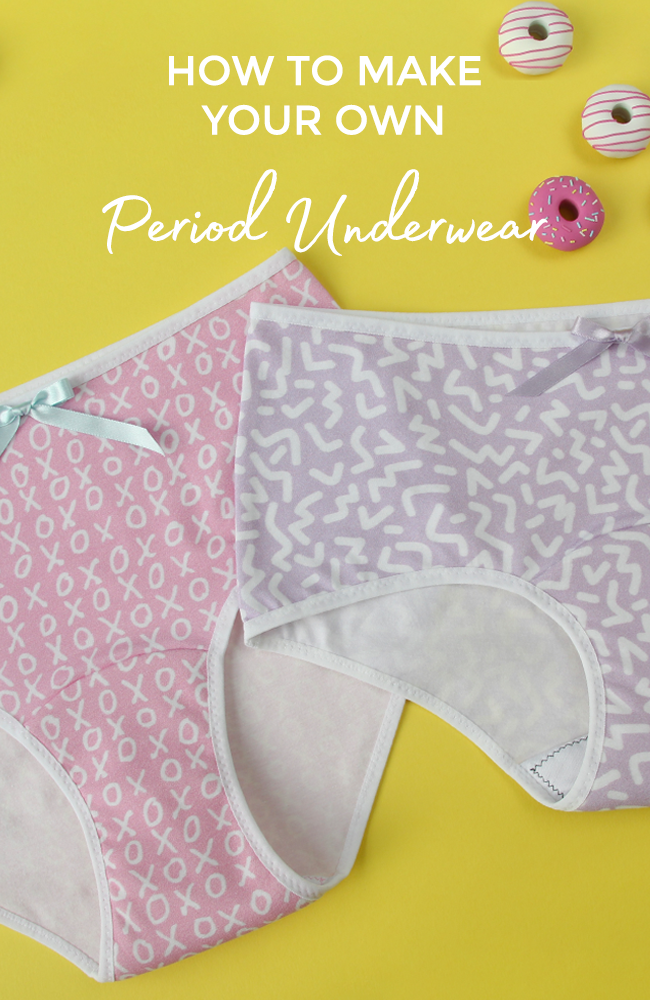
Are you ready to try sewing your own eco-friendly period underwear? Want to make your own reusable knickers for that time of the month without sacrificing pretty or fun designs? Well, look no further than this period underwear sewing tutorial using the Iris knickers sewing pattern, thanks to this guest post by the pattern's designer, Hannah of Evie La Lùve.
In 'How To Make Your Own Period Underwear! Part 1' we covered the types of new fabric you'll need to source for making your own period pants, and a step-by-step guide showing you how to alter your Iris knickers sewing pattern accordingly.
View 'Iris Knickers Period Pants Hack! Part 1: Fabric & Alterations'
With your adapted Iris period underwear sewing pattern ready and your fabrics lined up, it's time to get to the good stuff: the sewing - woo!
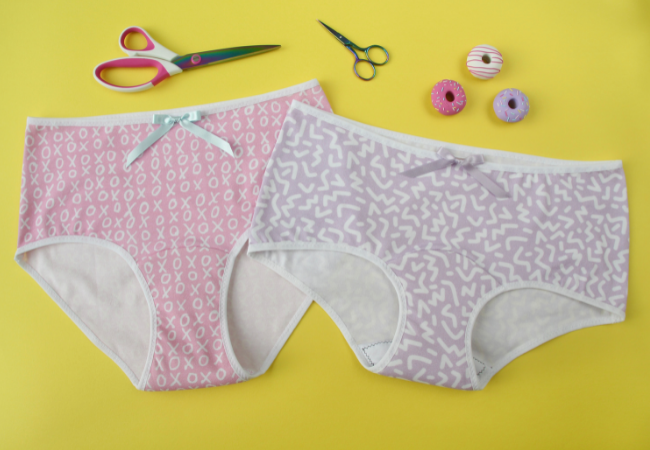
Back over to Hannah...
Cutting fabrics
When you are cutting your waterproof layer, it’s best to use fabric weights and a rotary cutter instead of pins so you aren’t putting any unnecessary holes in the layer for moisture to leak through! For the other fabrics, use the directions on your pattern pieces to cut out your materials.
Once all your pattern pieces are cut out you should have:
- Main fabric: 1 x Front, 1 x Back, 1 x Crotch
- Lining: 1 x Crotch
- Waterproof material: 1 x Crotch
- Absorbent Material: 1 x Crotch (the smaller pattern piece)
Sewing
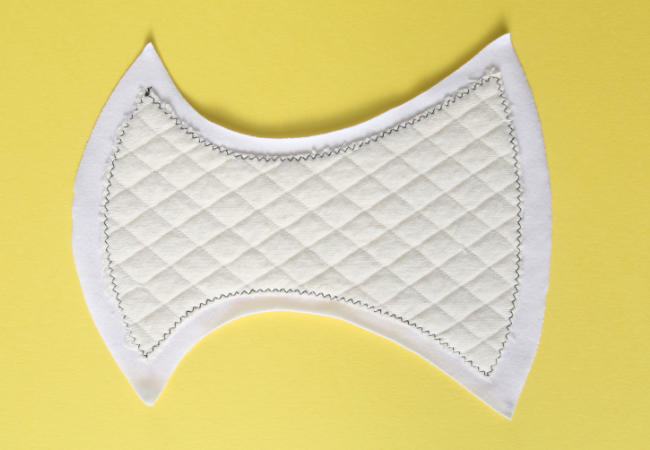
Place the crotch absorbent layer (the smaller pattern piece) right side down (the moisture-wicking side if your material has one) onto the centre of the wrong side of the crotch lining layer. Use a zigzag stitch (2mm x 2mm) to sew all the way around the absorbent layer. Line up your zigzag stitch so the outside of the stitch slightly overhangs the absorbent layer. These stitches will be visible on the inside of your knickers so use a matching thread or one you are happy to be visible.
Treat these as one piece for the following steps.
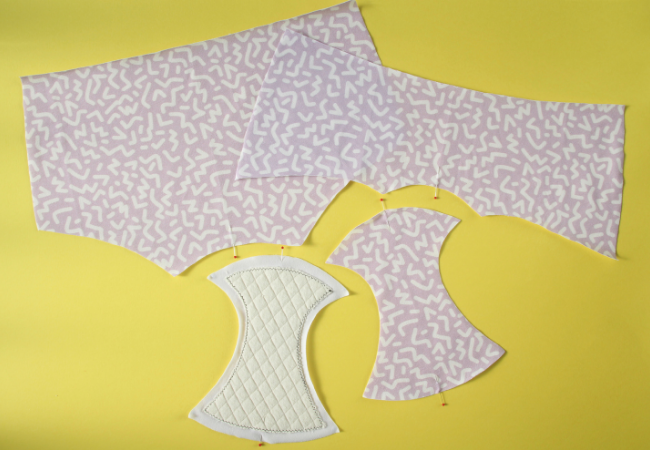
Pop the waterproof layer to one side for the moment. Fold the Front, Back and Crotch main and lining (with absorbent layer sewn to) in half lengthways, bringing together the leg openings, and mark the centre of each back and front crotch seam with a pin.

Lay the crotch main piece right side up and lay the back wrong side up on top so they are right sides together. Lay the crotch lining wrong side up, so you have the absorbent layer facing up towards you, and pin the three layers together along the back crotch seam. Start by lining up the centre points, then the corners and ease the opposite curves together. There are no extra points for using fewer pins here so pin away!
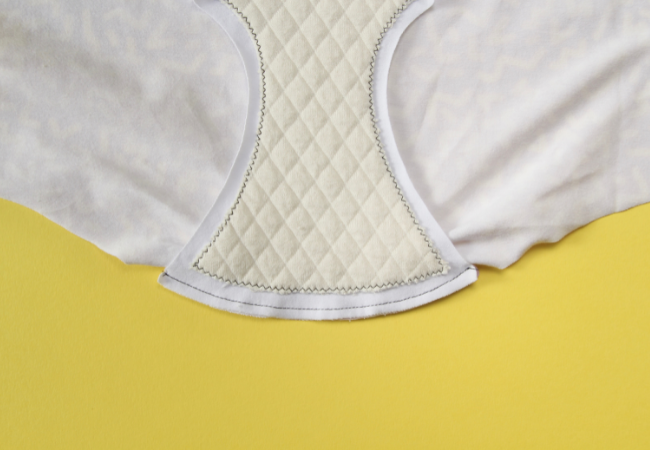
Sew the seam with a 5mm (1/4in) seam allowance and a straight stitch.
With all the layers still in the position they were sewn, tuck the back pattern piece between the two crotch pieces so you can see the front crotch seam in the main and lining fabric that have pins marking the centre.
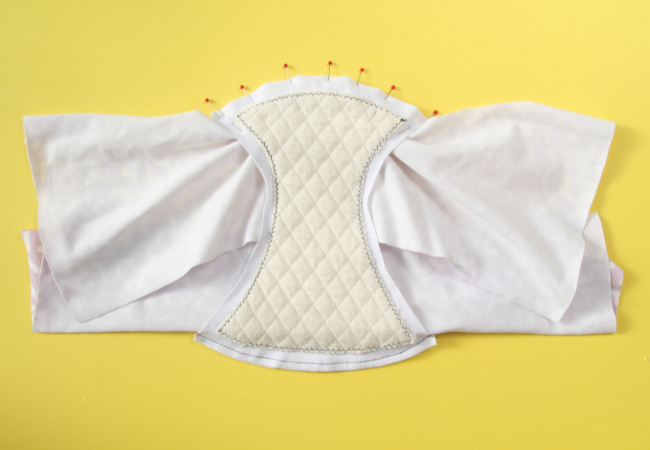
Place the front piece between these two crotch lining layers, right side to the right side of the crotch main fabric and the wrong side to the right side of the lining, matching the crotch seam. Pin this seam in place easing together the opposite curves.

Sew this seam with a 5mm (1/4in) seam allowance and a straight stitch, as you did with the back crotch seam.

Flip your knickers over so that the right side of the main fabric pieces are facing you. Take your waterproof crotch piece and place this to the wrong side of the crotch main, with the PUL coating facing up towards you and the fleece down towards the wrong side of the crotch main piece. If you have fabric clips, use them to clip this in place along the back and front crotch seams. If you are using pins, try to only pin within the 1cm (3/8in) seam allowance to avoid any unnecessary holes.
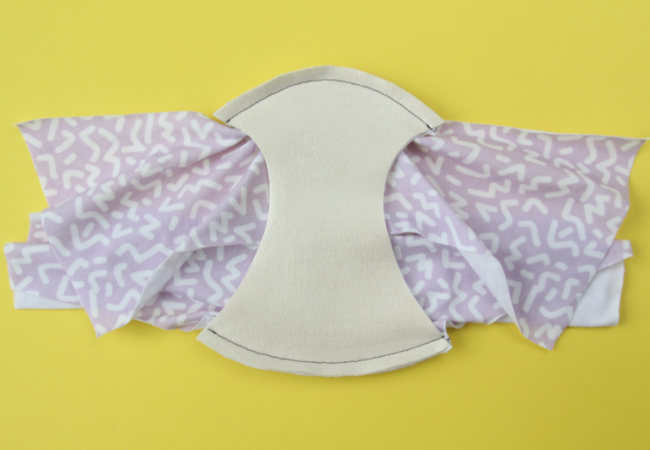
Sew the front and back crotch seams with a 1cm (3/8in) seam allowance and a straight stitch. As you sew, make sure the front and back are laying flat so they don’t end up with tucks or gathers.

Once you’ve sewn the seam, have a peep through the layers to make sure your front and back made it through without any tucks in the seam and when you’re happy, grade the seam allowances, cutting the waterproof layer the shortest if it is the thickest material (like mine here) to remove excess bulk at this seam.

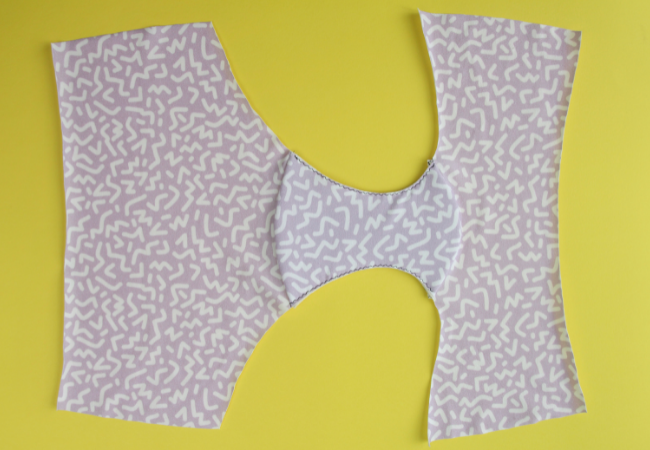
Turn through so all the right sides are facing out and the absorbent and waterproof layers are hidden inside. Use clips or pin close to the edge of the crotch pieces to hold all the layers of the crotch in place along each leg opening.
Tack (baste) the layers of the crotch together along each leg opening using a small zigzag stitch close to the edge.
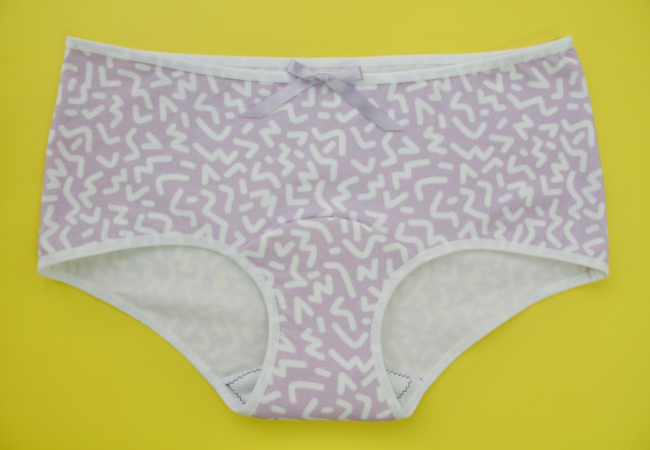
Follow the directions in the
Iris knickers sewing pattern instructions to finish your period pants, starting from the "adding FOE to your leg openings" step.
Tips for washing your period knickers
- Rinse or let soak in cold water then you can wash them in your machine at 40° with your regular detergent.
- Don’t use any fabric softener or it will affect how absorbent they are.
And there we go, your own custom made period pants!


If this blog post has inspired you to sew your own knickers, then look no further than our
online workshop Learn to Sew Knickers taught by the Iris knicker's designer, Hannah of
Evie La Lùve - with video lessons packed full of tips and tricks for sewing your own underwear, so you can fill your drawers with handmade drawers!
Take our online workshop from the comfort of your home, revisiting the lessons as much as you need, whenever you want. Not only does Hannah take you through every step of sewing your
Iris knickers, including shopping for supplies and picking your size, but she also shares how to hack your sewing pattern with bonus pattern pieces & more. Once you've made one pair, you'll be hooked!
Thank you SO much to Hannah for creating this gorgeous, in-depth period underwear Iris hack - which was highly requested by you! Make sure to tag both @TillyButtons and @EvieLaLuve on Instagram when you share your Iris knickers, we can't wait to see them on the #SewingIris hashtag.
*****
Author: Hannah Bullivant


