Are you looking for an easy way to customise your garments and your latest sewing projects to make them even more unique to you? Heat transfers are a fun way to update your clothing with motifs, names, graphics prints, quotes and more! But be warned, they can be seriously addictive once you know how to apply them!
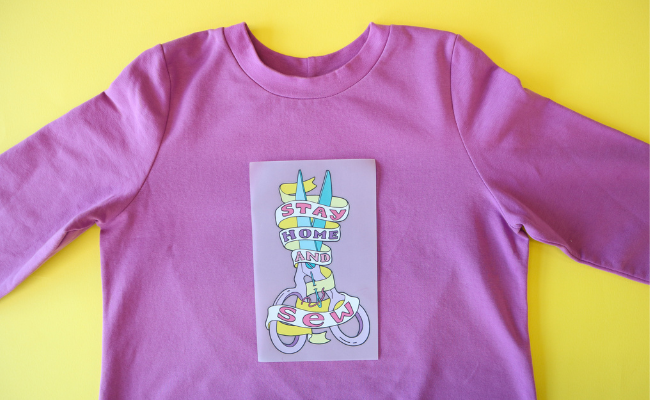
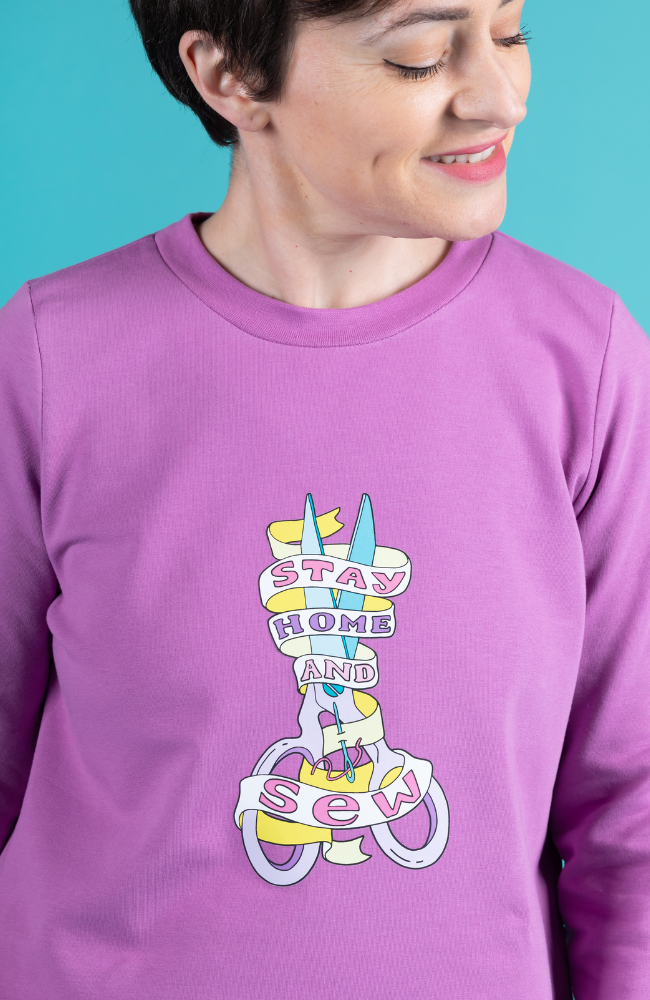
For our recently released Billie sweatshirt sewing kits, we included the cutest heat transfer drawn by award-winning graphic designer and colour queen Liz Harry. Whether you're looking for extra help applying these transfers or are using something different to embellish your garments, keep reading for a step-by-step guide and video...
What is a heat or iron-on transfer?
Iron-on or heat transfers are ink-printed designs that can be applied to clothing and fabric with the application of heat. Think motifs on sweatshirts, quotes on t-shirts and much more! This can take your simple me-made clothing or RTW styles from plain and simple to totally unique.
Unlike iron-on vinyl, the soft finish of the transfer makes it feel like part of the garment, and it stretches and rebounds without cracking!
How to apply a heat transfer
Heat transfers can easily be applied at home - yay! You don't need any fancy equipment, just an iron, an ironing board and some baking (parchment) paper or release paper.
First, decide where you want your transfer to go. Smaller transfers could go on one side of the chest, for example, whereas you may want to centralise a larger transfer. In the latter case, fold your garment in half lengthways, lining up the shoulders and side seams, and lightly press the centre front line to form a crease as a guideline.

Lay out your garment on your ironing board and place your transfer on top, making sure you are happy with the placement, checking it's straight (if that's your intended look of course!).
Turn your iron on and switch it to a two-dot or medium heat setting, with absolutely NO steam.

Carefully place baking paper (or release paper) on top of your heat transfer.
Take the iron and place it down on your design for 12 seconds. Repeat if needed across your transfer to make sure you've covered the entire design (you don't want any loose corners peeling up!).


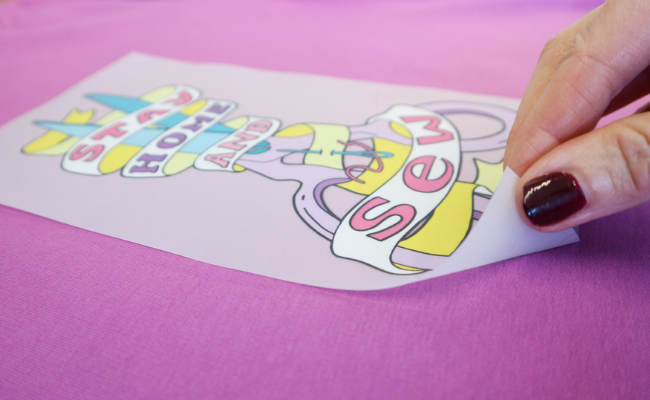
Wait for your design and garment to cool completely and peel off the transfer paper with one smooth motion.

Alternatively, if you own a heat-press machine specially designed for transfers like this, set the machine to 120C heat, with medium pressure, for a 12-second press. Wait until it has cooled down, then peel off in one smooth motion!

To care for your heat transfer, make sure to wait at least 48 hours before washing your garment. When you do, turn your clothing inside out and avoid ironing over the transfer directly in the future.
