1. Stabilise those seams! (woven or knit fabrics)
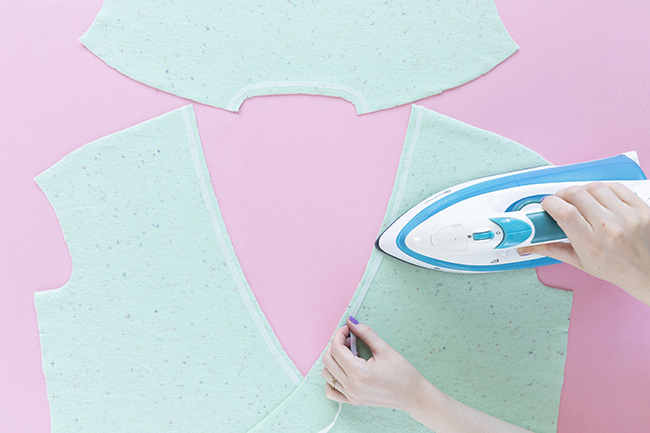
If you thought that stabilisers were just for kids' bikes, then think again! Ok fine, you don't have to add actual wheels to your neckline, but stabilising a neckline seam can help prevent it from stretching out both from sewing and wear. This is a particularly good idea if you're making something with a bias-cut (diagonal) neckline, such as the Alexa jumpsuit or Pearl cardigan.
For a woven fabric, try stay tape or twill tape, a flat woven ribbon that you can buy in different widths. Stitch it to the neckline within the seam allowance, close to where the stitching line will be.
For knits or woven fabrics, a great option is iron-on seam tape, AKA my new best sewing pal. It has a slight stretch to it, making it super easy to apply to curves and, as it's fusible, you don't need to sew a single stitch - just press it in place, again, within the seam allowance and close to the stitching line.
If you don't have these to hand, cut iron-on interfacing into narrow strips and use it the same way. This is a perfect way to use up interfacing scraps that you've been hoarding.
2. Fabric recovery is your friend (knit fabrics)
All knit fabrics stretch to some extent - this is of course why we love wearing them and what they are designed to do. But some will stretch whilst you wear them and continue to stretch as the day goes on without snapping back to their original size.
A fabric with good "recovery" returns to its original state after stretching, without becoming baggy or distorted. Using a fabric with a good recovery is especially important when making something with a neckline that you want to keep the same shape and size, such as the wrap neckline on the Pearl cardigan or the scoop neckline on the Agnes top, as it will help it keep its shape.
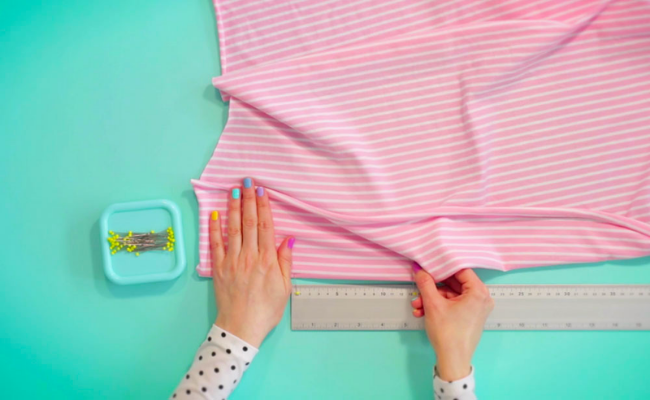
To check if a knit fabric has a good recovery, cut a swatch and measure it. Pull the fabric lengthways and widthways a few times, then set it down and measure it again. If it easily pings back to the same size, then this indicates it has a good recovery - yay! If your swatch is left slightly bigger post stretching, it indicates that the fabric doesn't have a good recovery and will most likely be more prone to growing with wear.
3. Consider shortening the neckband (knit fabrics)
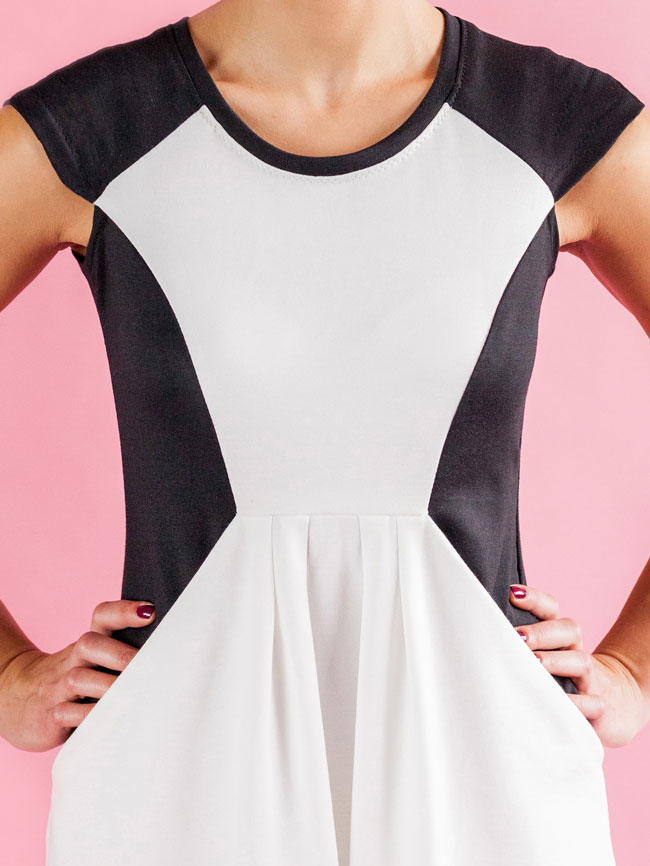
If you're making a knit top or dress with a neckband, such as the Billie sweatshirt, Zadie dress or Tabitha t-shirt from Make It Simple, you'll find that knit neckbands are usually slightly shorter than the corresponding necklines they are sewn to. This is so the neckband can pull the neckline in slightly so it sits nice and flat against your body.
If it's your first time making a particular pattern or you're using a very different fabric from last time you made it, it's worth tacking (basting) the neckband on before stitching for real, in case you need to adjust it. If you find it's gaping once you've already sewn it, try steam pressing it first as often this can fix the problem. But if it's still too loose, unpick it, shorten the neckband by 1-2.5cm (3/8-1in) by sewing the ends together a bit further in, and attach it to the neckline again.
4. Pivot! Pivot! (woven fabrics)
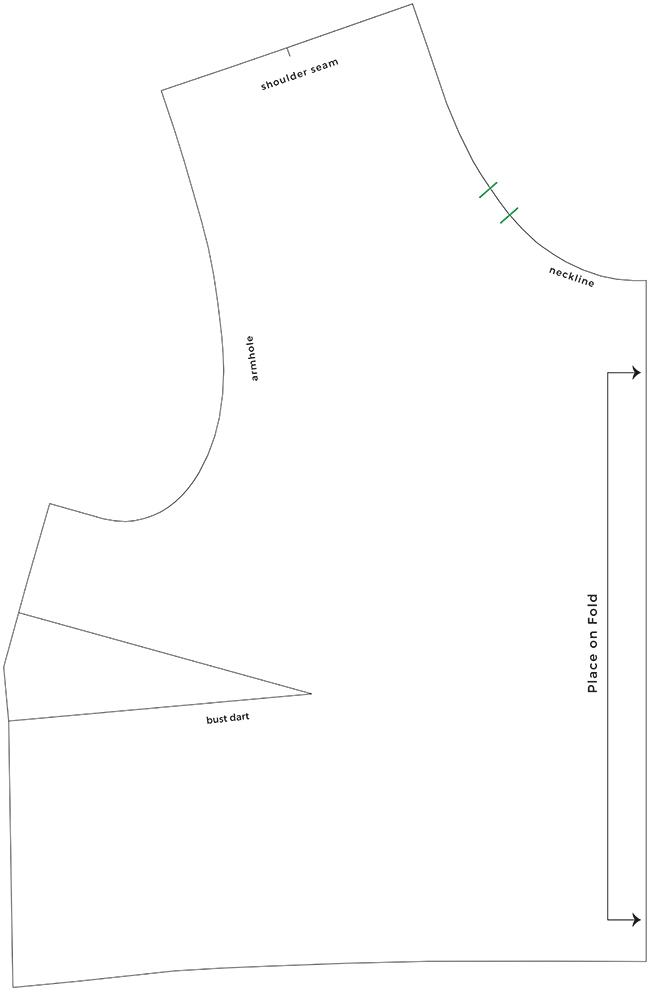
If you're sewing a woven garment with a dart in the bodice, such as the Indigo smock, and you think the neckline is a bit loose, then you can move the neckline fullness into the dart. Say what?! This isn't an adjustment you can make whilst you're sewing and needs to be done on to the paper pattern, so if you suspect it may be necessary, it's worth sewing a quick toile in cheap fabric first to test the fit and gauge how much you need to remove.
To do this adjustment you'll need a pen/pencil, some scrap paper, a glue stick or sticky tape and a pair of scissors.
Mark a point on the neckline where you want to take the neckline in. It doesn't have to be in a specific spot, just make sure it's away from any seams. Mark another point near it, the distance being the amount you want to reduce the neckline by. So for example, if you want to take the neckline in by 15mm, make two marks on the neckline 15mm apart.
Draw a straight line from one of these marks to the tip of the dart. Then, draw another line from the dart tip right down the centre of the dart.
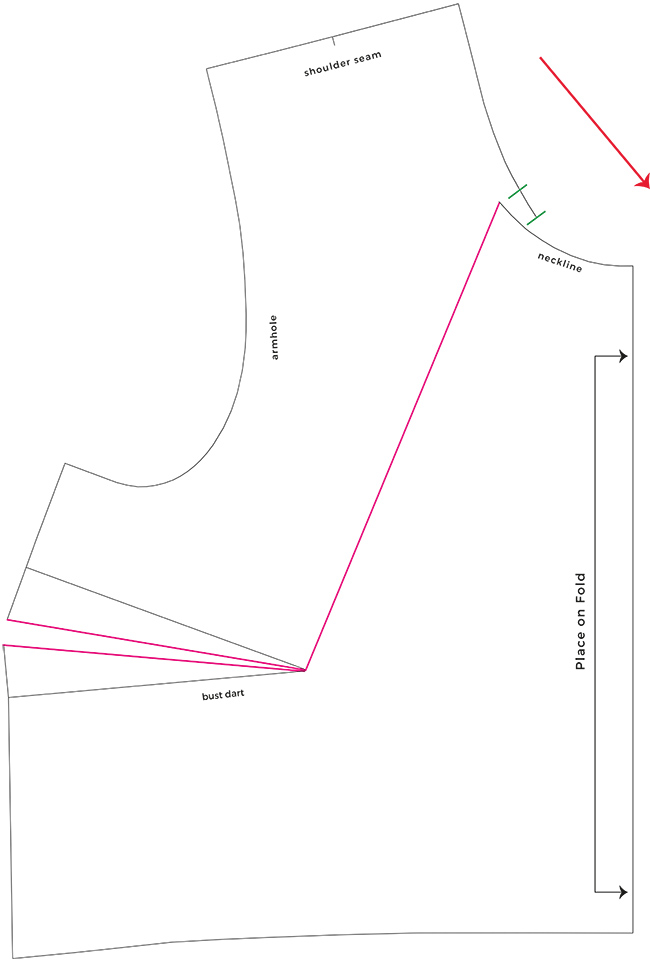
Grab your scissors and cut from the end of the dart and stop a smidge before the dart tip. Then do the same from the neckline cutting down the other line, again stopping a smidge before the dart tip.
Now it's time to pivot that excess! At the neckline, gently move the paper so the cut edge now meets the second marking you made on the neckline. As you do this, the dart becomes wider, meaning you've transferred the excess from the neckline into the dart. You can sew the dart in exactly the same way. If the neckline has a pronounced curve you won't be able to line up the edges, so just stop pivoting the paper when it's roughly in line with the mark you made. Stick in place.
If the neckline is looking a bit wonky after this adjustment, draw a new smooth line in, and stick a piece of paper underneath the bodice to fill in the dart. Draw the new dart legs in by continuing the original seam lines and meeting in the middle. And you're done!

5. Add an emergency dart (woven fabrics)
If you've already sewn your bodice in your super lovely fabric and have discovered the neckline is gaping, don't fret as all is not lost. You can pinch out a wedge of fabric at the neckline and sew in a little dart (or two).
Try on your garment and pinch how much you want to remove from the neckline and secure with a pin. Take the garment off and measure this amount. If your bodice is symmetrical, you may want to divide this in half and add one dart on either side of the neckline as this will make it look like a design feature as opposed to a fix. For something like a wrap dress, sewing one dart will look fine.
Once you've worked out how big you want the dart(s) to be, draw in the dart(s) on the wrong side of the fabric in chalk pencil or washable pen, and sew. If you need any tips on how to sew a dart then check out our blog post on sewing darts!
If you're adding a facing to the neckline and you have some spare fabric, you might want to re-cut the pieces so they're smaller to fit the new (and improved) neckline. If you don't have any spare fabric, sew a dart into the facing to match and then sew together.

And that's it! I hope you've found this blog post useful and that you now feel armed and ready to tackle gaping necklines that come your way :)
Liked this blog post? Check out the Fitting Help section on our blog for more tips and tricks.
*****
Author: Nikki Hoar
Photography: Jane Looker


