If you’ve got a couple of sewing projects under your belt, you’ve likely come across interfacing. Let's look at what interfacing is, how to use it, and our top tips for sewing with it.
What is interfacing?
Interfacing is a stiffening material used in sewing to add extra structure or firmness to certain areas of a garment – such as cuffs, button plackets, collars and waistbands.
It is applied to the wrong side of the fabric (it’s usually the first step in sewing pattern instructions) and isn’t visible on the finished garment.
What type of interfacing should I buy?
You can get lots of different types of interfacing – iron-on or stitch-in; woven, non-woven or knit; black or white; light-weight to heavy-weight; designed for stretch or woven fabrics; in pre-cut packs or sold by the metre or yard.
Which one you choose will depend on what fabric you’re using for your project – the main thing is to ensure is that the interfacing is a similar weight to the fabric you’re using so that it adds firmness but doesn't make it too stiff.
Hunt around for variety of interfacings that you like – they’re always useful to have to hand. I generally keep a stash of light-weight, medium-weight and heavy-weight interfacing so I’ve always got something to match what I’m making. It's also useful to have some stretch interfacing if you regularly make garments in knit fabrics.
Iron-on - or "fusible" - interfacing is the easiest to use, unless the fabric that you're using is more suited to a sew-in material. If you’re using sheer fabrics, which interfacing would show through, you can attach a layer of fine fabric such as organza instead.
How do I apply interfacing?
To apply iron-on or fusible interfacing:
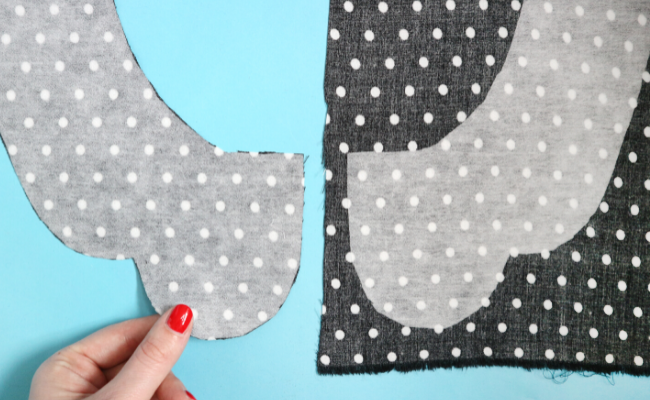
- Cut the interfacing to the shape of the pattern piece. (Aim to not make it any bigger, or the glue could end up on your ironing board.)
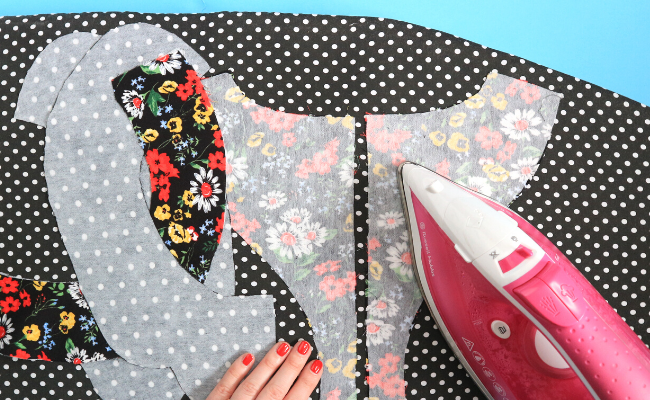
- Place your fabric piece on an ironing board, with the wrong side facing up. Position the interfacing piece on top of it, with the glue side (rough side) facing down.
- Gently press down onto the fabric with a hot, dry iron for a few seconds to allow the sticky side to melt and adhere to the fabric.
Now you know what interfacing is and how to use it, here are five tips for interfacing like a pro...

1. Press up and down
With a hot, dry iron, when applying the interfacing, try not to move the iron back and forth - instead use an up-down motion so you don't squidge up the interfacing while the glue is melting.

2. Stretch interfacing can work with woven fabrics too
Don’t have any woven interfacing to hand? Want to add a bit more flexibility to your garments? Try using stretch interfacing to allow a bit more movement to woven fabrics on areas such as waistbands, collars and cuffs.

3. Avoid glue mess
Nobody wants to chance ruining their fabric mid-sew. If you’re unsure about what temperature to use when applying interfacing, start the iron off on a low heat setting, turning it up as needed. And turn off the steam to prevent the moisture causing a sticky situation.
Alternatively, you could use a pressing cloth or sheet of paper as an extra layer of protection between your iron and your fabric. In which case, you can turn the heat up higher and add the steam.
Oh, and try to avoid the glue side (rough side) of the interfacing touching the iron plate or your ironing board cover when it’s hot – ensure the fabric is layered over it to avoid glue stains.

4. Let it cool!
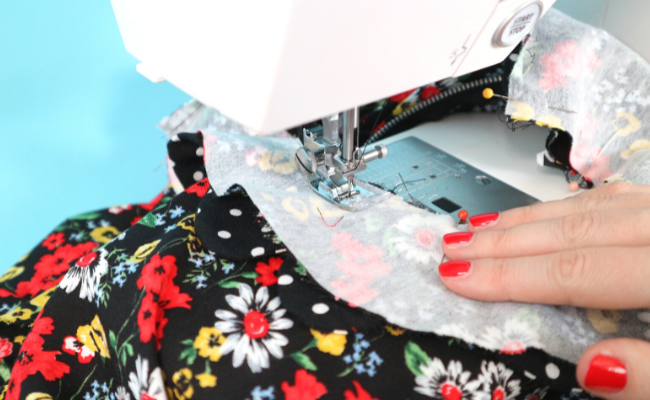
If you’re a speedy sewist, you might be at risk of sewing while your pattern pieces are still hot. Let your fabric cool completely before you start sewing otherwise you can risk you interfacing puckering up.

5. Cut the interfacing before slippery fabrics
If you’ve explored sewing with slippery fabrics before, you might be familiar with this tip. Small pieces, such as neckline facings and collar pieces, can be particularly tricky to cut accurately in slippery fabric. Cut the interfacing first then fuse it to your uncut fabric. Then you can simply cut around the outside of the interfacing piece, basically using it as a template!

Now you’re ready to tackle interfacing your sewing project like a pro!
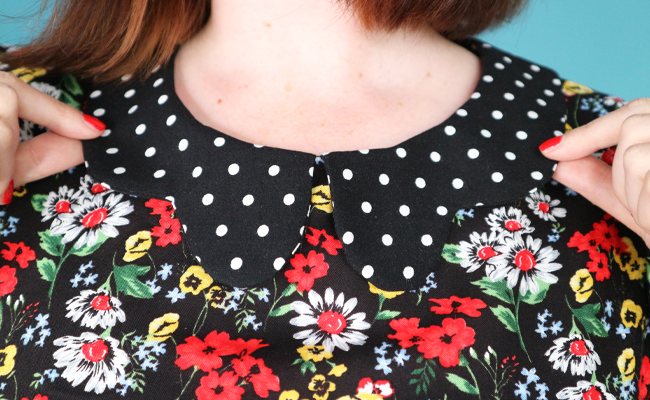
This post features the Orla blouse sewing pattern with its statement scalloped collar - cute!
If you liked this post, check out Five Tips For Cutting and Sewing Slippery Fabrics!


