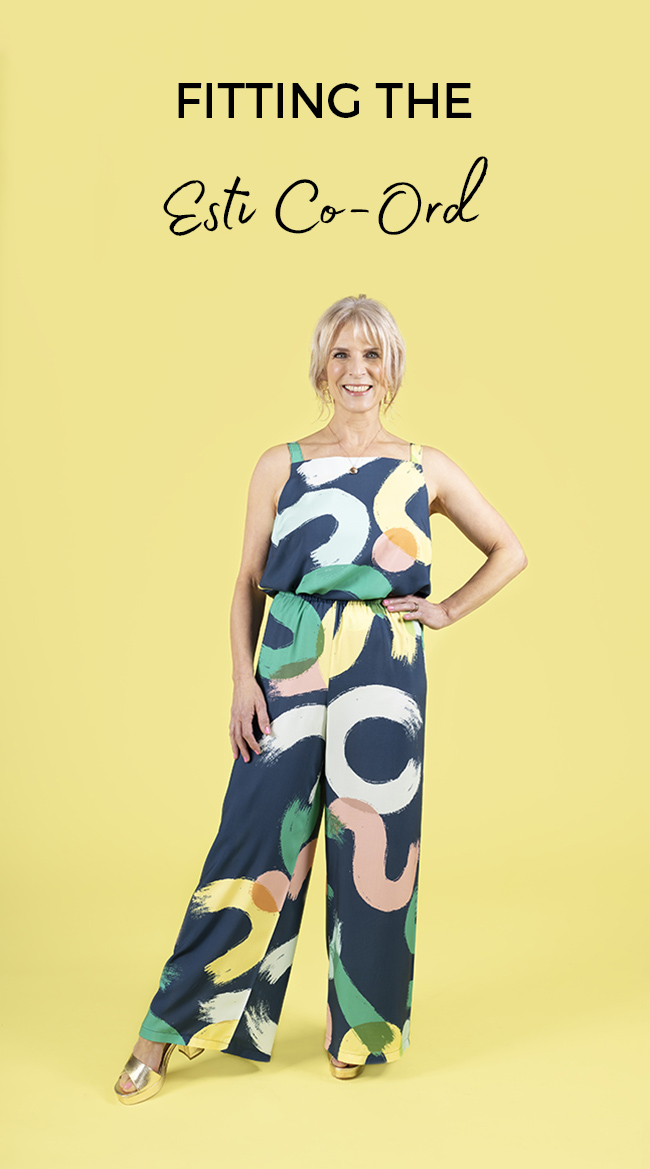
Esti is a simple to sew and incredibly versatile top-and-trouser or top-and-shorts co-ord that you can wear all year round!
Since we're all different shapes, we sometimes need to make adjustments to sewing patterns to get a fit that we're happy with. Here, I'm going to talk you through the most common fitting adjustments you might want to consider making to your Esti Co-ord.
In this post we're going to cover:
- Making a toile
- Choosing your size
- Full bust and small bust adjustments
- Lengthening or shortening pattern pieces
- How to combine pattern sizes
- How to adjust the neckline
- Full tummy adjustment
- Lengthening or shortening the crotch
Making a toile
A toile - or a "muslin"- is an initial mock-up of your garment in fabric you don't mind using for testing purposes - pick something with similar weight and drape to the fabric you have in mind for your final project. Making a toile is a great opportunity to test the fit of a sewing pattern or practise a technique on sacrificial fabric before you cut into the nice fabric you have lovingly chosen and purchased for your project.
We have a comprehensive blog post about toile making. Go check it out if you want to find out more!
Choosing your size
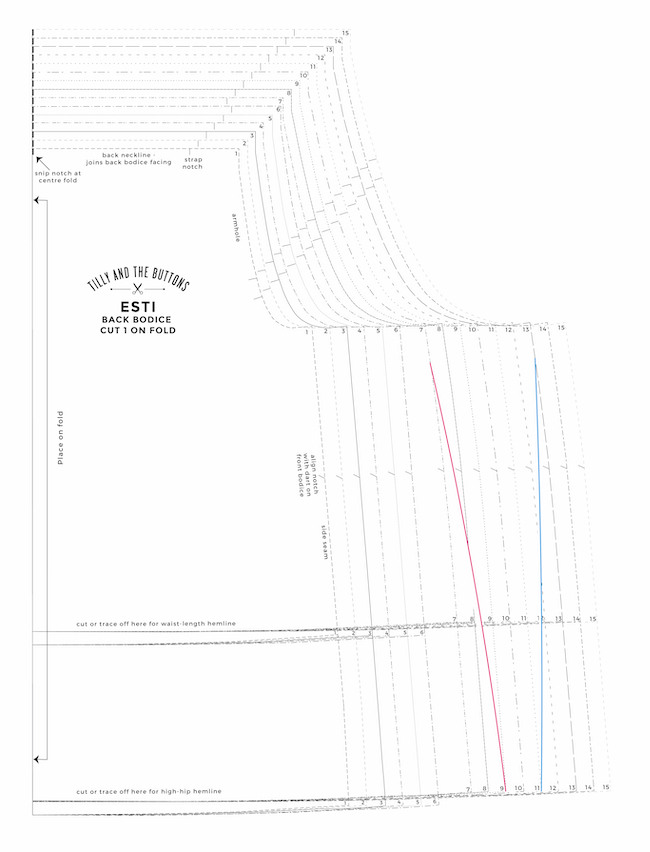
Esti includes all 15 sizes in our range. Pattern sizes 1-6 (UK 6-16) and 7-15 (UK 18-34) have been drafted, fitted and graded separately to create a better fit. For this reason, you may notice the proportions change in the measurements chart and the shaping is slightly different on the pattern pieces – differences for sizes 7-15 include room for a larger bust (10cm/4in difference between high bust and full bust, as opposed to 5cm/2in difference on sizes 1-6), more room at the waist, plus a longer front crotch curve.
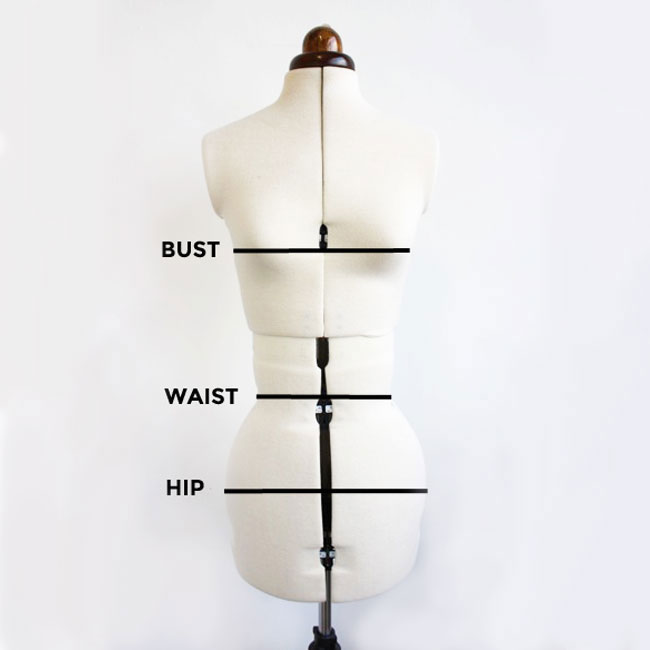
To find your size, using a flexible tape measure, measure the circumference of your:
- Bust - take the measurement at the fullest point i.e. around your nipples
- Waist - where you bend at the side
- Hips - the fullest part - it helps to turn to the side and look in a mirror to see where this is
Check the tape measure is sitting level with the floor - it can help to turn to the side and look in a mirror to check.
Circle your measurements on the ‘Body Measurements’ chart in the pattern instructions. If your measurements all fall into one size, then this is the size you'll cut.
However, it's common for your measurements to fall into different sizes too. In fact, most peoples do! You can create a bespoke fit for you by combining sizes (we'll come onto that later!).
A quick note about bust measurements - as we are all wonderfully unique, choosing a pattern based on our full bust measurement may sometimes lead to a garment being too small or tight across the bust, or fit in this area but not fit everywhere else. If this sounds familiar you might want to do a bust adjustment. Cast your eyes over the section below...
Full bust and small bust adjustments
If you have a particularly large or small bust, choosing a size based solely on your bust measurement can mean that you'll end up with a top that is either too large or too small.
If you know your bust is on the larger or smaller side, check out our blog post on how to do bust adjustments on a bust darted bodice.
Lengthening or shortening pattern pieces
Our patterns are drafted for a height of around 5"5 (165cm). If you're particularly taller or shorter than this, or know you have a long or short torso or legs, you can change the length of the pattern pieces to fit you better. You can also change the length of the top, trousers or shorts to suit your own personal style.
We have a blog post dedicated to explaining how to lengthen or shorten pattern pieces. It talks you through the process, step by step, so go check it out.
Remember, if you lengthen or shorten the front bodice or leg, make sure you make the exact same adjustment to the back bodice or leg so the side seams end up the same length.
We have included the following sets of lengthen or shorten lines on the Esti pattern pieces:
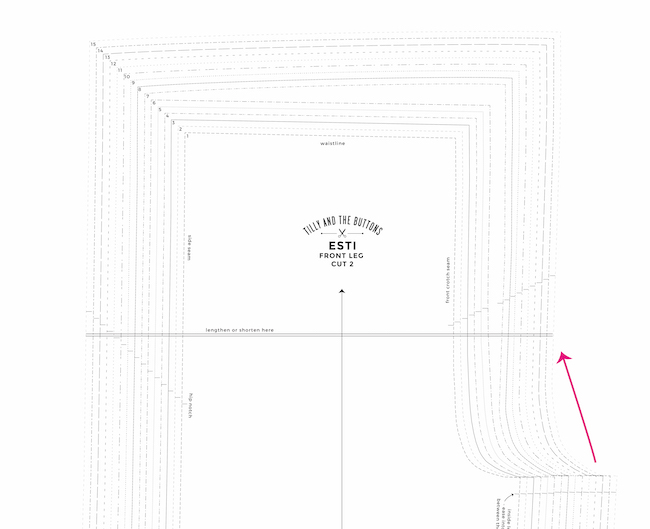
The Esti trousers and shorts are designed to sit at the natural waistline. If you are tall or short overall and usually find trousers and pyjamas come up a bit too high rise or low rise for you, you can lengthen or shorten the crotch using the set of lines marked "lengthen or shorten here" on the upper part of the front and back leg.
If you have particularly long or short legs, you can lengthen or shorten the pattern along the set of lines marked "lengthen or shorten here" on the lower part of the front and back leg.
The inside leg measurement for the Esti trousers is 59.5cm (23 1/2in) for the cropped version and 75.5cm (29 3/4in) for the full-length trousers. Compare this to your own inside leg measurement before you decide whether to lengthen or shorten the legs. If you're not sure if you need to shorten them, leave them as they are and shorten them at the hemming stage if you need to.
Lengthening or shortening the shorts
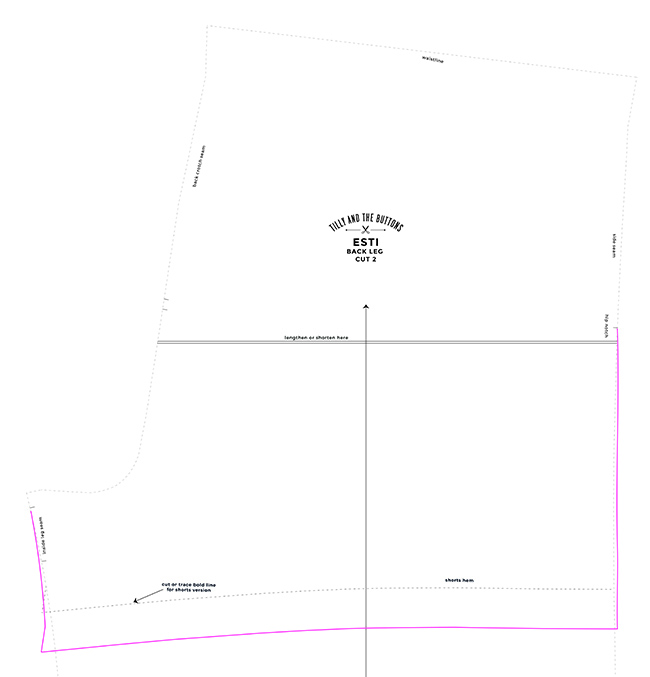
The inside leg seam measurement for the shorts is 8cm (3 1/4in). If you think you want these a little longer, you can draw in a new hem line to your desired length.
Work out how much you want to extend the shorts by and measure down from the shorts hemline and mark this point. Draw a new line, roughly following the curve of the original shorts hemline, and true the corners i.e. copy the little sticky out bit at the edges of the hemline. Bring out the inside leg and side seams just a smidge to retain the shape of the shorts - use the pink lines above as a guide.
Lengthening or shortening the bodice
If you want to lengthen or shorten the bodice, measure up or down from the front bodice hem and mark where you want the new hem to sit. Draw a new line, roughly following the curve of the original bodice hem. Once you're happy, make sure you make the same change to the back bodice!
How to combine pattern sizes
If your bust, waist and/or hip measurements fall in different sizes on the body measurements chart, you can grade between these areas to get a bespoke fit for your exact body measurements. Check out our blog post which explains how to combine sizes.
For the top, the only area you really need to fit is around the bust and neckline. There's quite a bit of ease around the waist so you don't have to worry about picking your exact waist size if your bust is a different size, unless there's a difference of more than 2 or 3 or so sizes. You can find the finished garment measurements in the booklet which tell you how big the garment will be.
For the trousers, the waist is elasticated meaning there is a lot more fitting leeway compared to a more fitted waistline, although we recommend choosing the correct size from the body measurements chart as this will be most comfy to wear.
If you want to combine sizes between the waist and the hips, measure 5cm (2in) down from the waistline and mark it. We don't want to change the size lines above this point as it may alter the shape of the elastic waist channel. From this point, draw a smooth curved line to the hips by hand, or using a french curve or pattern master.
How to adjust the neckline
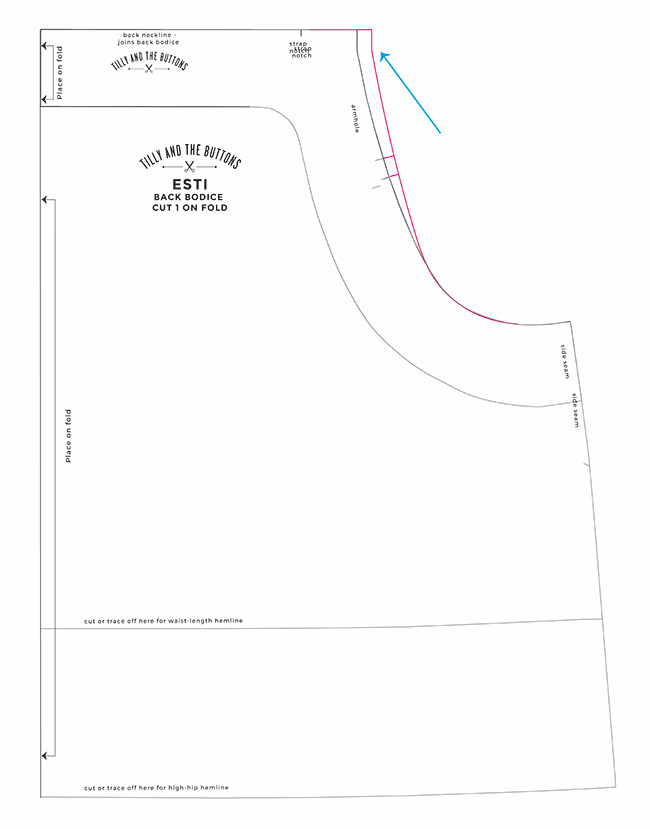
If you have especially narrow or wide shoulders you may want to adjust the top neckline.
If your shoulders are on the narrower side, we have a blog post all about adjusting gapey necklines which covers how to pivot excess from a neckline into a bust dart. It's like magic!
If you have already made a full bust adjustment and don't want to make the bust darts any bigger, you may be better off simply shaving a bit off the sides of the neckline at the top of the armholes and bringing the straps in a little. It's this kind of adjustment that makes a toile worthwhile!
Full tummy adjustment
If you often need a bit more room in the stomach for your me-mades, but they fit everywhere else, you can do a full tummy adjustment. This adjustment adds length and width to where the fullest part of the tummy is.
We have a blog post and video on how to do this adjustment coming very soon, so keep your eyes peeled!
Lengthening or shortening the crotch
If you read the 'lengthening and shortening' section above you might think wait, didn't we already cover this already? And you are indeed correct.
However, the above section covers how to adjust the length of the front and back crotch to add or subtract length in the rise. If you think you might need more room in the front crotch only, there is an easy little adjustment you can make which can make all the difference.
2) Shortening the front crotch
And that's it! Remember, these are the most common adjustments you might want to consider for your Esti top and trousers or shorts, not a comprehensive list. And you might not need to do any at all!
Please tag us on Instagram @TillyButtons with the hashtag #SewingEsti. We can't wait to see what you make!
------------------------------------
Author: Nikki Hoar
Models: Sarah Britner & Sophie Prat
Photographer: Jane Looker
MUAH: Laura Ann
Samples: Sewn by Vanessa Allen
Ruby Star rayon - Grid Fabrics
Robert Kaufman Limerick linen gingham - Minerva
Robert Kaufman Essex linen in willow - Love Crafts

