
Gearing up to sew your own Francoise dress? Let’s talk supplies and fabric shopping (fun!).

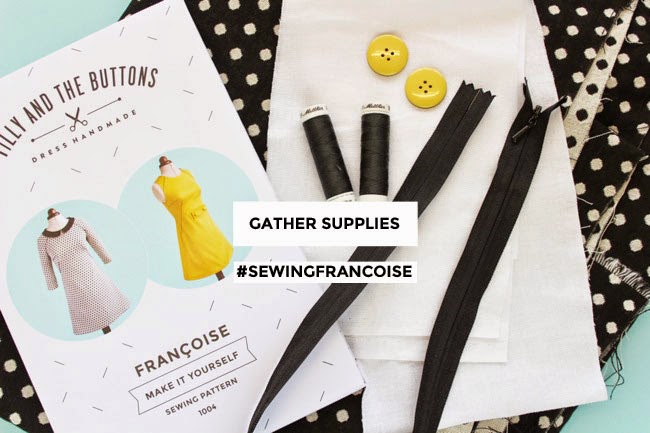
You will need:
- Francoise sewing pattern – buy it from the online shop or from one of our lovely stockists (they’ll be arriving soon at many stockists if they're not already there)
- Fabric – see below
- Matching thread - one or two spools of all purpose polyester thread
- 56cm / 22in invisible zip – AKA a concealed zip. You can substitute this with a regular zip if you prefer but I’ll be showing you how to sew the invisible variety
- Iron-on interfacing - about 30cm / 12in, in a similar weight to your fabric (I like the woven stuff)
- Optional: 2 x 2.5cm / 1in buttons if you're adding the tab
- Optional: 1.2m / 1 3/8 yards x 35mm bias binding for the sleeveless version - or you can make your own using the pattern piece included
- Optional: any other decorative trims you choose to add, such as piping or lace


You’ll also need your sewing tools:
- Sewing machine
- Regular presser foot – this should come with your sewing machine
- Invisible zip foot – check you get one that fits your model of machine
- Optional: Adjustable zip foot – not essential, but omigawd getting one of these babies changed my life! I'll show you how to use one of these to sew the centre back seam really close to the bottom of the zip without any bubbles. They're also great for piping if you’re adding that (again, check the foot you get fits your model of machine)
- Optional: Overlocker, AKA serger for finishing your seams - don't get one especially, you can always use the zigzag stitch on your regular sewing machine instead
- Fabric scissors and cutting mat
- Optional: Dressmaker’s carbon and tracing wheel – for my preferred method of tracing patterns
- Chalk pencil or washable pen - test them on your fabric first to check they show up and wipe or wash off easily
- Pins, seam ripper and tape measure
- Steam iron and ironing board
- Sewing machine needles – 80/12 will probably be the right weight for your fabric (medium weight); get universal, unless you’re using double knit in which case get ballpoint
- Hand sewing needles
How much fabric do you need?
For the version of the dress with sleeves and collar, you’ll need:
1.8m x 150cm wide (2 yards x 60in)
OR 2.4m x 115cm wide (2 5/8 yards x 45in)
For the sleeveless version of the dress with the tab, you’ll need:
1.5m x 150cm wide (1 5/8 yards x 60in)
OR 1.7m x 115cm wide (1 7/8 yards x 45in)
If you want to make the collar in a contrast fabric, you’ll need 0.3m / 3/8 yard of contrast fabric.

What kind of fabric should you get?
Francoise is designed to be sewn in woven fabric that has a bit of body to hold the shape of the skirt.
If you’re making the version with sleeves, I wouldn’t go for anything too stiff, otherwise the raglan style may make it a bit uncomfortable to lift your arms. So a medium weight cotton, sateen or light twill with a little bit of stretch would be prefect, or something softer like double crepe or linen. As a stable-ish fabric that isn’t too stretchy, double knit would also work – but be aware that the silhouette of the skirt will be a bit more drapey and less A-line in something like double knit.
If you’re making the sleeveless version, you have a bit more choice of medium weight fabrics as you don’t need to worry about tightness on the arms. Any of the fabrics listed above would be suitable, as would gabardine, quilting weight cotton, light wool or brocade. What you do need to think about though is the darts – anything too thick could potentially create a pointy bullet bra effect - yikes! When we come to talk about sewing the darts, I’ll cover some tricks for reducing pointy nipplage.
Want to make the dress in something more drapey? It’s totally do-able, just be aware that it changes the silhouette of the skirt. For example, I test sewed a version of the sleeved dress in a drapey semi-translucent viscose, and it’s nice, but the shape is a bit nothing-ey. I’ll finish it up at some point to show you so you can see what I mean.
Take a look at the right hand side of this blog for links to lovely fabric shops.
As soon as you get your fabric…
Stick your fabric in the wash (assuming it’s machine washable) so that you get any shrinkage out of the way now before you cut and sew it together. Once it’s dry, iron out any creases so you can cut the shapes as accurately as possible.
In the next post, we’ll cover finding your pattern size and making some initial flat pattern adjustments, followed by some more in-depth posts on fitting…
