Here at Tilly and the Buttons, we love to encourage and support newbie sewists and something we hear again and again is that some of you out there avoid certain sewing projects because of buttons and the fear of sewing buttonholes. Well, we're here to change your mind and to show you that buttons don't need to be intimidating and can actually be rather satisfying to sew - trust us!
So please enjoy this round-up of Tilly's tips for perfect buttons, every time you sew...

Let's go right to the start, shall we? So you've got your lovely sewing project in front of you and you've reached the point where you need to start sewing your buttonholes. Eeek!
Before you start stitching, double and triple-check the placement of the buttonholes because believe us - you don't want to unpick buttonhole stitching (unfortunately speaking from experience...)! These will be clearly marked by lines on your paper pattern, usually down the centre front pattern piece, and can be transferred onto your fabric with chalk or a washable pen. If you need a refresher, check out Tilly's recommended marking and cutting tools HERE.
With your clearly marked buttonholes, let's get to the main event, stitching the buttonholes...
We'll be showing you how to stitch one-step buttonholes and four-step buttonholes, if you’re not sure which type of buttonholes your sewing machine makes, it's always best to take a look at your sewing machine's manual.
Always test sew a buttonhole (or five) on a double scrap of your fabric (interfaced if your project is) before starting on your precious garment, so you have a chance to alter the settings and check everything is in order first.
With your project ready, check out the buttonhole sewing tutorial for whichever method you're using:
Wahoo! Now you've got your gorgeous buttonholes mastered. Pretty satisfying huh?
Tilly's bonus tip: Stitch a secret button or popper/snap if your garment is coming under strain e.g. as the Arielle skirt is fitted, when you sit down you may notice your buttons struggling – avoid buttons flying off with an extra, secret button!

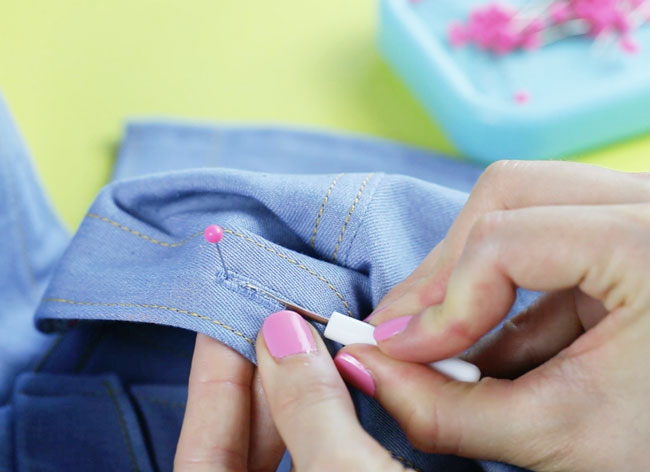
Before opening up the buttonhole, it's a good idea to use a product like Fray Check to seal the threads and avoid excessive fraying, especially on lightweight fabrics.
Once it's dry, open up each buttonhole by inserting a seam ripper into one end and carefully tearing to the middle. Then insert the seam ripper into the other end of the buttonhole and tear towards the middle until the whole thing is open. If you are worried about accidentally ripping through the side of the buttonhole, you could insert a pin into either end as a buffer. Trim any frayed threads and you’re done!

Place the right opening over the left one as if you were doing your garment up, then smooth out the fabric and pin in place. Mark the buttons' positions by poking the tip of a chalk pencil or washable pen through the buttonhole 3mm (1/8in) down from the top. It's best to mark the buttons here rather than in the centre of the buttonhole, as buttons will naturally want to pull towards the top of vertical buttonholes.

Tilly's bonus tip: If you find yourself frustrated by your thread knotting up, invest in some thread wax which will keep things gliding along more smoothly!


