
Hello! It's Abi here, and today on the TATB blog I'm going to share all the gory details of sewing my own vintage-inspired wedding dress - big yikes! If you've stumbled across this blog post because maybe you're about to embark on sewing your own (congrats!), let me reassure you it can be as stress-free as you desire and it doesn't have to require several months of planning and fittings - if you don't want it to.
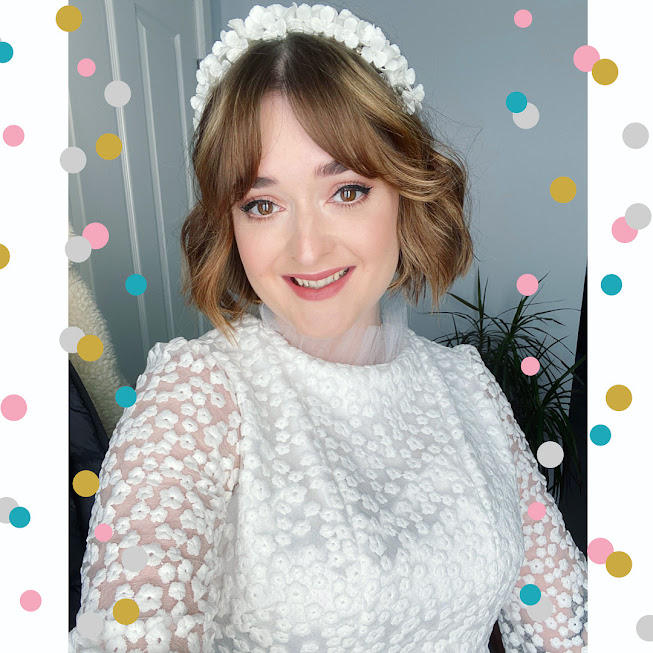 |
A quick selfie before we headed off! |
Before we get into it, I would like to preface this post by letting you how casual I was about the whole getting married malarky (we've been together 10 years already). There wasn't toile after toile of my wedding dress, no studying couture hand sewing techniques, no endless fabric swatches and fitting tweaks. If anything, my friends and family will tell you I was too laid back about making my wedding dress, they were sending me text messages every other day to see if I had started it yet (sorry pals). I was so laid back, in fact, I made my dress one week before our wedding day.
So this blog post is my handmade wedding dress story, as chaotic as it may read...
 |
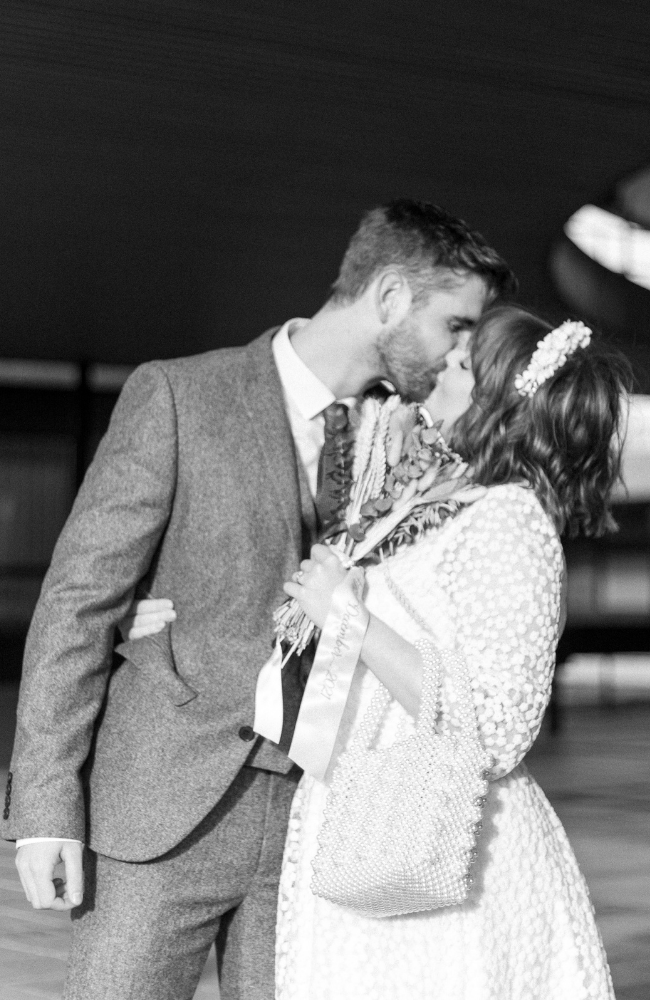
| Friends take the best photos - thank you Jacob for this one! |
I won't bore you with the details, but let me tell you it was a proper pandemic wedding. We originally planned to elope, but to cut a long story short, we binned the idea and on our third attempt decided to get married at the small registry office at the end of our road with a handful of our closest friends with barely a month's notice.
Design Process
The change in our plans meant a few twists and turns in my design journey. Initially, I was going to make a floor-length 1970s inspired boho number, with a v neck and long billowy sleeves, for our Scottish hilltop elopement. With this in mind, I spent hours on Pinterest creating an extensive mood board with similar looks.
Whilst I loved the 70s styles I was dreaming up, I was disappointed I wasn't going to be wearing a 1960s inspired mini dress - a style I'd always pictured myself wearing on "the big day", but considering we were likely going to be standing in torrential rain and hiking up a hill, a mini dress didn't fit the setting.
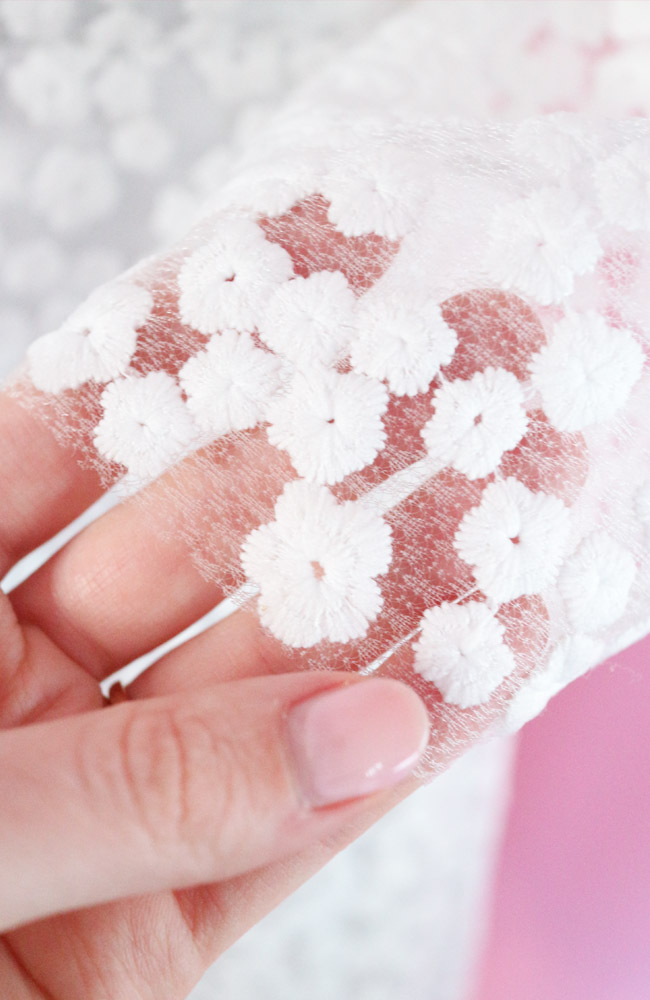
I didn't spend long browsing fabrics (I ordered zero fabric samples - I told you this was going to be chaotic), as I had a pretty clear idea of what I wanted - a floral embroidered white tulle. And that was exactly what I searched for online. I was besotted with the first fabric I found and I knew I wasn't going to find anything more perfect for me. I'd layer it over a white silky satin, but I figured that would be easy to come by, so that's where my fabric journey started and ended.
Flash forward a year, when we settled on a registry office ceremony - that's when I breathed a sigh of relief, knowing full well I had the perfect sewing pattern I could rely on to make my mini wedding dress a reality. My boho mood boards went out the window and I dove straight into 1960s mini wedding dress inspiration. I've loved vintage style since my teens, and I've switched favourite fashion decades many times, but I've settled in the 1960s and it fitted perfectly with the relaxed, registry office ceremony we planned.
Reader, I drew precisely one sketch. One single sketch on the back of a shopping list. Are you horrified? In my defence, I could picture the finished dress SO clearly in my head. It just felt right and I suppose, rather naively, thought it would just all come together.
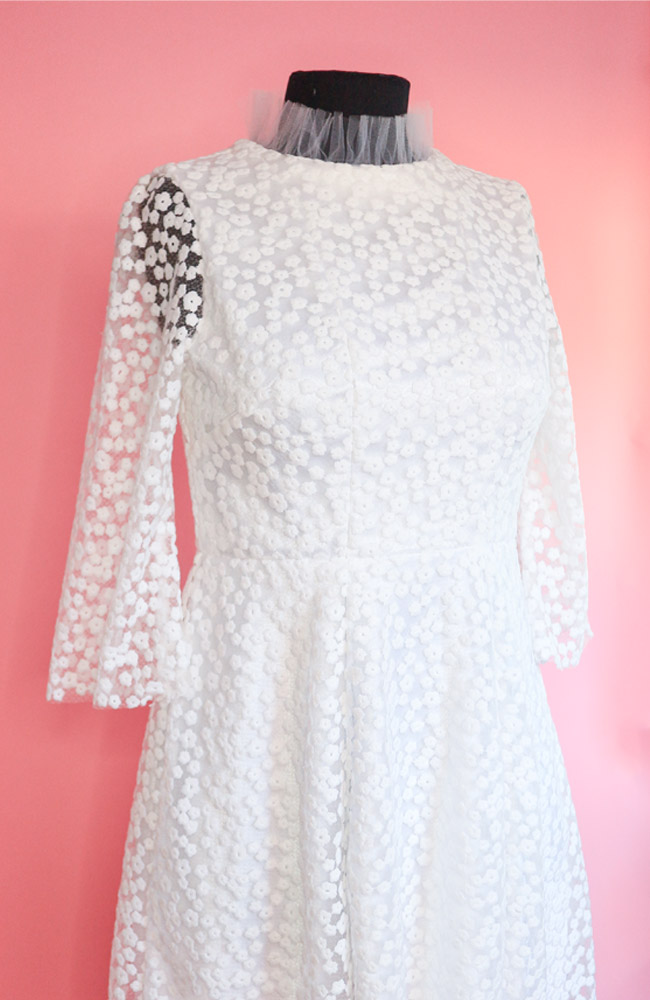
 |
Floral & leopard print - my dream combo! |
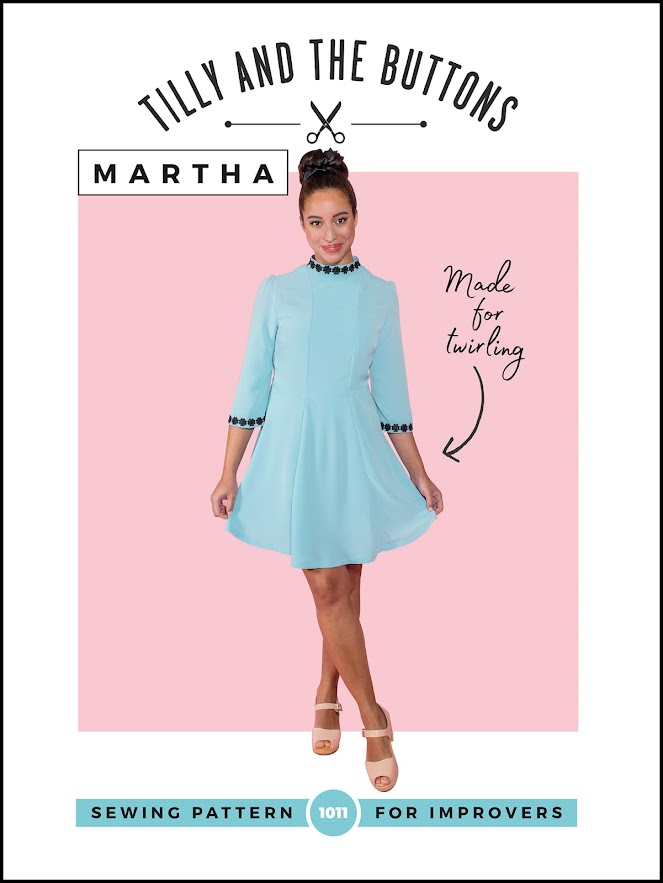
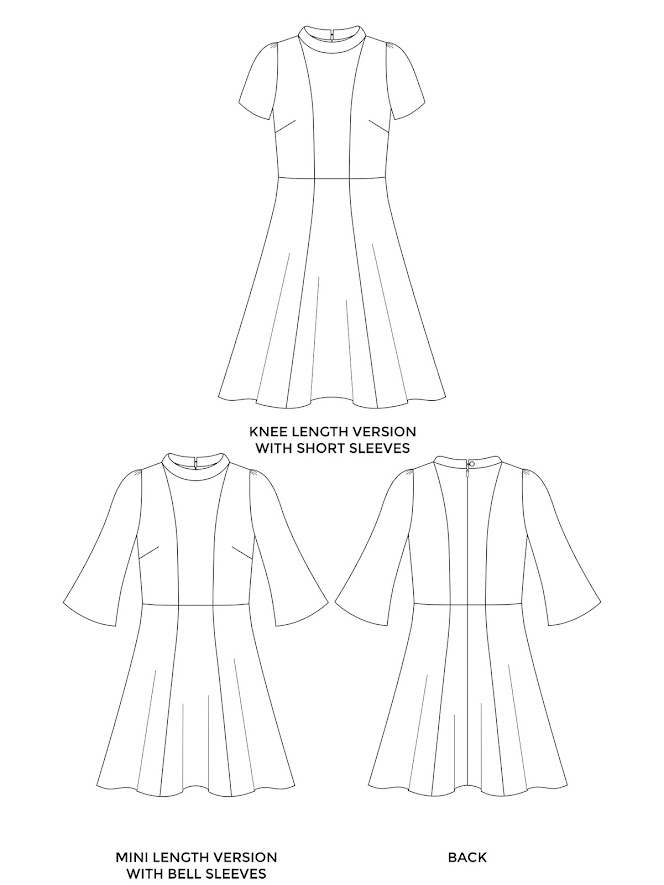
Take a look at the Martha sewing pattern here!
Sewing My Wedding Dress
As the embroidered tulle is quite chunky in areas, when I sewed a small test with it layered over the satin, it didn't sew very well at all. This didn't bode well for the layers of fabric that would make up an actual seam on the dress. My test piece also puckered on the satin, so after a small moment of panic, I opted to switch my sewing machine foot to a walking foot to help grip the layers together.
Hurrah! The tulle sewed like butter, even with multiple layers on the seams. So I got stuck in! The dress came together within a couple of days of relaxed sewing, with an extra day to let the skirt hang. There were no major mistakes, no dramas, it all came together quite nicely.
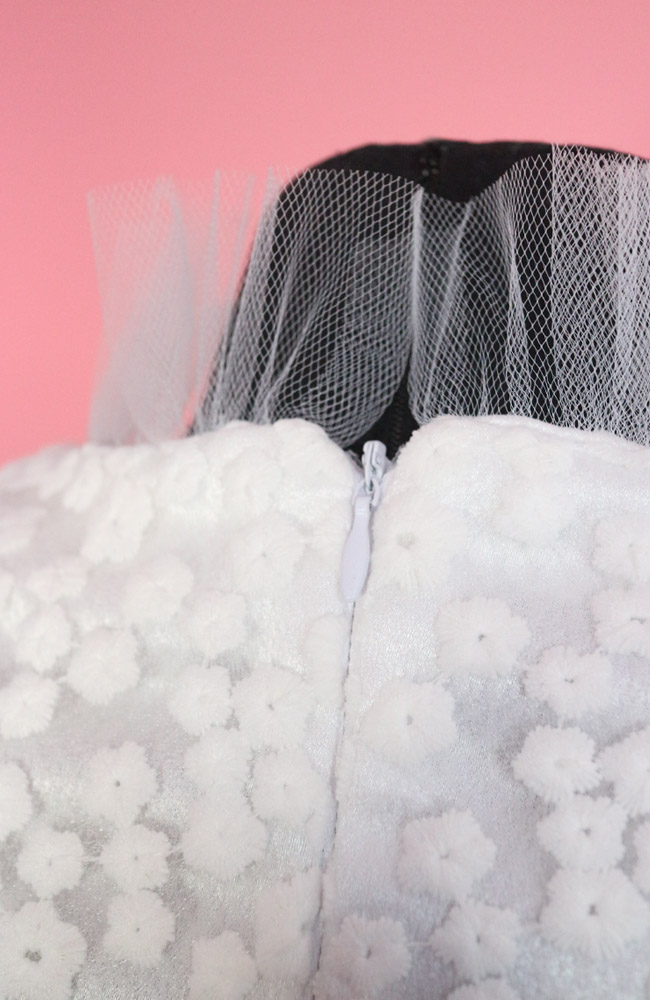
Of course, there are some areas of the dress that aren't perfect. For example, the embroidered tulle didn't like to be pressed, so some of my seams feel a bit chunky and the invisible zip insertion caused a small headache. But nothing that would take away from my love of the finished dress.


I made a couple of changes from the original Martha sewing pattern instructions, but otherwise, it's true to the design. Here's a breakdown:
- I tacked (basted) my bodice pattern pieces of tulle and satin together before constructing to the bodice (but after I had sewn the darts).
- I did the same for the skirt, but only tacked the waist seam, so the two layers of skirt moved freely from one another when worn.
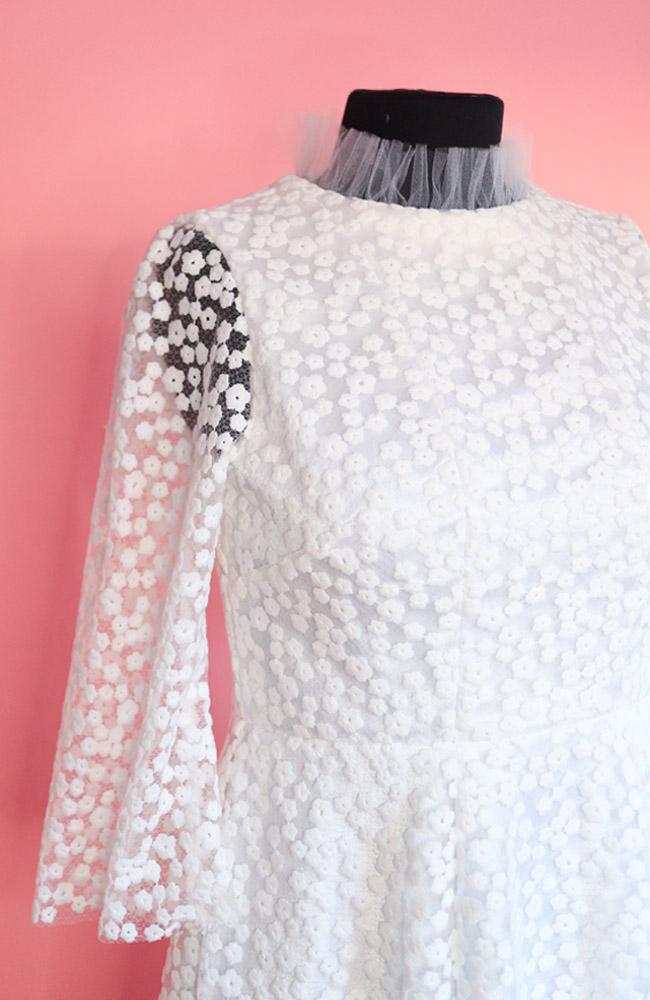
- The sleeves are just tulle layers to show off the lovely floral embroidery.
- For the collar, I doubled the length of the original pattern piece and cut it out of super-soft plain tulle fabric. I gathered it to create a ruffled collar, adjusting it as I pinned it in place, following the collar sewing steps as normal otherwise.
- I didn't hem the tulle on the sleeves, nor the tulle and satin on the skirt. I let the skirt hang and leveled it by eye on my dressmaker's dummy. Neither fabrics are particularly prone to fraying, and the finish of a nicely cut hem would be far better than anything I could sew (hand sewing isn't my forté either).
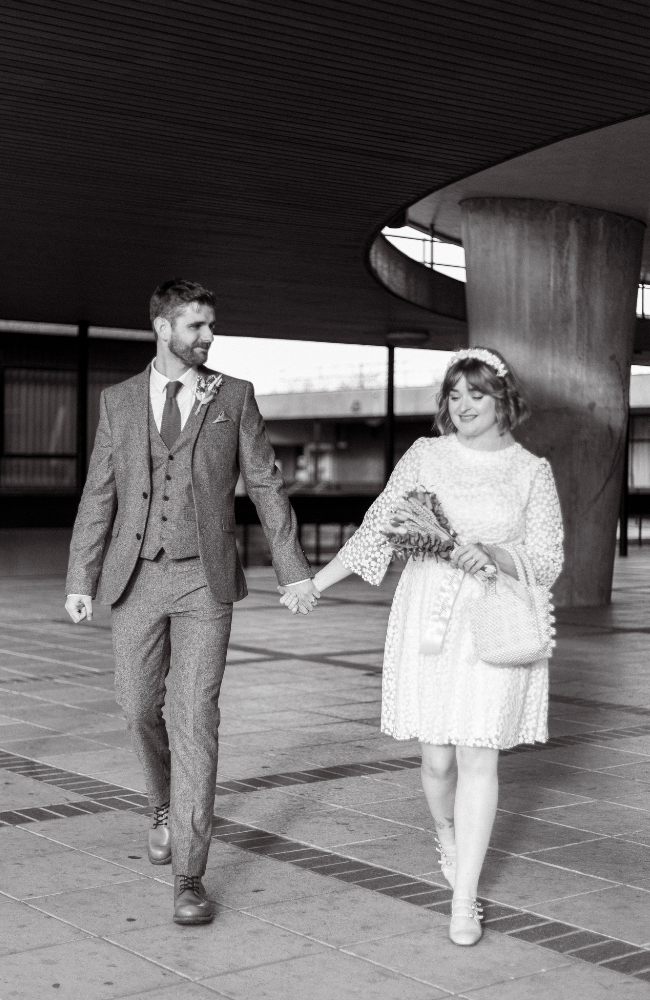
I had a few try-ons throughout the sewing process, just to make sure I was on the right track and at the final hurdle when I tried the dress on with my accessories I felt so proud of the dress I'd sewn and had even enjoyed the process. Much to my friends' relief, I finally had a wedding dress about five days before the ceremony...
Abi's wedding dress sewing tips for laid-back brides:
- Create a Pinterest board to gather all your inspiration. It's a great place to start and you'll build a pretty good idea of what you like and don't like fairly quickly. My boards also helped me figure out my styling.
- Pick a pattern you know well and love. Have a pattern you love wearing and you've got your perfect fit nailed? Why not use it or adapt it! Or at least give yourself time to sew the pattern and wear it about. I like to make wearable toiles so I still get something gorgeous to wear from the process, perfect or not.
- Sewing your own wedding dress doesn't have to be complicated. Mine was just like sewing any other dress - welt pockets were far more stressful!
- Make sure your sewing space is clean. Working with white stressed me out so I made sure to give everything a good wipe down before I started working.
- Just because you sew, it doesn't mean you have to make your wedding dress. It can feel like an expectation when you sew, but you do you! I fell in love with a RTW dress about a month before our wedding, and if I hadn't already got my fabric I probably would have bought it.
- Be YOU! Wanna wear a print? A bright colour? Low cut? Mini? Have fun with your design and rock it, after all, it's totally unique to you!
*****
Author: Abi Dyson
Fabric: Embroidered Tulle - Minerva Crafts (gifted to Abi)
Wedding photos: Our talented friend Hamish McKeown (thank you!)
