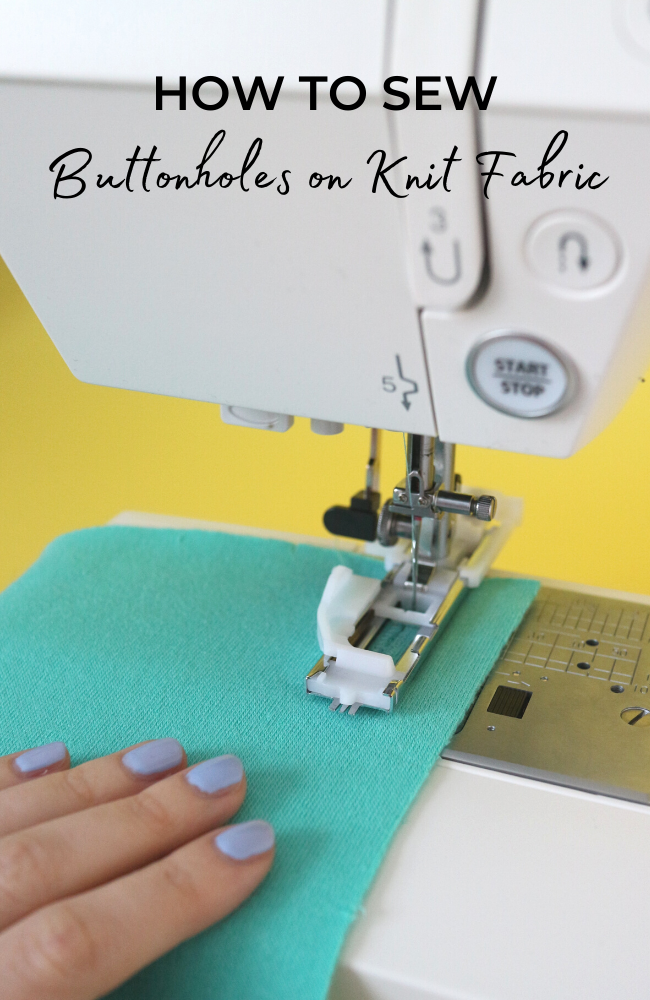
We've tackled buttonholes in detail before on the blog, if you've read through our Tilly Tips For Perfect Buttons post we're sure you'll be feeling confident facing any sewing project featuring any pesky buttons. But this time we want to show you how to sew buttonholes on knit fabrics, such as jersey, ponte or sweatshirting.
Sewing buttonholes on stretch fabrics might sound rather intimidating, but here at Tilly and the Buttons we're lovers of sewing with stretch (Tilly wrote a book all about it don't ya know?) and we want to show you sewing buttonholes on your comfiest clothes can be straightforward too, with the help of these tips...


1) Interface the area
When sewing buttonholes on knit fabrics it's important to stabilise the area with interfacing so your buttonhole doesn't stretch out over time and unfasten when you least expect it! Even though you're sewing a stretch garment, this is one small area that you don't want to stretch.
Adding interfacing will also stabilise the fabric as you sew it so the buttonhole doesn't end up too big or get stuck on the stitches as you're making it.
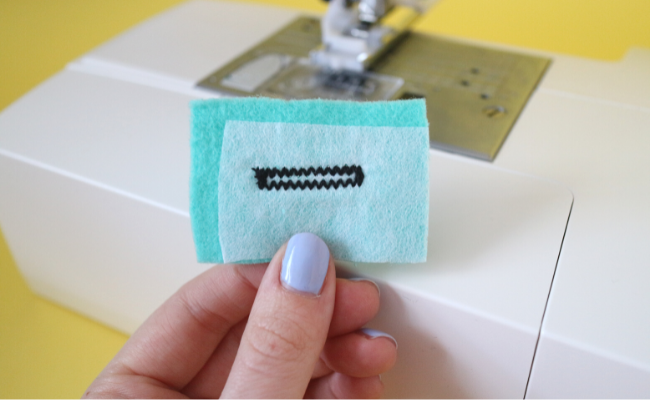
Choose an iron-on interfacing in a similar weight to your fabric. If the area with the buttonholes isn't already interfaced, cut a rectangle of interfacing a little larger than each buttonhole and press it to the wrong side under the buttonhole markings.


2) Adjust your settings
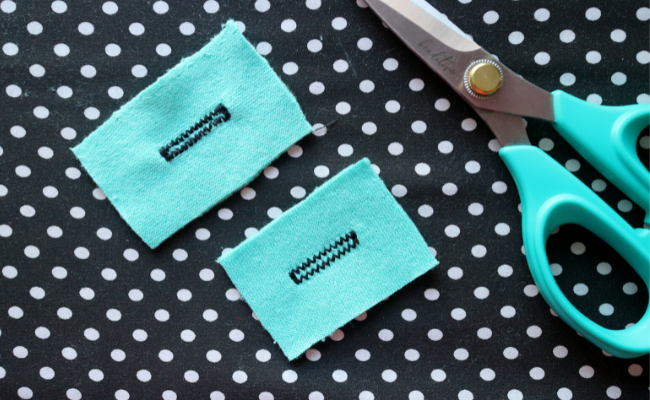
Does your sewing machine have a stretch buttonhole setting? Get your manual out and you might discover that you're the lucky owner of a machine with a buttonhole option designed for knit fabrics - jackpot! This buttonhole option usually has stitches that are slightly longer, less dense, and often sews a thicker (three-fold) zigzag stitch or a criss-cross style stitch.
But no worries if not!
If your machine doesn't have a plethora of buttonhole options, you can use the regular buttonhole setting, lengthening the stitch length to around 0.7mm (try more or less depending on the thickness of your fabric) and lowering the thread tension a little.
Use a ballpoint or stretch needle as you would when sewing seams on a knit fabric.

3) Test, test, test
Hands up who's sewn a dodgy buttonhole on their gorgeous garment only to ruin their fabric having to unpick a million tiny stitches thus losing the will to live? [Waves own hand in the air.] Doing a test on some scrap fabric is a must and certainly not to be skipped when sewing buttonholes.


You're going to want to test your stretch buttonhole as you would be sewing it on your garment. So grab a scrap of fabric, big enough for a few practices, and replicate how the number of layers and interfacing that is on the area of your garment where the buttonholes will go. Test stitch your buttonholes, with the right side of the fabric facing up, adjusting the stitch length and tension if needed.
Once you're feeling confident, you can crack on with the real thing!


A buttonhole stabiliser like Fray Check is always a good idea when making buttonholes, then open it up with a buttonhole chisel or seam ripper once it's dry. And you're done!
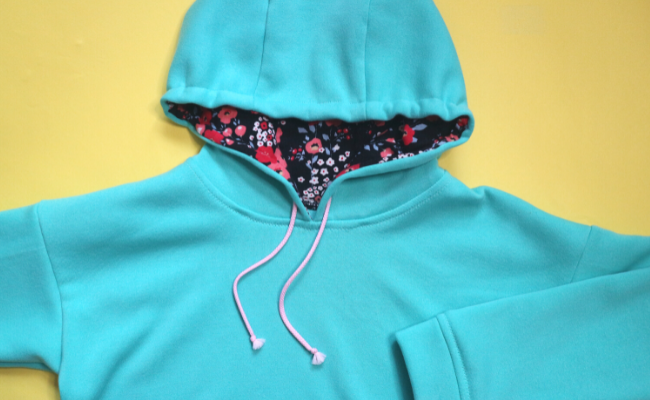
This tutorial features our super-snuggly Stella hoodie from Tilly's book Stretch.
If you liked this post check out Sewing Knit Fabric on a Regular Sewing Machine & How to Sew One-Step Buttonholes
