Ready to start your next sewing project? Sure you are! Before you dive into the sewing part, you first need to cut out your fabric.
This is an important step to ensure the pieces go together perfectly and the shape and fit of your final project turn out fabulously.
So what's the best way to cut your fabric? Here are ten tips to keep in mind so you can make sure you're cutting out your next project as accurately as possible...

1) Prepare your fabric
Pre-washing your fabric is an important step that you shouldn't skip. If you're itching to get sewing, you may be tempted to start cutting out as soon as you have your fabric in your hands, but the risk is that your gorgeous finished garment will shrink the first time you wash it. So get any shrinkage out of the way first by laundering it on the settings you're planning to use for the finished garment.
Once it's dry, give it a good press (if the fabric can take it) to smooth out any creases. Ironing your fabric to get it nice and smooth will result in more accurately shapes.

2) Consider pressing the pattern too
Your fabric isn't the only thing that needs to be flat before cutting out - the paper pattern should be too.
Tissue patterns in particular are prone to crumples and creases. Tilly and the Buttons sewing patterns are printed on nice, sturdy paper - but, if a pattern has been well-used and stuffed back into the envelope after use, it may also need neatening up.
Set your iron to a low setting, with no steam, and test press a small patch first to check the ink won't smudge. Then press away!
3) Fold the fabric on grain
The most common way to cut pattern pieces is with the fabric folded lengthwise, exactly parallel to the selvedges - or sometimes it's more accurate to look for a vertical line or rib in the fabric to check the grain. Take the time to check your fabric is laid out on grain - and the pattern pieces laid out with the grainline arrows exactly parallel to this grain - to ensure your finished project ends up looking, fitting and hanging as intended.
4) Don't let the fabric hang off the table
Unless you're sewing something small, or you have a huge table at home, chances are your fabric won't fully fit on the table when you cut it out. Try not to let it hang off the table though, as this could stretch out the fabric, or pull the grainline off, and you could end up with a rather wonky garment!
First, do a quick check that all the pattern pieces will fit on the fabric using your planned cutting layout. Then lay out as much fabric as will fit on the table, and fold or roll up the rest of the fabric. Cut out the pieces that will fit on the table first, then unfold or unroll the rest of the fabric and continue cutting.

5) Use dressmaker’s carbon
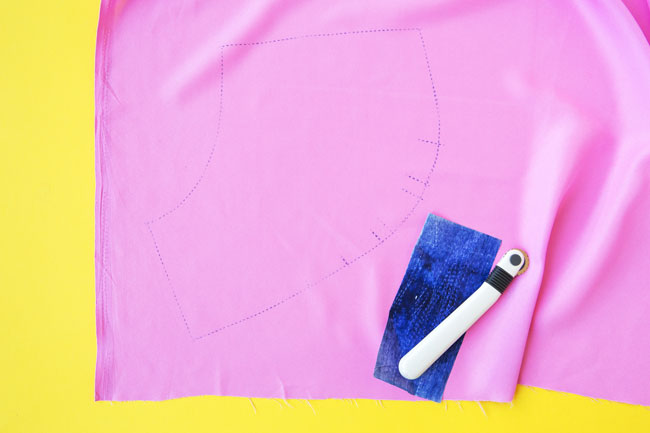
If you want to preserve your paper pattern so you can cut out a larger size in future, but you don't fancy tracing it off, you could use dressmaker's carbon and a tracing wheel to transfer the lines to the fabric. This is a great way to keep the original range of sizes intact.
Read more about how to use dressmaker's carbon and different options for marking and cutting fabric

6) Consider using a rotary cutter
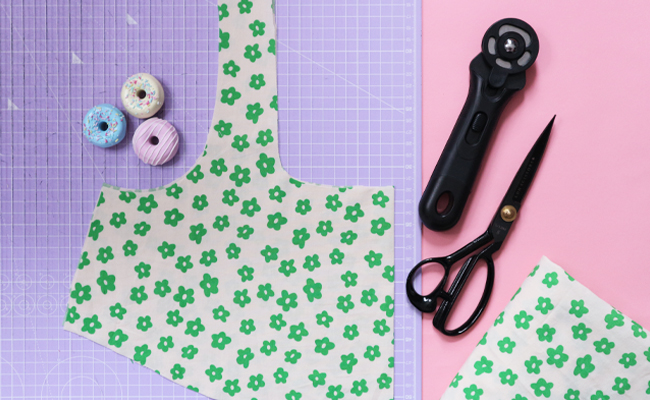
Fabric scissors are a good option for lots of projects, but another tool to add to your sewing arsenal is a rotary cutter. This handy gadget, which works a like a pizza cutter, is particularly useful for cutting out slippery or stretchy fabric. While the blade of scissors lifts up the fabric during cutting - and thus can move or stretch it slightly - a rotary cutter allows you to keep the fabric perfectly flat. Get yourself a cutting mat too so you don't scratch the table.
7) Pins or weights?
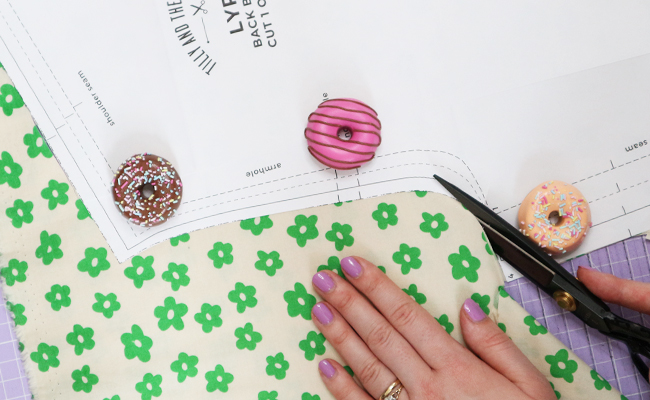
Pinning your paper pattern piece to your fabric is standard practice for lots of sewists. But you may find this pulls your fabric about and misaligns your previously perfect flat piece of fabric (we're looking at you viscose!). Opting for pattern weights strategically placed across your pattern piece will hold your fabric and pattern in place without the need for pins.
We have some super cute dedicated pattern weights at TATB HQ, but you can also use large washers from the hardware store, or even just random heavy things you have lying around - books, food tins, your mobile phone, scissors... Simple!
If you really don't want to let go of the pins, use a minimal amount and opt for headless pins.


8) Cut exactly on the line
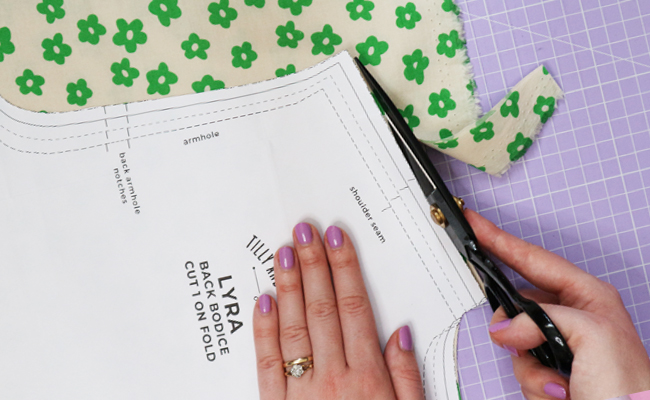
And now the actual cutting part! Whether you've transferred the lines to the fabric using fabric scissors, have cut along the pattern lines in your size, or are cutting through the paper and fabric at the same time, take your time to cut as accurately as you can along the size lines.
When cutting around most pieces, you may find it easiest to hold down the pattern paper with your non-dominant hand (i.e. with your left hand if you are right-handed, or with your right hand if you're left-handed) and hold the scissors on the other side. However, when cutting tight curves, you may find you get a neater result by flipping this around so you can hold the fabric with your non-dominant hand - and thus keep it nice and taut - and get close to the lines with the scissors. Try out both ways and see if it makes a difference!
9) Use large strokes
If you're wielding scissors to cut your project out, using large stokes will result in the smoothest lines. Avoid making little snips around your pattern as you can end up with jagged edges and distorting your fabric as you cut.
10) Keep your scissors and rotary cutter sharp
Keeping your tools sharp will make your life a lot easier! Invest in a scissor sharpening tool to keep your shears tip-top, or make sure you have a stash of fresh rotary cutter blades to hand. But beware of sharp sewing tools - always close your rotary cutter blade when it's not in use and keep your scissors closed.

I hope you found this helpful... Happy cutting!
