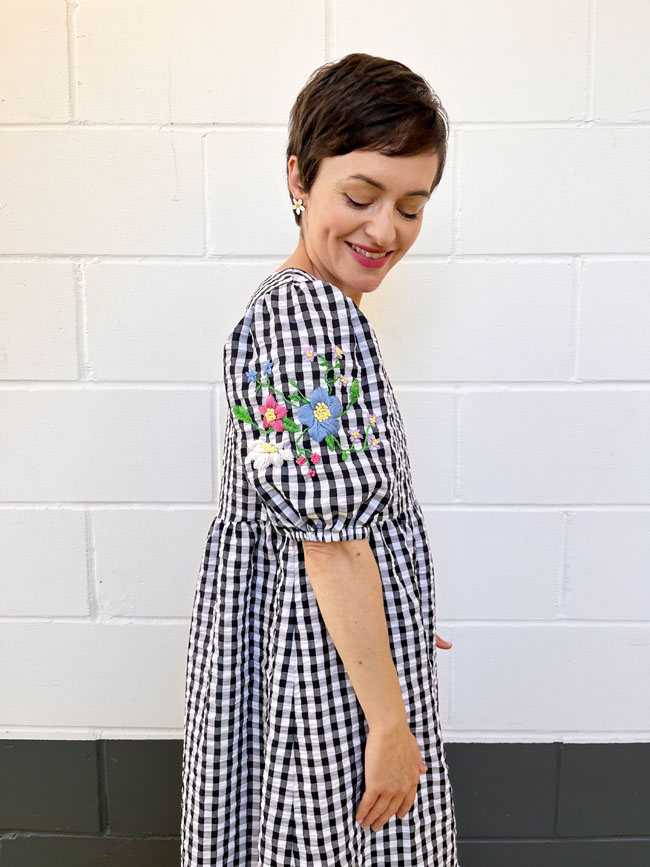

That was the origin of this dress, and it’s lovely to see it now it’s come to life!
I’m not the most skilled embroiderer in the world, but I do enjoy the process of drawing with thread, as well as the beautiful results. It was nice to have a slow, meditative project to work on over a few summer evenings sitting in the garden once the kids were in bed, enjoying some peace as the sun began to set.


This is, of course, the Indigo dress sewing pattern, with the midi tier from the add-on pattern. The sleeves started life as the puff sleeve pattern, also included in the Indigo add on, but I hacked them to create extra volume.
To be more specific, I “slashed and spread” the pattern – which basically means slicing it up vertically and widening it at various intervals, patching up the spaces with more paper – and added some extra height to the sleeve head.


If you want to create a similar effect but don’t fancy hacking the pattern, I’ve seen other makers, such as Elle and the Stitches and The Baker That Sews, successfully mash up the Indigo dress with the sleeve from the Anna Allen Anthea Blouse pattern.


Let’s talk about the embroidery! I began by pinning some water-soluble stabiliser to the back of the cut-out sleeve pieces, then popped one in an embroidery hoop. I free-styled the design, building up different flowers, stems and leaves as I went along until I had what felt like enough. The stitches I used included French knots, split stitch, satin stitch and leaf stitch. I absolutely love how the colourful design looks against the monochrome gingham print – it makes my heart sing!
This was one of those slower projects that I worked on bit-by-bit over a few sessions, and I’m so pleased I put the time in as it’s wonderful to end up with something so unique. And isn’t that one of the best things about being able to make your own clothes?


