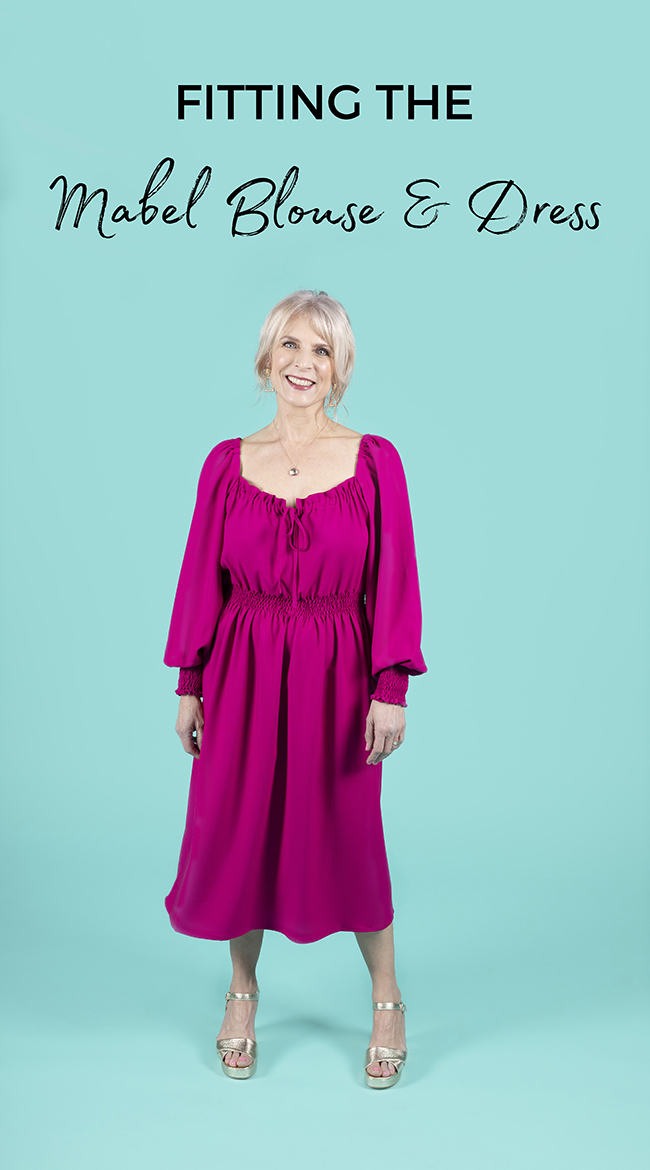
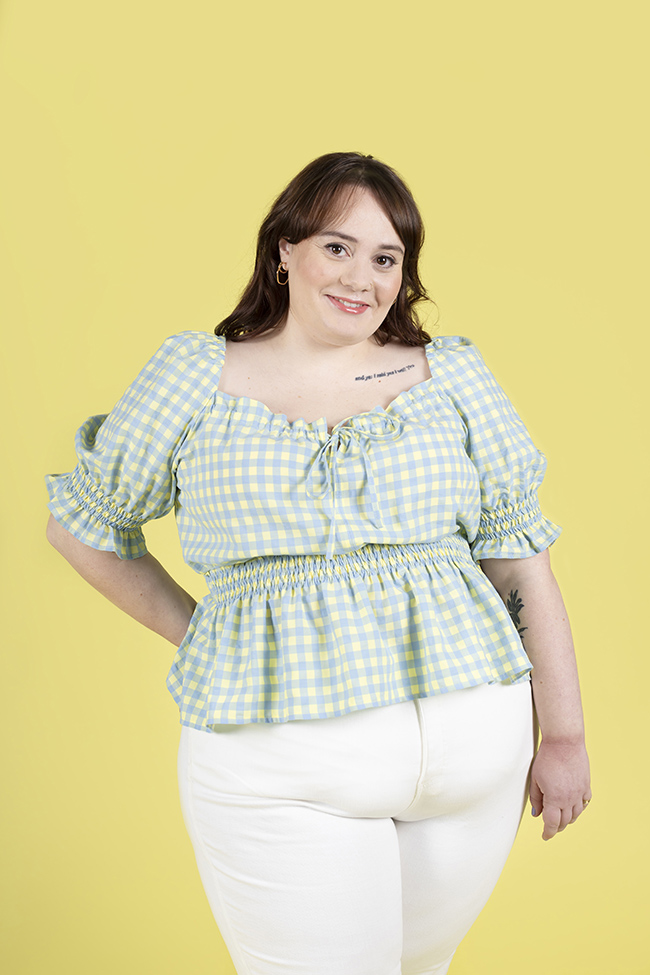
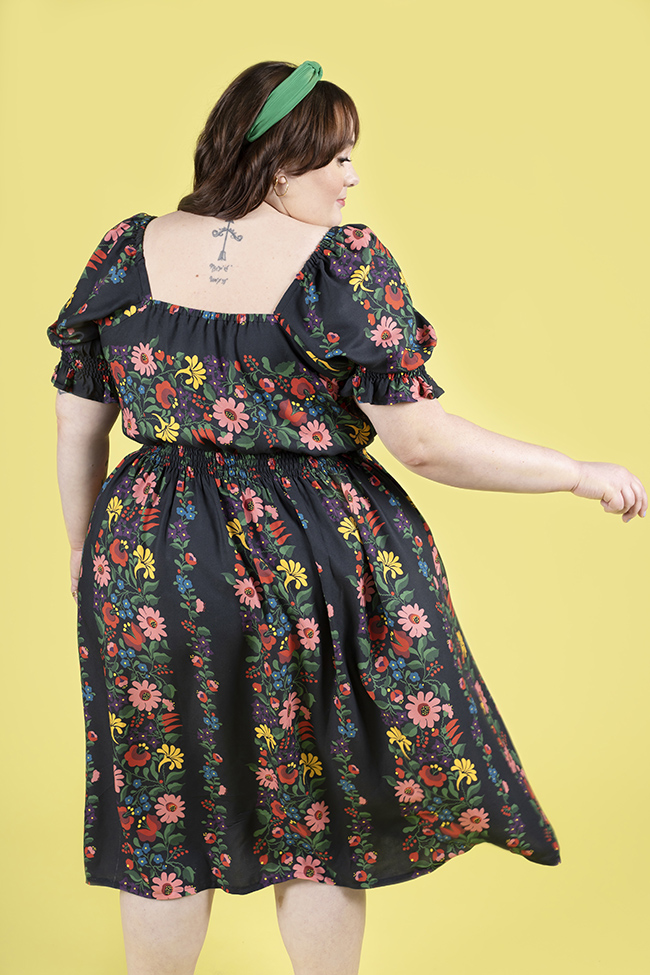
Crushing on the Mabel dress and blouse pattern but not sure how to get a great fit? In this blog post we're going to talk you through the most common fitting adjustments you might (or might not!) want to make.
Mabel is a dream sewing pattern. Not only does it look sensational (OK, we might be a little biased), it's relatively easy to fit too. The blousey bodice, elasticated shirred waist, and wide skirt offer comfort and ease in the bust, waist and hip areas, so don't require close fitting. The areas that might need tweaking, depending on your body, are the elastic length in the shoulders and neckline, and we'll explain how you can do this below.
In this post we're going to cover:
- Making a toile
- Choosing your size
- Do I need a full bust adjustment (FBA)?
- Lengthening or shortening pattern pieces
- How to combine sizes
- How to adjust the neckline and shoulders
- How to adjust the sleeve shirring
- Checking the hem balance
A toile - or a "muslin"- is an initial mock up of your garment in fabric you don't mind using for testing purposes - pick something similar weight and drape to the fabric you have in mind for your final project. Making a toile is a great opportunity to test the fit of a sewing pattern, or practise a technique on sacrificial fabric before you cut into the nice fabric you have lovingly chosen and purchased for your project.
For Mabel, we recommend you make a toile to check the lengths of the elastic around the shoulders and neckline. Or how about making a "wearable toile" - this is a practice garment in fabric that you don't mind ditching if the fit isn't quite right, but you like enough to wear just in case it fits you well first time. You'll want to check the fit of the bodice, sleeves and peplum, so the top version is perfect for a wearable toile.
Tilly has also written a fab blog post about toile making if you want to know more.
Choosing your size
Mabel includes all 15 sizes in our range. Pattern sizes 1-6 (UK 6-16) and 7-15 (UK 18-34) have been drafted, fitted and graded separately to create a better fit. For this reason, you may notice the proportions change in the measurements chart and the shaping is slightly different on the pattern pieces – sizes 7-15 include room for a larger bust (10cm/4in difference between high bust and full bust, as opposed to 5cm/2in difference on sizes 1-6) and a bit more room at the waist.
To find your size, using a flexible tape measure, measure the circumference of your:
- Bust - take the measurement at the fullest point i.e. around your nipples
- Waist - where you bend at the side
- Hips - the fullest part - it helps to turn to the side and look in a mirror to see where this is
Check the tape measure is sitting level with the floor - it can help to turn to the side and look in a mirror to check.
Circle your measurements on the ‘Body Measurements’ chart in the pattern instructions. If your measurements all fall into one size, then this is the size you'll cut.
But it's totally normal for your measurements to fall into different sizes too - you can create a bespoke fit for you by combining sizes (we'll come onto that later!).
The blousiness of the bodice, floatiness of the skirt, and shirring in the waistline make this pattern very easy fitting. There's around 18cm (7in) ease in the bust so it's unlikely you'll find the fit too tight across the bust if you pick your size based on your full bust measurement. If you do often feel like you need more room in the bust, then cast your eyes over the section below...
Do I need a full bust adjustment (FBA)?
As mentioned above, the blousiness of the Mabel bodice has around 18cm (7in) ease around the bust. If you feel as though this isn't enough for your unique shape, the good news is in most cases you can avoid doing a full bust adjustment (FBA) by picking a larger size, and letting the elastic on the neckline, shoulders and waist do the job of cinching the blouse or dress to your body.
If you have a larger bust you might also want to lengthen the front and back bodices slightly to prevent the blouse from riding up at the waist. We cover how to do this in the "lengthening or shortening the bodice, sleeve or skirt/peplum" section below.
If you do go up a size and feel like you need to cinch the top of the blouse or dress in around the neckline and shoulders, you can unpick the elastic channels and make the elastic a bit shorter, and re-sew the ends. Check out the "How to adjust the neckline and shoulders" section below.
Lengthening or shortening the bodice, sleeve or skirt/peplum
We have included the following sets of lengthen or shorten lines on the Mabel pattern pieces:
1) Bodice
If you know you often need more or less length in your garment bodices, you can lengthen or shorten the bodice pattern pieces using the lengthen or shorten lines. You may also want to add some more length in the bodice to accommodate a larger bust.
The lengthen or shorten lines are near the bottom of the front and back bodice pieces. You can use these lines to ensure your Mabel bodice is the perfect length for you in the torso.
If you lengthen or shorten the front bodice, make sure you make the exact same adjustment to the back bodice so the side seams end up the same length.
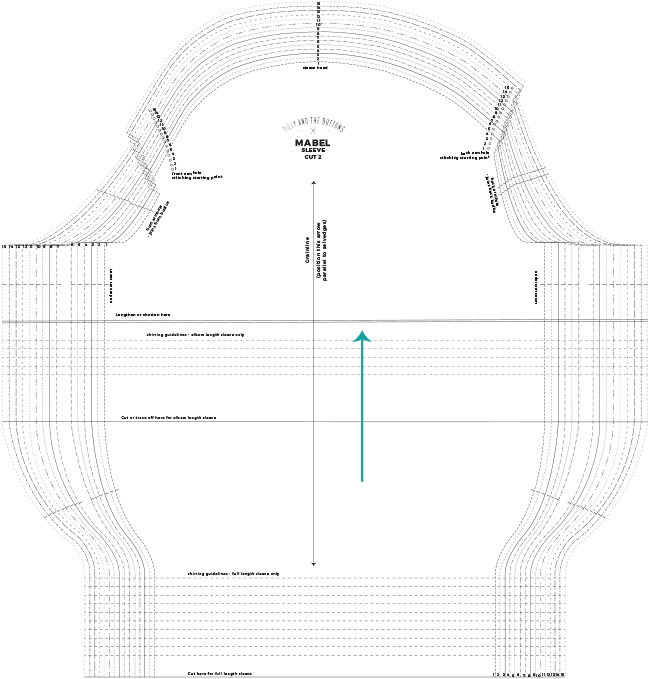
2) Sleeve
Mabel has a gorgeous full-length or elbow-length,voluminous raglan sleeve. The elbow-length sleeve is finished with a narrow shirred cuff with frill hem and the full-length sleeve has a deep shirred cuff and finishes just past the wrist.
The Mabel sleeve is longer than a regular sleeve to achieve a romantic, billowy look. If you know your arms are a tad on the long or short side, or you'd like to change where the sleeve hem sits, you can use the lengthen or shorten lines on the sleeve pattern to alter the finished length.
3) Skirt Peplum
The Mabel pattern includes a skirt peplum pattern piece to make the top version. If you are making the dress, you will need to draw the midi skirt dimensions straight onto the fabric. The great news about this is you can draw the exact length you like according to your height and style preference. We have included waist to hem measurements for the blouse and dress in the booklet to help you decide if you want to make any changes.
The peplum pattern piece for the blouse is rectangular, so you if do want to alter the skirt length it's easy peasy to do. Either chop off (or fold under) the unwanted length or draw the new pattern length directly on the fabric.
How to combine pattern sizes
Check out our blog post on how to combine sizes (or "grade" between sizes) for exactly how to do this. Start drawing the new size line from 15mm (5/8in) down from the bodice underarm, and finish 15mm (5/8in) above the the bottom of the side seam - this will make it easier to attach the sleeves and skirt to the bodice.
How to adjust the neckline and shoulders
Mabel has a square-shaped elasticated front and back neckline, and voluminous raglan sleeves elasticated around the shoulders.
If you feel that the neckline or shoulders on your toile feel either too tight or too loose, you can lengthen or shorten the elastic to achieve a better fit. Unpick the elastic channels and either snip a bit off the end of the elastic before you re-sew, or take it out and replace with a longer length of elastic.
Unlike some similar styles, we've designed the sleeves so they can be worn with a bra. With the correct fit, they should cover your bra already but, if you want a bit of added security, you can add bra stays - little loops which hold the sleeves up over your straps. We have a blog post and video tutorial which walks you through making a thread chain - all you need to do is attach a snap (or popper) on the end of the thread chain and stitch the matching pair to the inside of the top at the shoulder. Easy!
How to adjust the sleeve shirring
If you feel that shirring at the bottom of the elbow or full-length sleeve feels a bit on the loose side for your taste, there are a couple of different techniques you can do to take it in.
The easiest one is to take it in at the side seams by sewing with a larger seam allowance. This method means you can take it in bit by bit to make sure you are happy with the finished width.
Alternatively, leave long threads at one end when shirring, and pull on them, gathering the fabric as you do this, to make the sleeve narrower. Re-sew the seam when you are happy with the width.
Checking the hem balance
Depending on your unique curves, you may find the blouse or dress hem isn't balanced, i.e. it's not hanging at the same level all the way round. To check the hem balance on your Mabel, before you get to the hemming stage, stand sideways in front of a mirror and see whether the front is longer than the back or vice versa. If this is the case, take a note of how much you want to shorten the longer side, and cut the fabric on the skirt or peplum to level it off.
I hope this post has been helpful, and you now feel ready to sew your Mabel top or dress.
Don't forget sewing is meant to be fun, so don't worry too much about what fitting adjustments you may need to make. Crack out your sewing machine, pop the kettle on and get sewing!

*****
Author: Nikki Hoar
Models: Sarah Britner & Sophie Prat
Photographer: Jane Looker
MUAH: The Bridal Stylists
Samples: Sewn by Vanessa Allen
Sarah's sample:
1. John Kaldor viscose crepe – Minerva (gifted)
Sophie's samples:
1. Pigeon Wishes yarn dyed gingham – Pigeon Wishes (gifted)
2. Joni Ecovero Crepe – Fabric Godmother (gifted)


