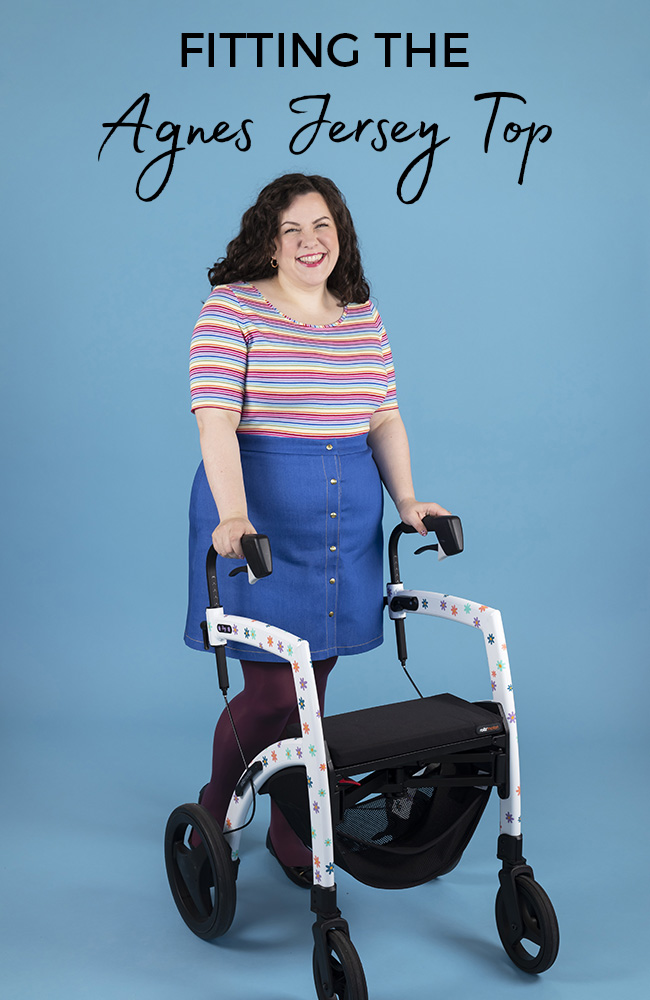
Making the Agnes top and want some extra tips on fitting? This post will cover the most common fitting adjustments you may need when sewing Agnes.

 Circle your measurements on the ‘Body Measurements’ chart in the pattern instructions. If a measurement falls between two sizes (for example, if your bust is 47in rather than 46in or 48in), it’s usually better to choose the larger size as you can take it in more easily than you can let it out.


 Widening or narrowing at the shoulder

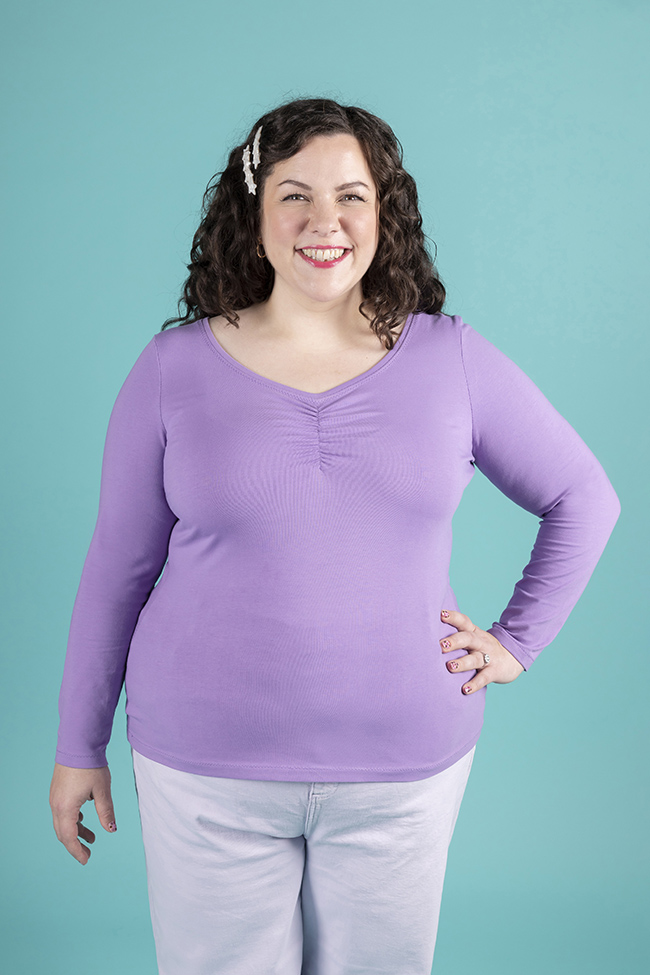
Agnes is now available in printed and PDF formats sizes UK 6-34 / US 2-30 / EUR 34-62 / AUS 6-34. As it's designed to be made in stretchy jersey, it's relatively simple to fit.
In this post we're going to cover:
- Choosing your size
- Lengthening or shortening the bodice or sleeve
- Combining sizes or resizing the bust
- Widening or narrowing the shoulder
- Changing the neckline
- Narrowing or widening the sleeve
However, don't think you have to make all of these adjustments - you may need one or two, or maybe none at all!

Find your size
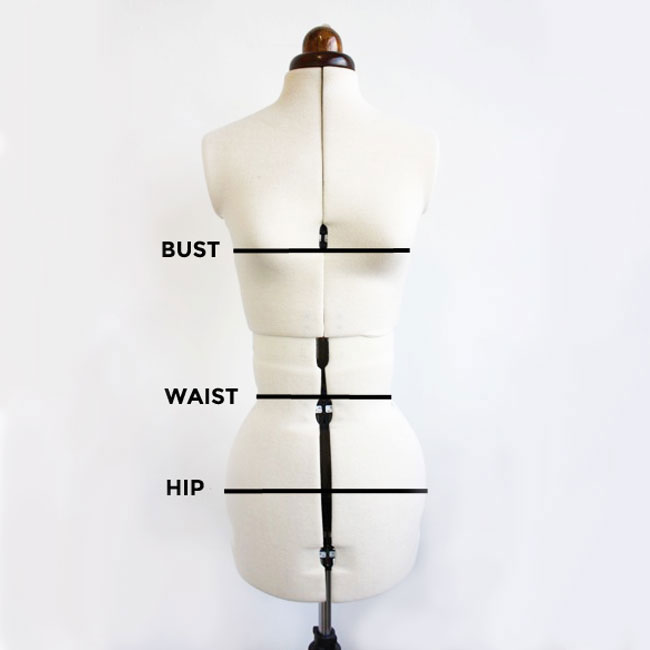
Using a flexible tape measure, find the circumference of your:
- Bust - take the measurement at the fullest point (usually around your nipples)
- Waist - where you bend at the side
- Hips - the fullest part - it helps to turn to the side and look in a mirror to see where this is
Check the tape measure is sitting level with the floor all the way around. It can help to turn to the side and look in a mirror to check.

The finished garment measurements are also listed in case you’re wondering what size the finished top will be. The pattern includes negative ease, meaning that the top will be smaller than your body once it’s sewn - the fabric will stretch to fit your curves.
If your bust, waist and hip measurements all fall into one size on the body measurements chart, that is your size. However, it’s also totally normal for your bust, waist and/or hip measurements to fall into different sizes. In this case, you can combine pattern sizes to create tailored pattern pieces that will fit your unique measurements - yay! This is super easy to do - see 'How to combine pattern sizes' below for more details. But, before you excitedly jump in and do this, you might want to consider...

Toiling and fitting as you go
One of the many – many – great things about sewing jersey fabric is that it is usually much easier to fit than woven fabric. While fitting a woven garment to your unique body shape can sometimes take a bit of work, jersey will naturally stretch over the curvier parts of your body. Hooray!
We would suggest you consider your first version a "wearable toile" (AKA "wearable muslin"), in other words, a mock-up in a fabric that’s not so special that you’d be annoyed if the fit isn’t perfect first time, but nice enough that you can wear the top if it does fit you well enough (fingers crossed!).
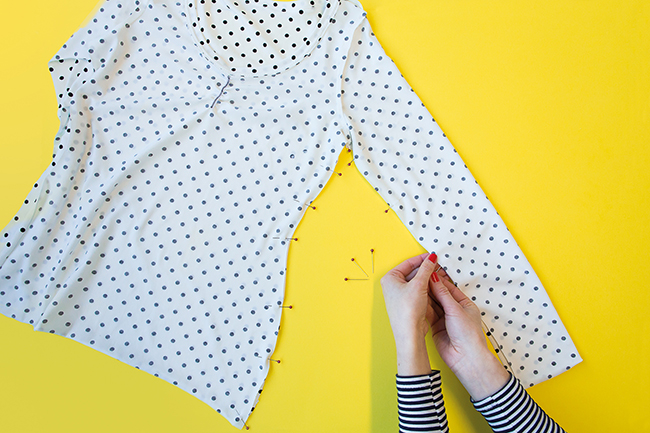
Do remember that the amount of stretch in fabric varies, so you might find that your second or third version of the top, even if it’s cut to exactly the same size as the first one, looks and feels different when you put it on. So it's advisable to pick a fabric for your toile that's similar in weight and stretchiness to the fabric for your "real" version. And, even if you’ve made this top a million times, it’s a good idea to try it on before you sew up the side seams and underarm seams - either by pinning or tacking (basting) along the stitching lines - to check if it needs to be taken in or out.

Making fitting changes to the pattern
If you do find, after sewing your wearable toile, that you need to make some pattern adjustments before you cut into your real fabric - or if you already know that you usually need to adjust patterns in a particular way to fit your unique body shape - here are some common pattern changes.
Lengthening or shortening the bodice or sleeve
Our patterns are drafted for a height of 5'5" (165cm), so if you're particularly taller or shorter than this, or if you have particularly long or short arms, or torso, then you might want to adjust your pattern pieces.
We have a dedicated blog post dedicated to explaining how to lengthen or shorten pattern pieces. It talks you through the process, step by step, so go check it out.
We have included the following sets of lengthen or shorten lines on the Agnes pattern pieces:

1) Bodice
If you often find that tops are a bit too long or short for you in the bodice, you can lengthen or shorten the front and back bodice pattern pieces using the lengthen or shorten lines. We've included the nape (nobbly bit at the bottom of your neck) to hem measurements for the top in the finished garment measurements section of the booklet - do bear in mind that, if your fabric stretches lengthwise as well as widthwise, the finished top may end up longer once you put it on.
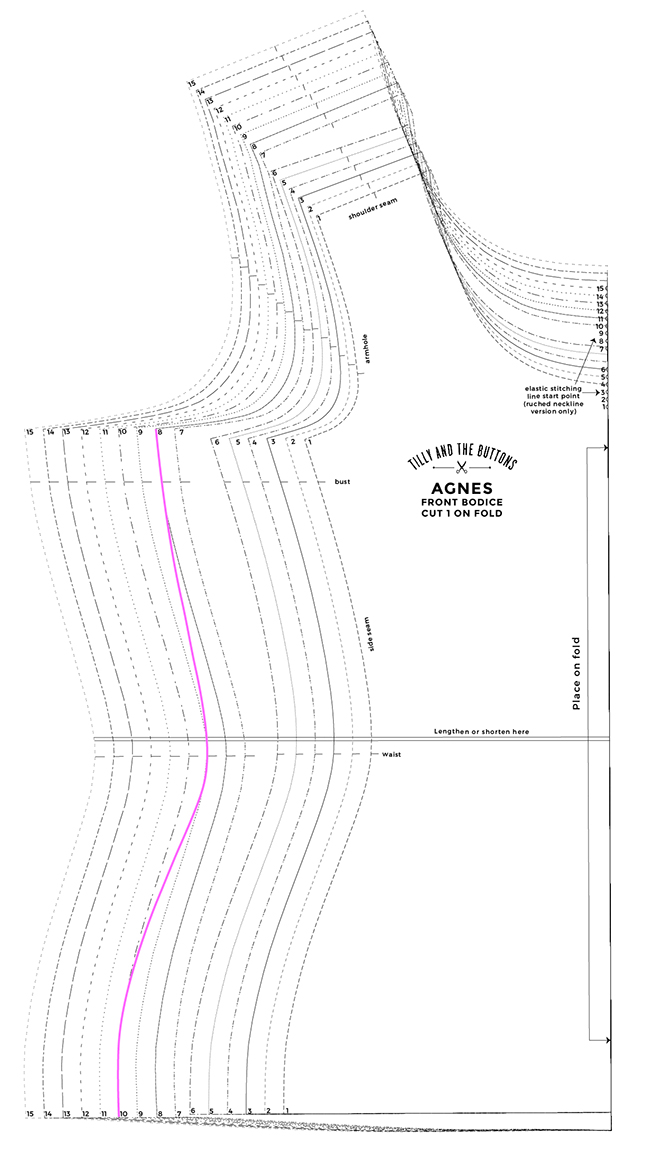
The lengthen or shorten lines on the Agnes bodice pieces are located just above the waist notch. You can adjust your pattern here if you feel like you need a bit more length - or conversely a bit less length - in the torso.
Important! If you're lengthening or shortening the bodice pattern pieces, remember to adjust both the front and back bodices by the same amount.

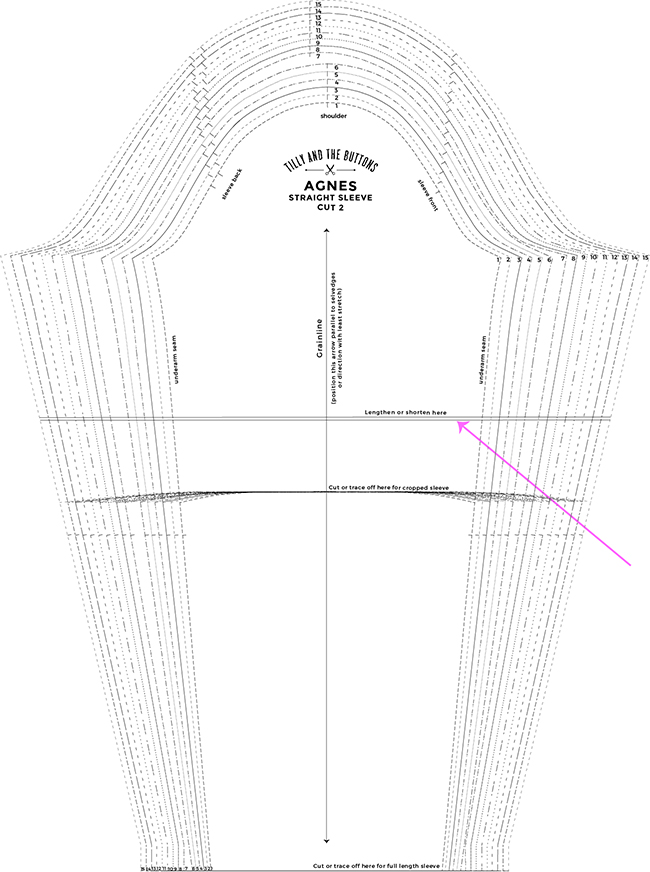
2) Sleeves (both versions)
Whether you're keeping it classic with the straight sleeves or adding some drama with the ruched sleeves, the process for altering the length is exactly the same. Both long sleeves are designed to sit just past the wrist, between the bottom of the hand and base of the thumb, and the cropped sleeve sits just above the elbow.

Combining sizes or resizing the bust
If your bust, waist and/or hip measurements fall into different pattern sizes, you can draw a new line ("grade") between pattern sizes to get a bespoke fit for your exact body measurements. We have a blog post with step-by-step instructions and diagrams to show you how to do this in more detail.
If you feel like you need a little more room across the bust you can do a full bust adjustment. If you're a little unsure how to do it, then check out our blog post all about how to do a full bust adjustment on knit fabric sewing patterns.
 Widening or narrowing at the shoulder
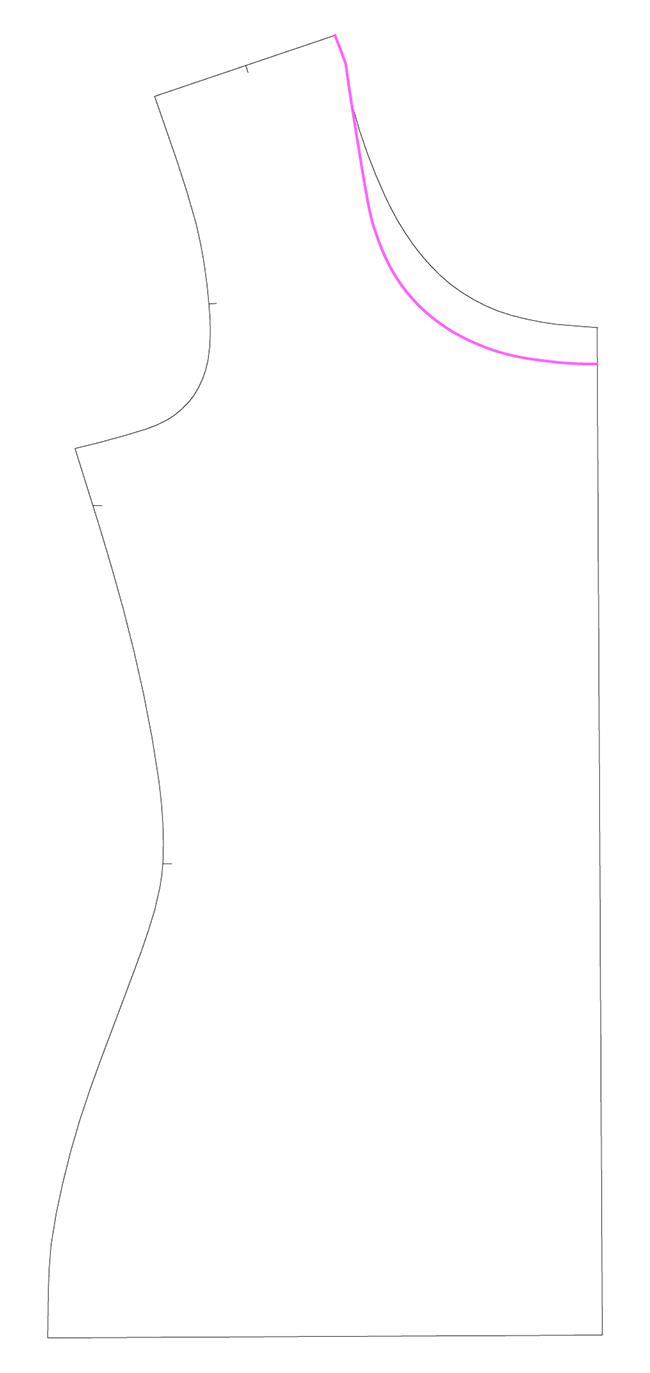
If you often find that clothes are too small or too big across the shoulders, you might want to take the shoulders in or out on the pattern.
If you want to take the shoulders in by 2cm, for example, mark a point 2cm along from the outer edge of the shoulder seam. Redraw the top of the armhole from this point, blending the line into the original armhole line and mark the armhole notch(es) if need be. Measure the new armhole – with the tape measure standing on its side – to check it’s the same length as the original, so the sleeve will still fit into it. If it’s a bit longer or shorter, redraw the line slightly and measure it again, until it’s roughly the same length as the original. Do the same on the back bodice pattern piece, checking that the shoulder seams are the same length.
The process of widening the shoulder is the same but in reverse! For more information on how to widen the shoulders, and information in general on shoulder adjustments check out our dedicated blog post with step by step instructions and diagrams.

Changing the neckline
If you want to raise or lower the neckline, simply redraw the neckline curve, smoothing off the bottom at the centre front. If you change the width of the neckline, change the back neckline too and check the shoulder seams fit together.
You’ll also need to change the length of the neckband. Draw in the stitching line on the bodice, 15mm or 5/8in inside the cutting line, on both front and back bodice pieces. With the tape measure standing on its side, measure these lines, add them together, and take off 3cm (1 1/4in) for the seam allowances. Now take 10% off this measurement, and add back 15mm (5/8in) for the seam allowance, and that’s the length your new neckband piece should be.

Narrowing or widening the sleeve
If you find the sleeve is too loose on you, you can adjust it at the pinning stage. If you find that the sleeve is too tight for you and there isn’t enough extra fabric included in the seam allowances, you can widen the sleeve piece next time you make the top by redrawing the sides from the top downwards. Don’t change the top of the underarm seams if you can help it, otherwise the sleeve won’t fit into the armhole.

I hope this helps. Just remember - don't worry too much about making lots of pattern changes until you've made your first version of the top and got a sense of how it fits your body. You may not have to make as many changes as you think!
We’d love to see what you make – share with us on Instagram @TillyButtons with the hashtag #SewingAgnes so we can see!
*********
Author: Frances Buddery

